


The new Nite Ize Knot Bones arrived last week and we've been searching for an application so that we have a good excuse for purchasing more gear.
After fiddling with them for a few days, we finally found something to use them for - yet another Self Tensioning Line (STL) technique.
So far we've got the shock cord technique reported by HeadChange4U, the Theraband technique reported by Just_Jeff on his web site, the Silicone tubing variation created by Opie, and my variation of Opie's technique.
So I figured we need another shock cord technique to help balance things out. So I present the shock cord technique using the Nite Ize Knot Bone.
Materials:
- Knot Bone
- short length of 1/8" shock cord, say 6"
- short length, 6", of cord. Guy line cord or any 7/64" or 1/8" cord will do.
- cable tie
- guy line
- length of guy line for Prussic
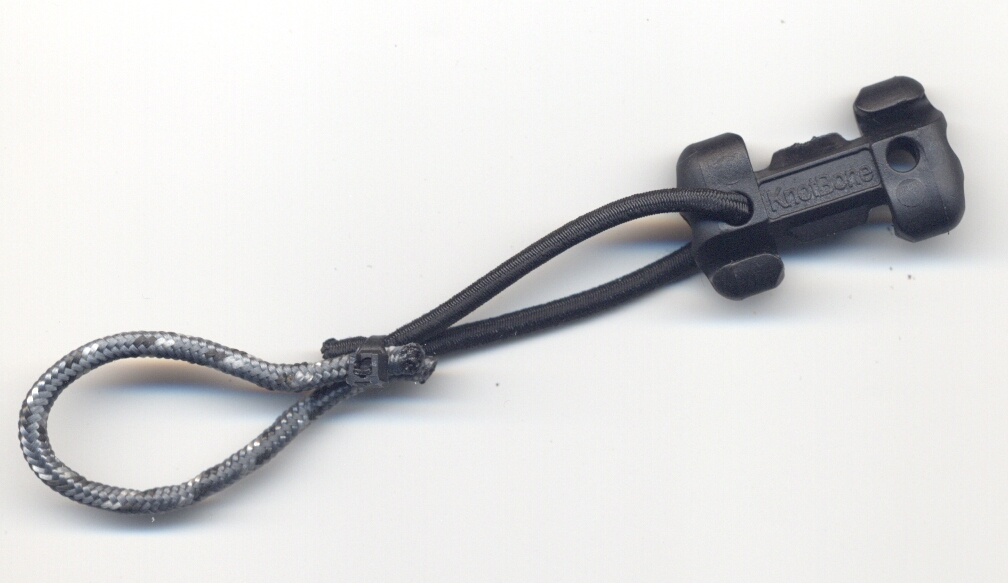
First assemble items 1, 2, 3 and 4 as shown here:
Thread the shock cord through one of the end holes, then secure the ends along with the ends of the 6" length of cord using the cable tie.
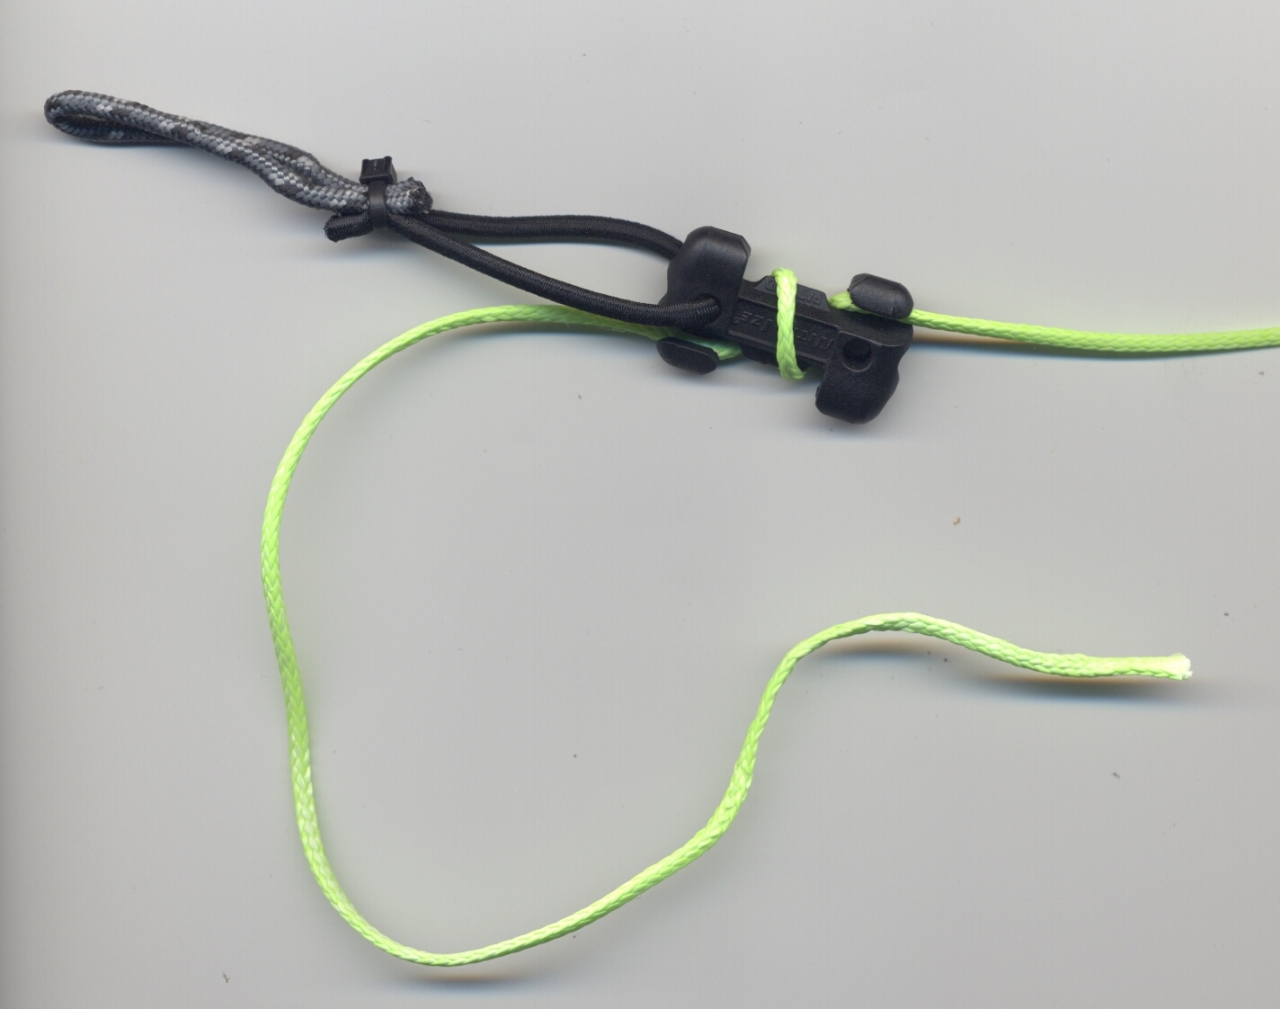
Then secure the guy line to the knot bone. There are probably several ways to do this, but here are 2.
First, the simplest, simply secure in the slot, wrap then secure again in the opposite slot.
Another way is to do the above, leaving a longish tail:
Then secure the tail to the Knot Bone making a loop:
With the loop formed in this way, you can use either shock cord STL or skip the STL and use the guy line loop or make the loop longer than shown and use both to limit the stretch of the shock cord.
Use the Prussic to adjust the guy line tension.
This method has pros and cons.
Pros:
- the knot bone with the shock cord can be easily detached from the guy line if so desired. Sometimes the permanently assembled tubing technique is less than optimal, e.g., when I need to use the the cord for a purpose other than as guy lines. So long as I have a set of Knot Bones with shock cord, I have a set of STLs. A set of Knot Bones with shock cord as shown here is less bulk than a full set of silicone tube STLs
- No knots to tie for those who, like me, always seem to tie the clove hitch wrong and have to spend several minutes re-learning how to tie it.
- less tangling than the technique using the clove hitch.
- It proves to some people that we purchased the Knot Bones for a worthwhile purpose.
Cons:
- Heavier than the technique using a clove hitch, but then every thing else is.
There is also a hole down the middle of the Knot Bone from end to end. We are still looking for a really cool way to use this hole. It is so strategically placed that we just know there must be a really cool application. Interesting that Nite Ize doesn't make any mention of the hole. So I guess they think there must be a cool application, but they just haven't thought of it yet.


 Reply With Quote


Bookmarks