

This looks like a really nice hammock.

This looks like a really nice hammock.

Glad you figured it out, I did just hold back a bit on the channel to allow for getting the zing it out at the ends.Originally Posted by Dave-O

Good to hear there are some more attempts at this.
I am still using my prototype, near 200 nights I think, but want to make another when I get time.

So one thing I noticed about this design is that this parallelogram will simply turn into a rectangle once you gather the ends to whip it. If this were a Trapezoid and the long end was where the foot box went then I would say it would actually affect it but I hate to point it out but when you gather this design up it becomes a rectangle. If I have missed a step that would counteract what I have just described please correct me.
Edit: This is what the shape would need to be.
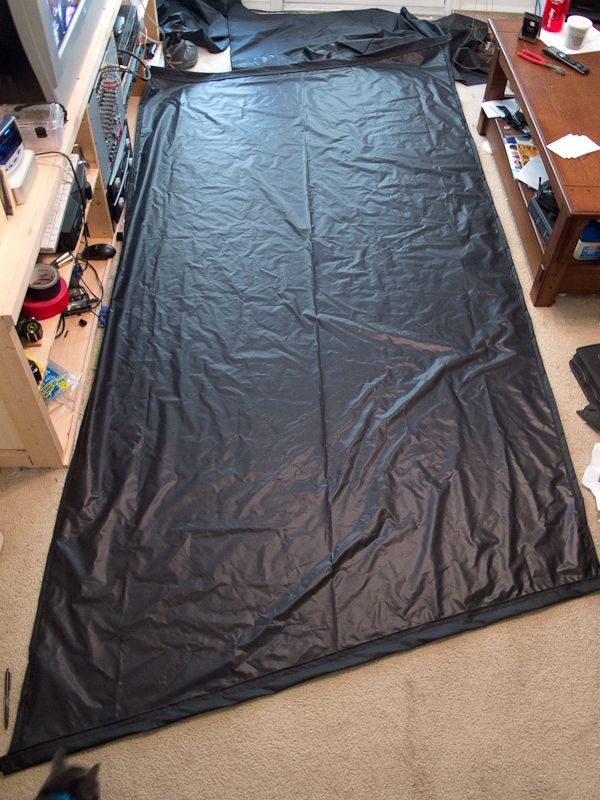
trapezoid hammock.jpg
XTrekker. Your edit is the actual shape. The long tail is what is used to get the length needed for the 2 sides of the footbox triangle the side gets very short if not done that way
Oh ok because I was looking at the original post and was confused because it had a picture of a parallelogram instead of a trapezoid.


I'm thinking about making a new DIY hammock and this is interesting. How would you go about making this a double-layer with the ability to put a pad between the layers for insulation. Would the body be the only portion that would need the double layer, or would the footbox need to be double as well. It would seem that the body would be all that a pad would be able to conform to.
"Mountains should be climbed with as little effort as possible and without desire. ... To live only for some future goal is shallow. Its the sides of the mountain that sustain life, not the top. Here's where things grow." - Robert M. Pirsig
Subscribe to my YouTube channel: http://www.youtube.com/user/PaCampingDad
You would only need to double the body. The opening I would put at the shoulder area opposite end from the foot box. Serge or hem the layers in the Area of the opening before joining the layers.
So does this look correct for the initial cuts. I'm a little confused if it should be a parallelogram or a trapezoid. Head end to the right, blue is fabric and black are dimensions.
"Mountains should be climbed with as little effort as possible and without desire. ... To live only for some future goal is shallow. Its the sides of the mountain that sustain life, not the top. Here's where things grow." - Robert M. Pirsig
Subscribe to my YouTube channel: http://www.youtube.com/user/PaCampingDad
Been planning to DIY a hammock with a footbox for awhile now. I will be cutting my hammock in a Trapezoid shape rather than the Parallelogram. A parallelogram will simply become a rectangle once you gather the ends. The reason I plan to use a Trapezoid is because the triangle added to the footbox area constrains that side of the hammock, thus shortening it significantly and causing it to fold over top the person laying in the hammock. I have noticed this happening in many of photos people posted of their hammocks with footboxes. The trapezoid will give extra length to that side of the hammock to compensate for the loss of length from the footbox triangle. Not sure if the OP is doing it this way or not but it is how I plan to do mine. The photos from the OP show a parallelogram and some of the photos of the project being constructed by others show them cutting the hammock in a parallelogram shape as well (Figure 1). So I am still confused somewhat as to how others are actually constructing their hammocks. Multiple diagrams show parallelograms as well as photos, but TZBrown also stated in an earlier post that my diagram was the correct way to do it (Figure 2). I'm sure he will clear things up.
____________Figure 1__________________________Figure 2___
I started with the parallelogram and ended up shortening the shoulder side. Start with a much longer piece than you think you need. The best way I have found is to make the long side and do the foot box then do a grab gather and a sheetbend on the head end. Adjust the length of the shoulder side as necessary. When you get it how you like it take it apart and hem the end. Then add the zing it to the sides
Hope that helps some
 Posting Permissions

 Reply With Quote
Bookmarks