


Fabric head width: 46
Head Triangle Length: 25
Head Bar: 32 1/4
Fabric foot Width: 35:1/4
Foot triangle length: 20 1/2
Foot Bar: 23 14
Hammock length: 80
Suspension curve depth: 6in
width: 30in
I like to name things. Each bridge hammock i've made has had a name. After each one has been made and hung up for the first time I step back and allow inspiration to guide the naming processes. Upon gazing intensely into the being of this hammock I was struck that this hammock doesn't belong in the woods but rather in some swanky boutique in a downtown with other extravagant things like the guy posted below. Yikes! All joking aside, after a few issues were taken care of this is a very comfortable hammock. I will eventually add a ridge line so I can make sure I get the exact same setup each time.
beyond-metrosexual by pappy2012, on Flickr
I've named this hammock the metro bridge because the top layer is a chocolate poly satin and the bottom layer is a brushed steel taffeta. Here in Portland, Oregon we have a ma and pa store called Fabric Depot and they have a discounted section and I paid 3 dollars a yard for the stuff.
IMG_3568 by pappy2012, on Flickr
IMG_3562 by pappy2012, on Flickr
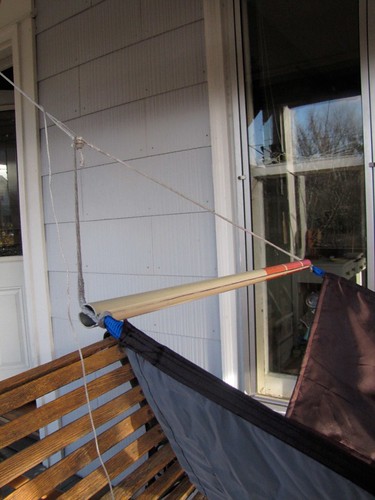
The previous to bridges I used rope for the suspension curve, bamboo and endcaps. This time I wanted to use something more like tent poles and found some used ski poles at a local thrift store. the nice part was for the pair it was only 5 bucks and no shipping fees. I also used 1/2 tubular webbing for curves. Each side of the suspension triangle is a different rope. I connected them to a whoopie sling with a soft shackle. This hammock was much simpler and easy to sew than my previous two.
IMG_3560 by pappy2012, on Flickr
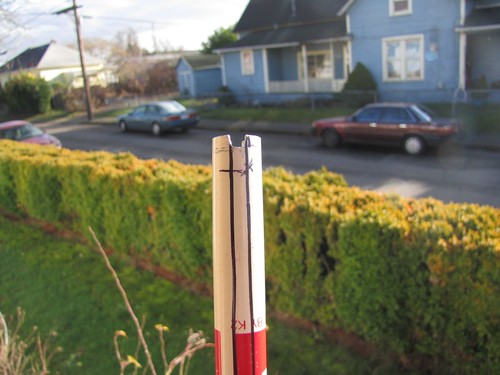
I borrowed my friends dremel and cut down into the tubes in order to places to keep them between the ropes. At first I made the cuts to short and I felt uneasy about the rope jumping out. I cut them deeper and I feel mostly alright but not completely.
IMG_3566 by pappy2012, on Flickr
I'm still playing around with an idea for a special piece for the ends of the bars to fit into that I would feel more secure with. It would be two pieces of amsteel. The center of the two lines are spliced together for about an inch then the two ends on opposite sides are brought together in a locked brummel. It would look kinda like a circle with a line going down the center. the bar would rest in the center and the two sides of the circle would connect the hammock to the suspension triangle. I'm not sure it is necessary but once I get around to making four I'll give it try and see if it makes a difference. I made one but after making it came up with a better design and have yet to make it.
I'm getting tired of trying to line up the two layers as I sew up the curve but I really like having two layers to put a pad in. So when I make another bridge hammock I think I'll sew a one layer bridge and then sew on the second layer to the body somewhere that makes the most sense. From pictures I think thats what the JRB bridge has.
One last shot.
IMG_3567 by pappy2012, on Flickr


 Reply With Quote
Bookmarks