


The DIY bug bit me again this week. After making a Climashield TQ for winter hangin' I began thinking about making another TQ for summer. I liked the fleece TQ I made last year but it was a little warmer than I wanted and ended up being a bit too short. Didn't work for me but my oldest daughter Ashley was thrilled to get it. Last fall I made Sew-Up PLUQ's for my daughters and for Ashley's boyfriend Jared for Christmas. I'd ordered some poncho liners off fleabay and when I received them I noticed they seemed quite thin. I thought that one might make a good summer TQ so I kept that little tidbit of info stuck in the back of my brain.
A few weeks back Jared's dad asked me if I'd make PLUQs for him and his other son Jonah. Naturally, I told him I'd be glad to and asked him if he'd order an extra for me. The poncho liners came in last week and by the time they arrived, I'd had a pretty good opportunity turn the idea of a poncho liner top quilt around in my brain several times and had pretty much figured out how I was going to make it.
Now I know there are easier ways to make a TQ out of a poncho liner. In fact, it can be done with no cutting or sewing at all...but what fun is that?
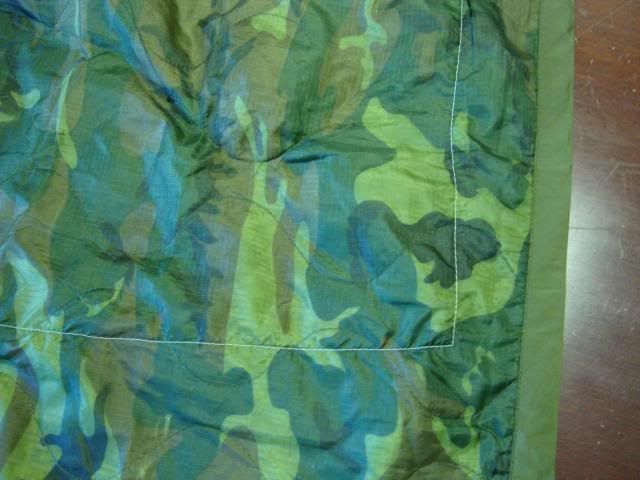
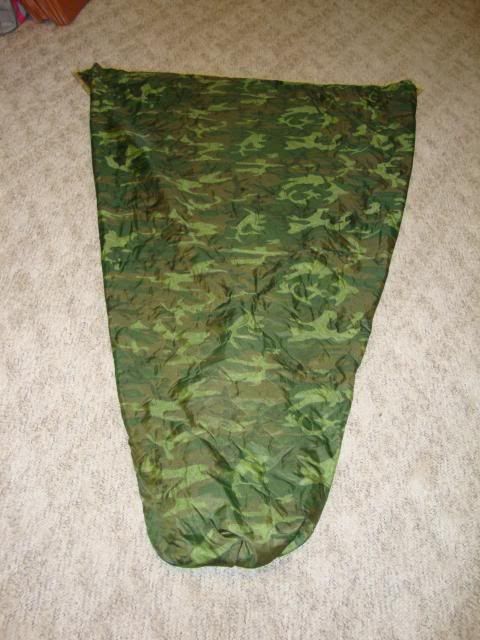
Fortunately I'd saved the poster board TQ template I put together when I made my winter TQ so that saved me a big step. All I had to do to get started was spread out the poncho liner, tape the template to it and draw the outline with a Sharpie marker. Next I ran a line if stitching all the way around the the outline of the TQ to 'stabilize' the new edges of the ripstop and the insulation. I used white thread to make the edge easier to see when I cut it out.
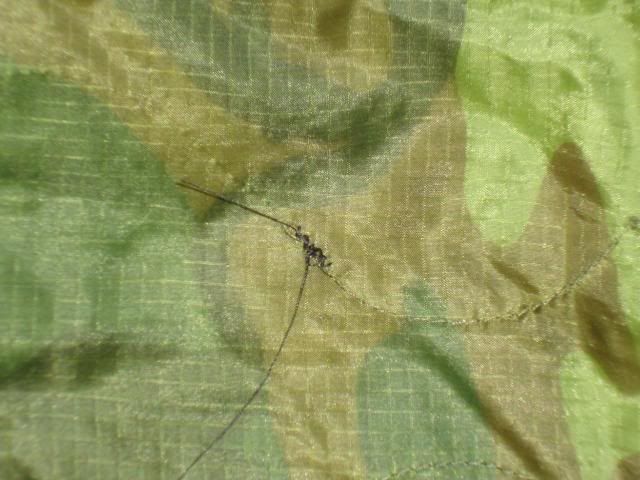
Some of the quilting on the poncho liner was coming loose so I change over to the black thread I'd be using for the rest of the build and made some repairs.
Once the repairs were finished I cut the whole thing out.
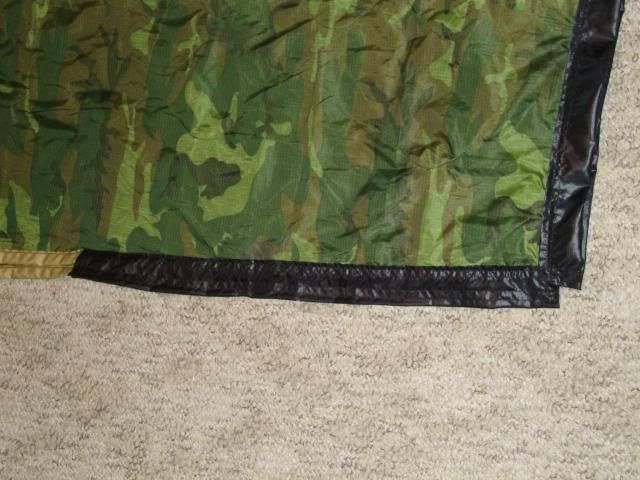
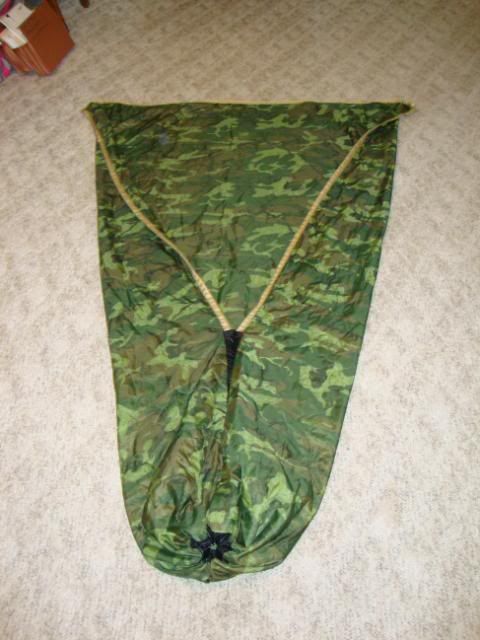
I added grossgrain ribbon along the top edge and along the sides to cover the raw edges. I added channels of ripstop to the bottom 24 inches of the sides and along the bottom.
The ripstop channels served 3 purposes. 1) They covered the raw edges; 2) the channel along the bottom would receive a drawstring to allow me to cinch up the bottom, creating a foot box and 3) the channels along the sides would be sewn together to complete the foot box.
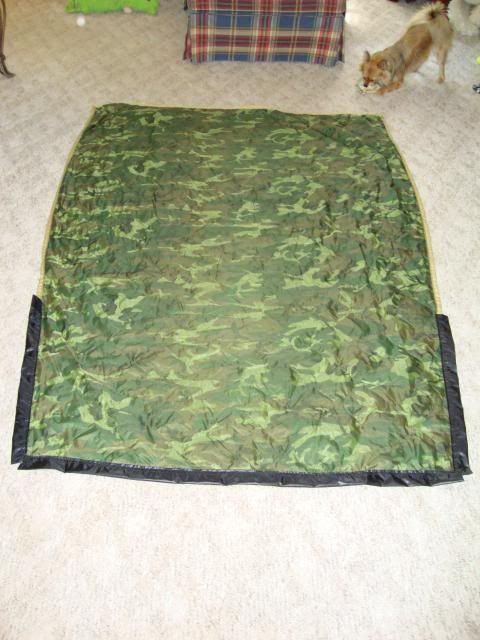
I was pretty pleased with the result.
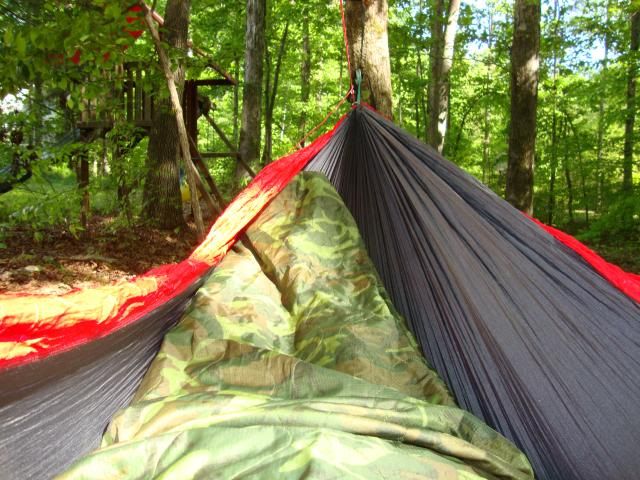
As with any new piece of new DIY gear, I had to take it out this afternoon for a test drive...
I'm not sure why but that test drive lasted nearly two hours and I was accused of snoring. Hey, quality control is important right?
BTW, for those that are wondering - total cost was just over $20 for the poncho liner (including shipping), 4 yards of grossgrain and a new spool of polyester thread. I haven't had a chance to weigh it yet...


 Reply With Quote
Bookmarks