


Hello HF,
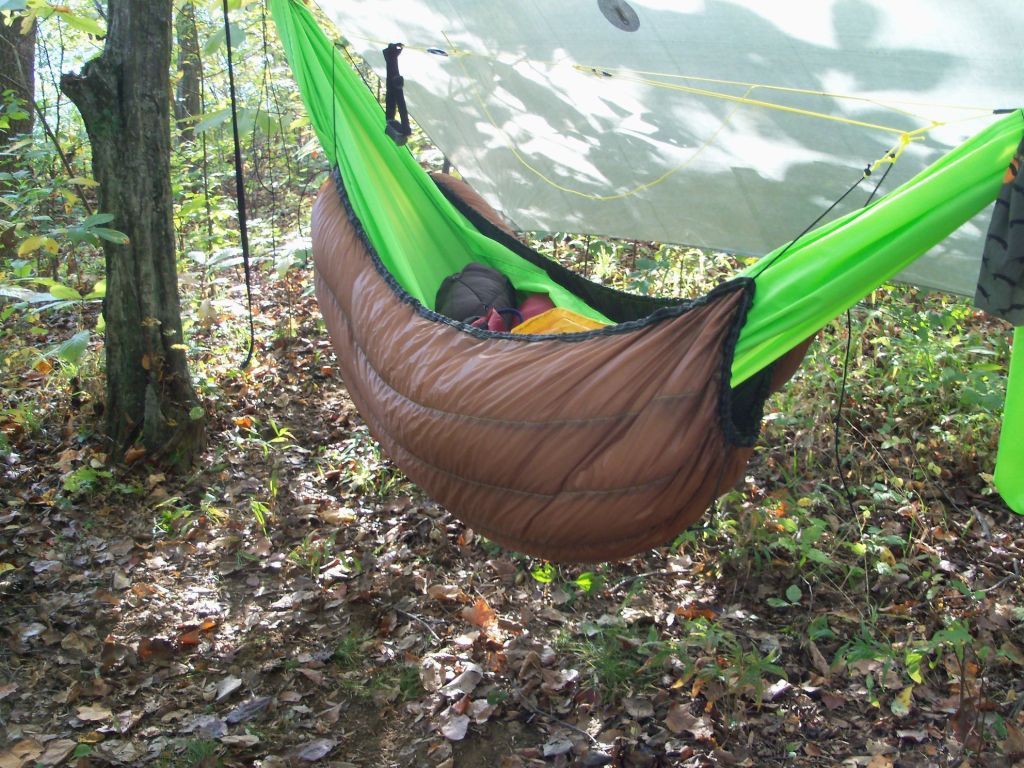
I thought Id share my recent DIY 3/4ish differential cut underquilt. The dimensions are as follows...
Length: 60
Width: 42
Baffle Height: 2 with a 2.5 maximum allowance
Down Fill Power: 850 from wildernesslogics.com with 30% overstuff
Shell fabric and baffle material: M50 and nanoseeum mesh from thru-hiker.com
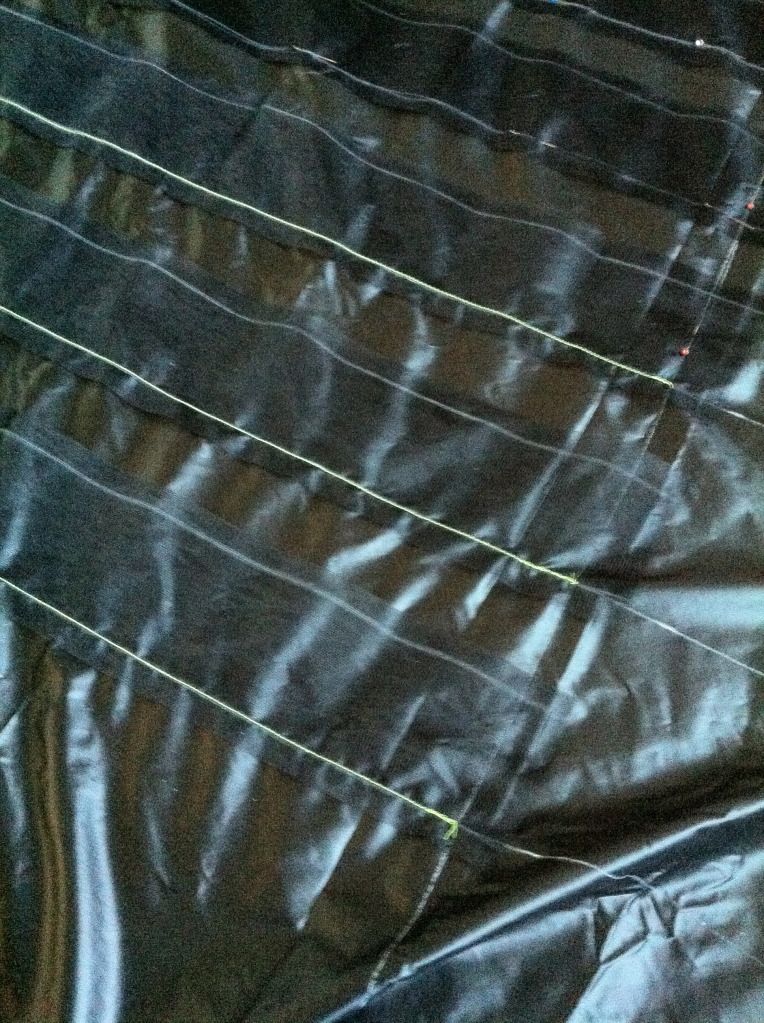
# of baffles: 10
Weight: 15.5 oz. (with suspension and hardware)
I first want to say thank you for all of the people who helped me through all the questions that I had regarding this project. Most specifically, Catsplat for the calculator, mad777 and demostiX for the channel ideas, and wwk10 for dart talks. I truly appreciate the family atmosphere here and the relaxed attitude everyone has to the multitude of questions I have.
Construction and notes:
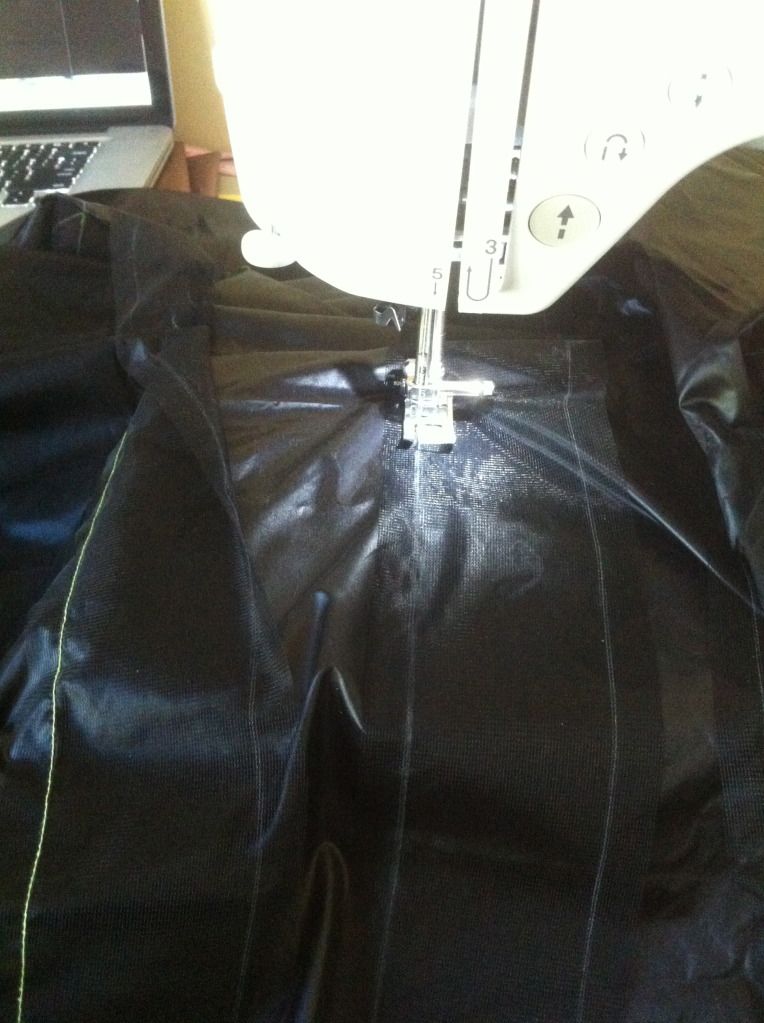
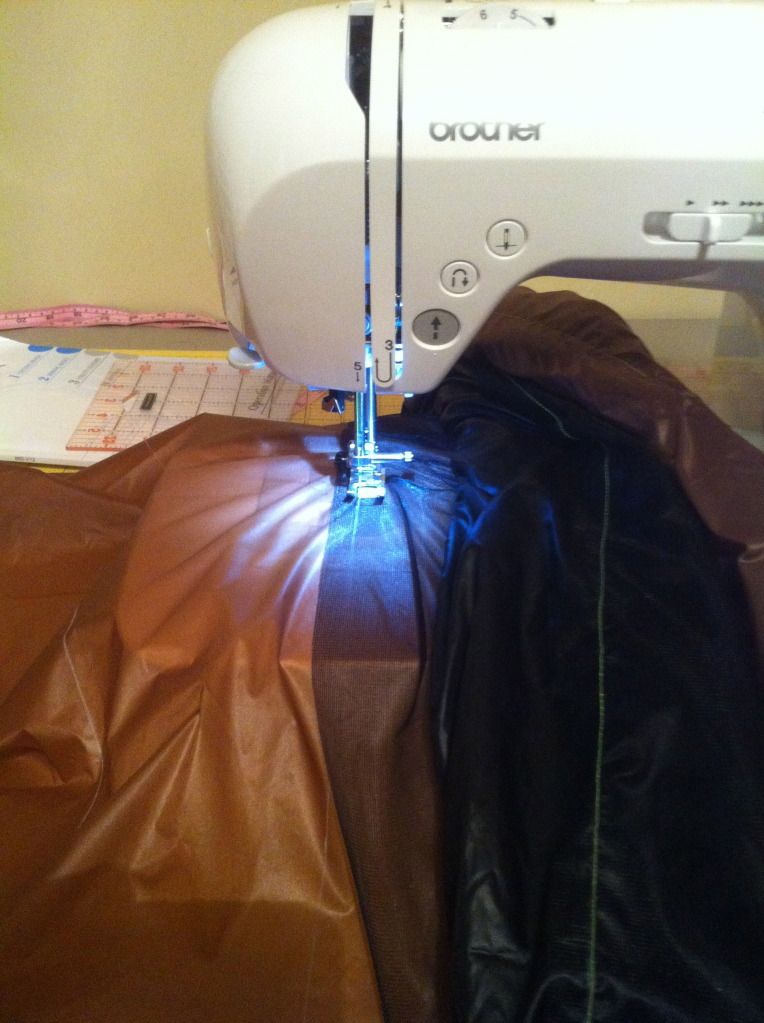
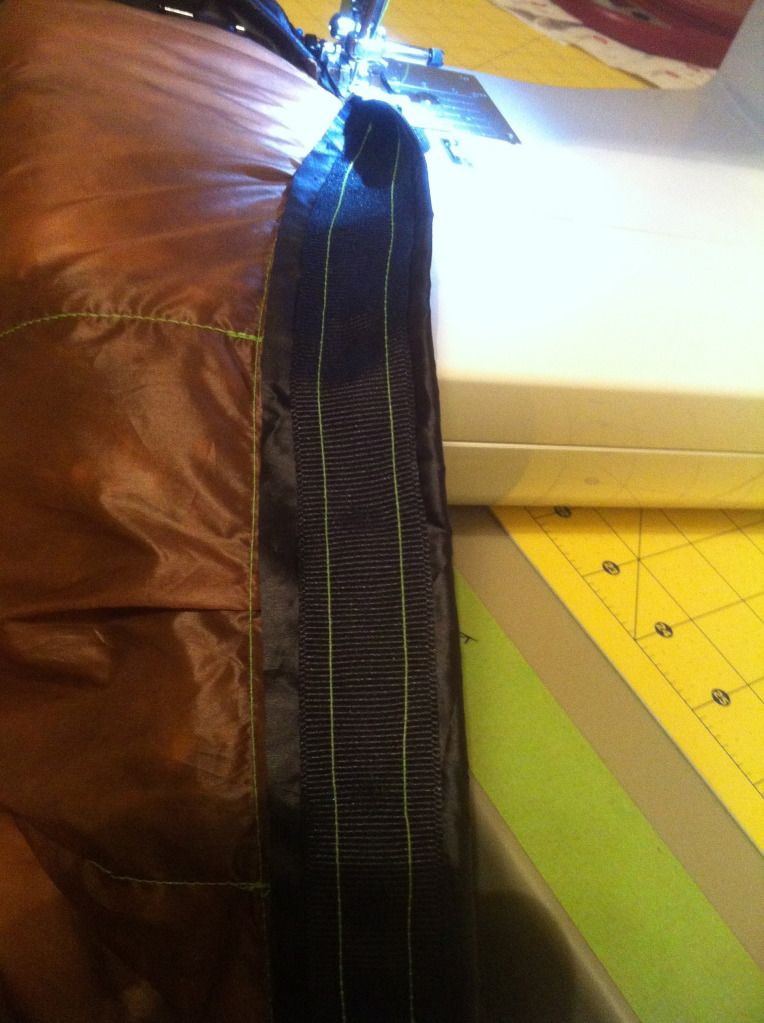
First and foremost, I have to say that m50 is some of the most slippery stuff Ive ever had to work with on a thread injector. If I had to do it all over again, I would have gone with 1.1 oz ripstop to save me from pain and aggravation, as well as the cost per yard had me sweating that this project would not be screwed up. I initially started with measurements using a marker pencil, which also I plan to remedy as well, due to the pencil wearing off with excessive handling. If anyone has an idea of marking fabric with permanent white, please let me know. Sewing the baffle material on to M50 is not particularly hard, but the outer shell to inner shell is extremely stretchy and difficult to put together without having the seam have some slippage up and down along the edges. For the finishing of the edges and channels, I decided to go with a grosgrain ribbon but sewed it inside of the channel instead of putting it on the outside, to keep the channel tight and make the underquilt look nice and uniform. What can I say, Im a stickler for attention to detail. I recently took it out on a weekend trip, and put together a SCUM type suspension for it, utilizing 4 prussiks along the hammock ridgeline, using the outer prussiks for pulleys, and the inner ones for adjustment points. Finally, here are some pictures for everyone to gawk.
One thing I was unsure of was the amount of loft that I would achieve with the overstuff I put into it. it seems like it just doesn't add up. so far, i've had it down to 40 degrees with no problem, but I'm anxious to see how it really holds up to the weather in the single digits. A matching top quilt is soon to follow, hopefully before the fall MAHHA in Gathland!!


 Reply With Quote


Bookmarks