


Okay all this is long overdue so here goes. Warning this will be long, but I hope a few of you out there can appreciate it. Once upon a time... Just kidding. Me and my father(Blackfoot) have been backpacking buddies for quite some time. One fateful night he came to me with a proposition. A proposition to end all sleepless nights in mice-filled shelters. His idea was to start sleeping in hammocks when we go backpacking. I loved the idea and he went out and bought a brand spankin new WBBB and a WB Tarp. I however, being a poor college student, cannot afford to spend hundreds of dollars on a brand new rig to go backpacking with, however I did like the idea. I've had some formal training in sewing(7th grade home economics) and decided it would be easy for me to whip up some awesome camping gear. Actually to my surprise I did quite well, saved a bunch of money and had some fun doing it. I ended up making myself(in this order) a tarp, hammock suspension, a hammock and finally an Insultex(IX) Underquilt. Reflecting on my experiences I would say that the tarp was the hardest to make. Im not sure if it was due to the relearning curve of sewing, or the fact that it has very little straight lines, a vast and expansive ridgeline to sew or the fact that sil is quite possibly the slippiest substance on earth. But after willing it into place with quite a few pins... It turned out great and I kept on crafting my gear. The first suspension I made was a marlin spike hitch - whoopie suspension. I used Knitting needles from walmart for the toggles and it worked great. Later on I met dutch and I completely reworked the suspension im using. The third thing I made was the actual hammock body because I was using an ENO single nest but found it to be too small for my 6'1 frame. Finally I made an underquilt when I found pads to be a hassle. I'll go into more detail about the specs of each piece, how much it cost me to make and how long it took below. Make sure to stick around for life lessons from Mr. Tinkr and lastly pictures!
I'd like to give a huge thank you to DIYGearSupply.com everything I built was by their plans and all of the supplies was also purchased from them. They have quality materials and good prices. I was often able to find seconds quality fabrics for much less cost. I'd also like to thank dutch http://dutchwaregear.com for teaching me that hardware is not evil and helping me outfit my rig with some great stuff to make life on the trail much easier.
The Tarp:
-1.1(uncoated) Silnylon. I used the seconds in grey and they worked great
-Zing-it guylines with diy tarp tensioners
-Zing-it ridgeline tie outs with Tarp Stingerz from dutch
-Seam sealed using a 60:40 mix of silicone caulk and white gas
-Wight incl. all guylines and stuff sack: 17.55 oz
-Cost: ~$60
-Project time: 6-9hrs
tarp plans
The Suspension v.2.0:
-~4ft tree huggers w/ TI dutch clips
-Whoopie slings w/ Whoopie hooks
-Continuous loops
-Weight: 4.6oz
-Cost: ~$30-40
-Time: .5-1hr
The Suspension v.1.0:
-~6ft tree huggers
-Toggles(Wallmart knitting needles)
-Whoopie slings
-Cost: ~$15
-Time: .5-1hr
Hammock Body
-1.1 ripstop (I also used seconds for this)
-Ends whipped with Zing-it
-Fixed ridgeline made out of dyneema
-Weight w/ stuff sack: 15.9oz
-Cost: ~$20
-Time: ~2hrs
hammock plans
Insultex Underquilt
-3 layer differental cut design
-Est. 35* rating
-1.1 ripstop shell(2nds)
-1/8 shock cord suspension w/ Dutch quilt hangers
-Weight: 14.7 oz
-Cost: ~$40
Time: ~4hrs
underquilt plans
Life Lessons:
For anyone who is unsure about hammock camping or creating their own gear. I would encourage you to do it! This is a great low cost way to get into hammocking. This finished product is a very versatile rig. All told for $150 and a sleeping bag you could have one of the most comfortable backcountry shelters out there. I love every piece of equipment I made. You'll rest extra-soundly knowing you created what you're using. You don't need a whole lot of skill or experience to get quality equipment, just patience. Be careful. The DIY Bug is lurking out there to claim its next victim. If anyone has any questions, feel free to PM me. If anyone has any complements, feel free to shower me below. If anyone has any complaints, I'm not sure why. But thanks so much for reading. Now the time everyone has been waiting for! PICTURES! sorry for the blur, but you get the idea.
The Tarp:
The Suspension v.2.0:
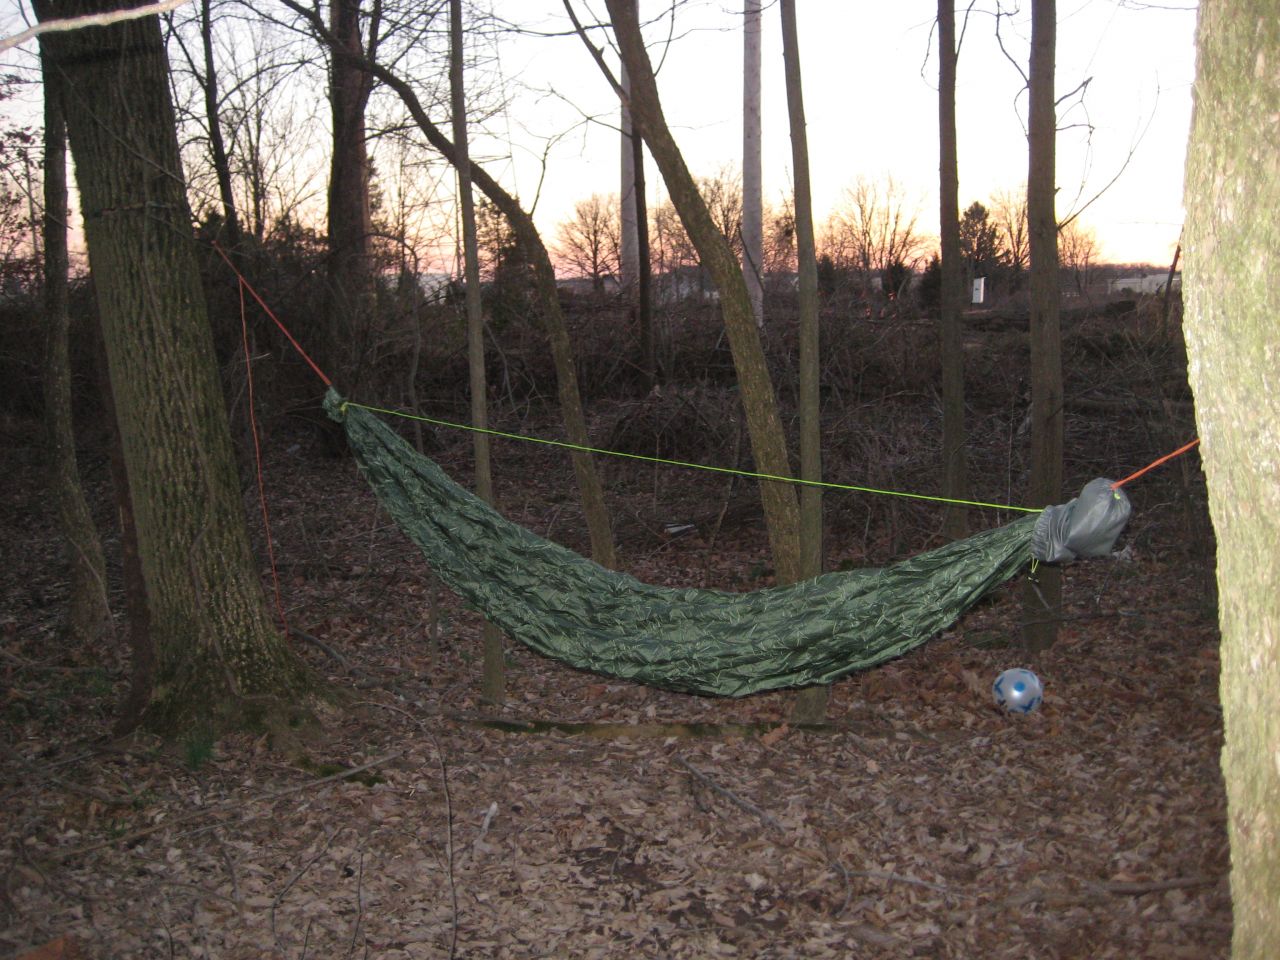
The Hammock:
The Underquilt:


 Reply With Quote


Bookmarks