Page 1 of 3 123 LastLast
Results 1 to 10 of 26
  1. #1
    Banned
    Join Date
    Dec 2011
    Location
    Rosenberg, TX
    Hammock
    DIY 12' Channel end
    Tarp
    HH Hex w/doors
    Insulation
    Underwoobie T/UQ
    Suspension
    RacerLoops w/Cinch
    Posts
    4,703
    Images
    8

    Steampunk Hammock Test Prototype

    Steampunk is a science fiction/art/cosplay genre that imagines a world where steam power is the ultimate in technology. Advances in steam power have rendered it so powerful and useful that there never was a need to develop electricity or internal combustion engines. It also imagines that this occurred near the end of the Victorian Age and most of the art and costumes of the cosplay crowd are vaguely Victorian in nature. What I'm trying to do its imagine that the current state of hammock "technology" occurred at roughly the same time: under and top quilts, structural ridge lines, double layer, webbing tree straps, etc. but made with period correct fabrics and styling.

    On a couple of other threads I've mentioned that I'm in the process of designing a Steampunk Hammock. In this thread I asked a question about sewing fringe, and got some very good advice to make some test shots trying different methods of attaching fringe to the sides of the hammock.

    As a Victorian era piece, the hammock would be adorned with all sorts of decoration and embellishments that we would find out of place in our hammocks today, and they would be made with natural fibers with no real consideration as to weight.

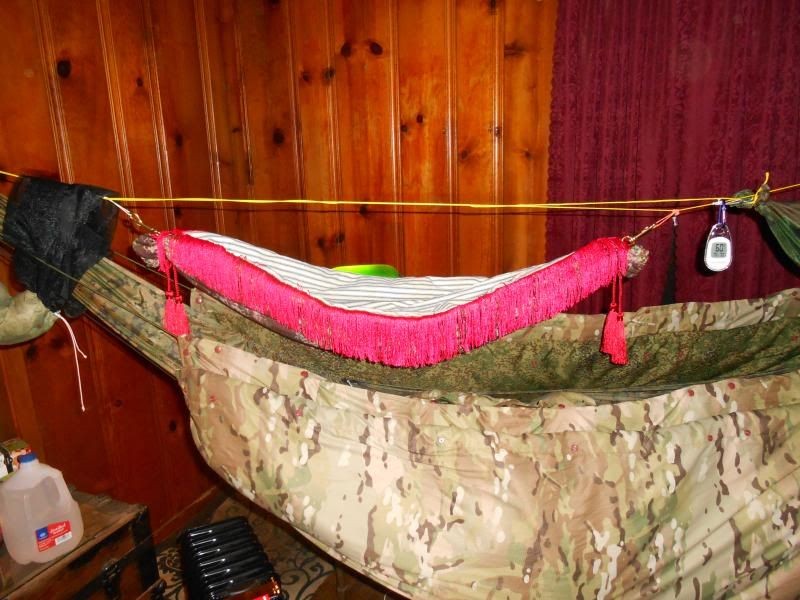
    The design includes a ridgeline gear hammock made in the same manner as the sleeping hammock, so I decided that in my test for fringe attachment, I'd make that gear hammock (just in case I got it right on the first try). The final product will be a 144" x 60" (before hemming and channels) double layer with an embroidered outer layer and an inner made of mattress ticking. I decided the gear hammock would be scale model of the final product. I found some remainder material that was 24" wide, so decided to make a 4/10 scale hammock (or close to that)I cut two pieces of material, the embroidered that would be the outer layer was about 24" x 48", while then inner layer of ticking was about 24" x 41". This allows the ends of the embroidered material to be folded over at the end to form the channel.


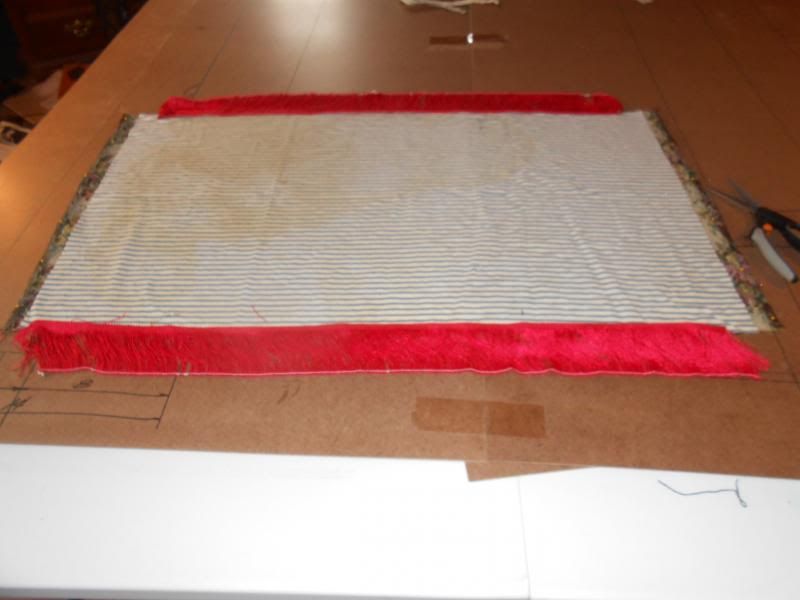
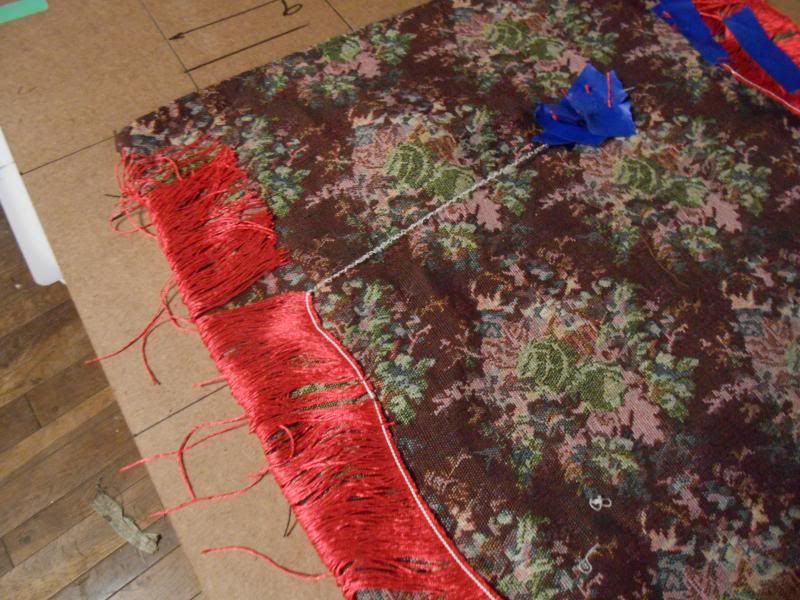
    I laid the fringe on them to measure and cut. I wasn't sure how far back from the end to cut as I didn't know how it would act when the gather was done, so I tried a couple of different distances.


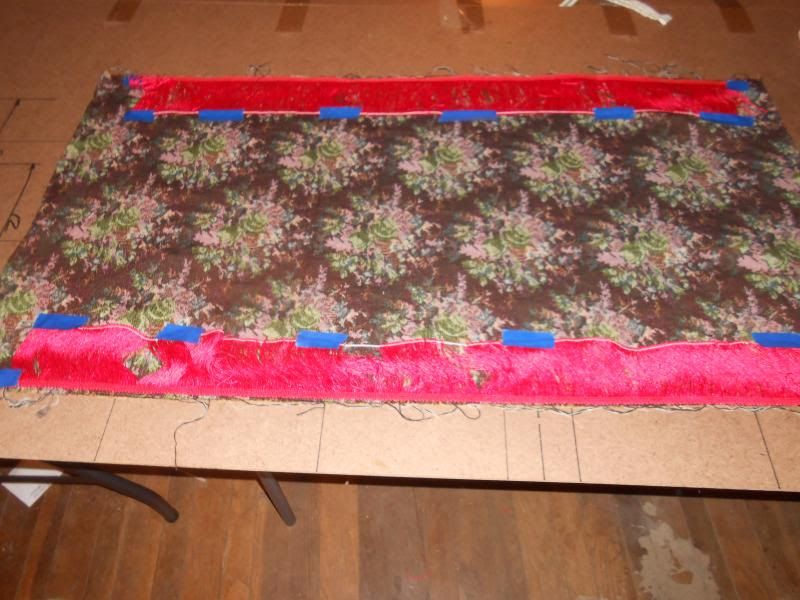
    This test was to see how sewing the fringe sandwiched between the layers would look. I hemmed the ends of the embroidered fabric, then taped the ends of fringe to the right side to make sure it stayed out of the way while sewing the hems along the sides.


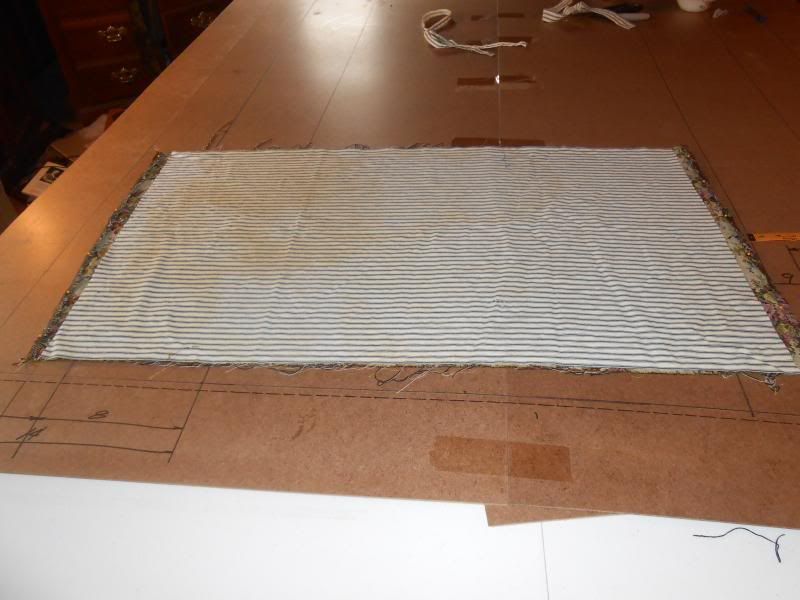
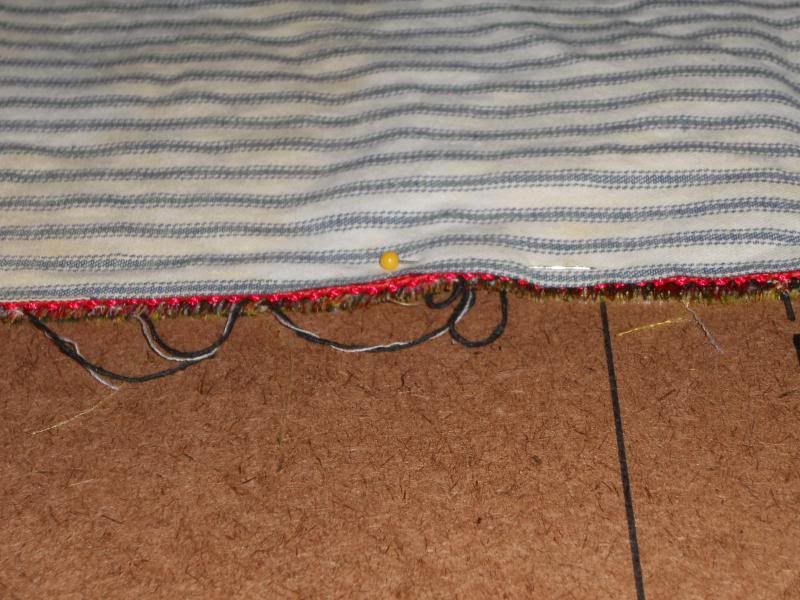
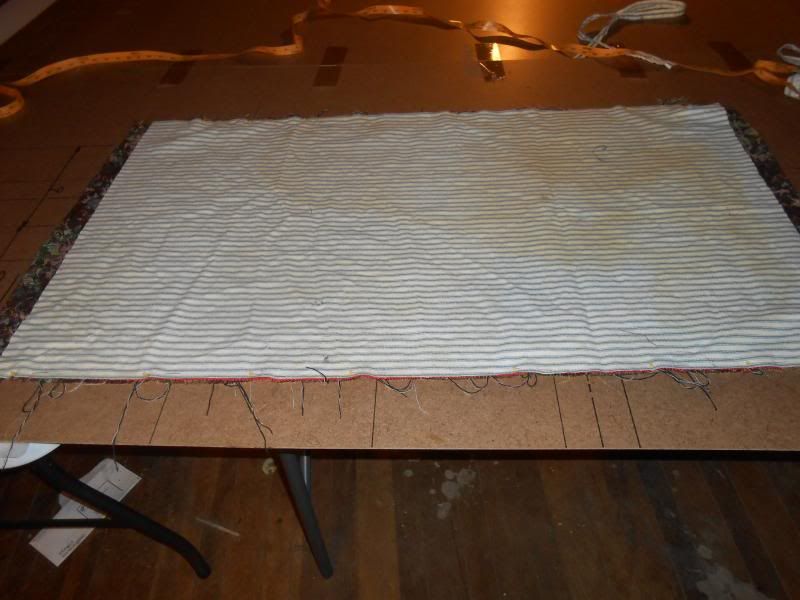
    Then I laid the ticking on, right side to right side and pinned a long the edges with the fringe sandwiched between.


    Then sewed the edges


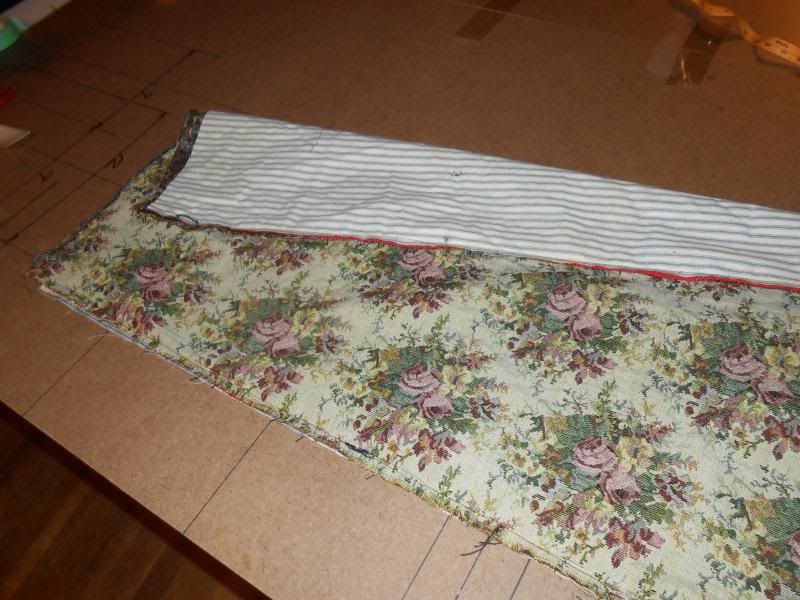
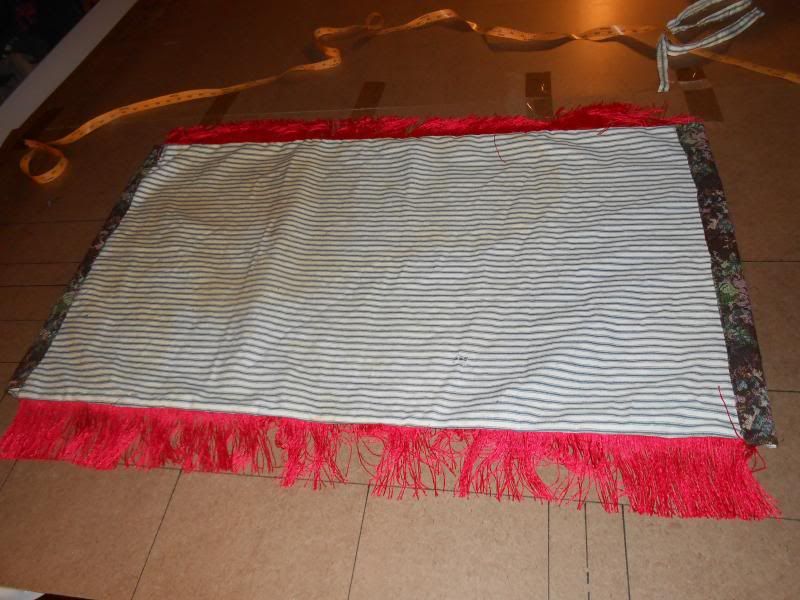
    Pulled it right side out and removed the tape and stitching at the ends of the fringe


    folded over the ends and sewed the channels


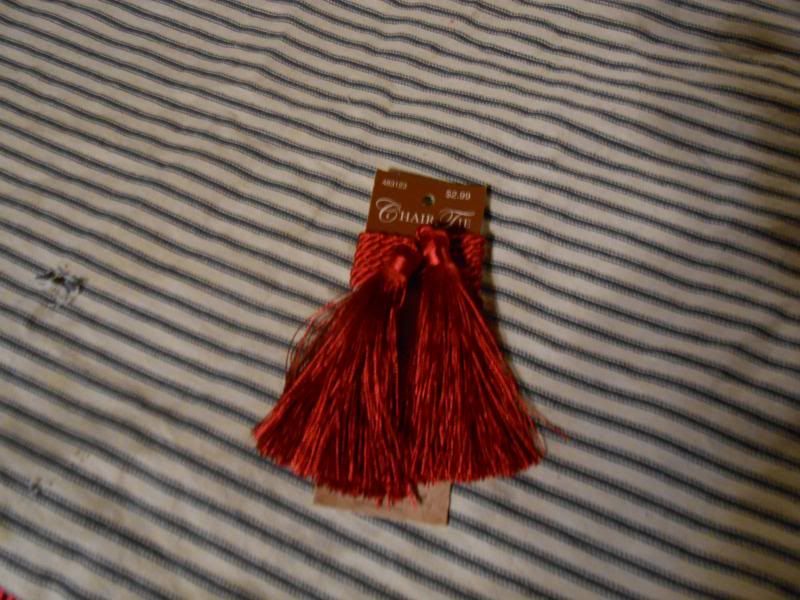
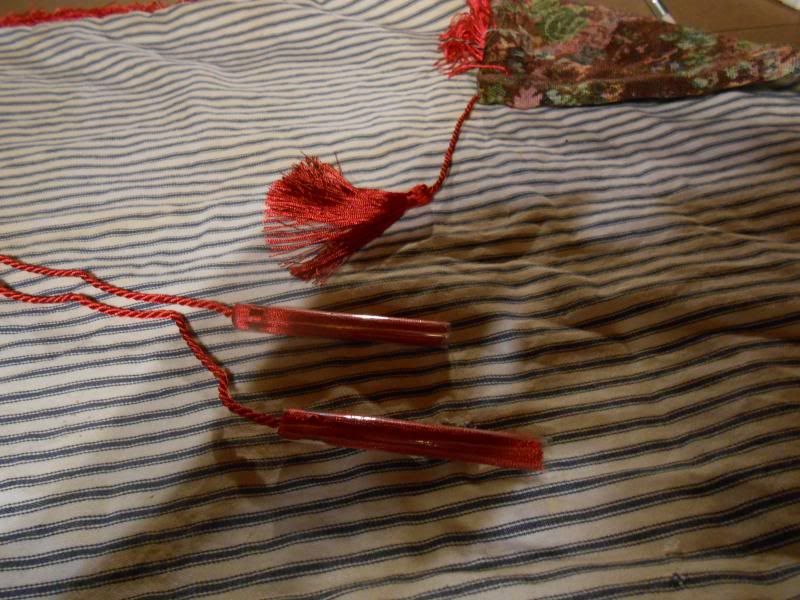
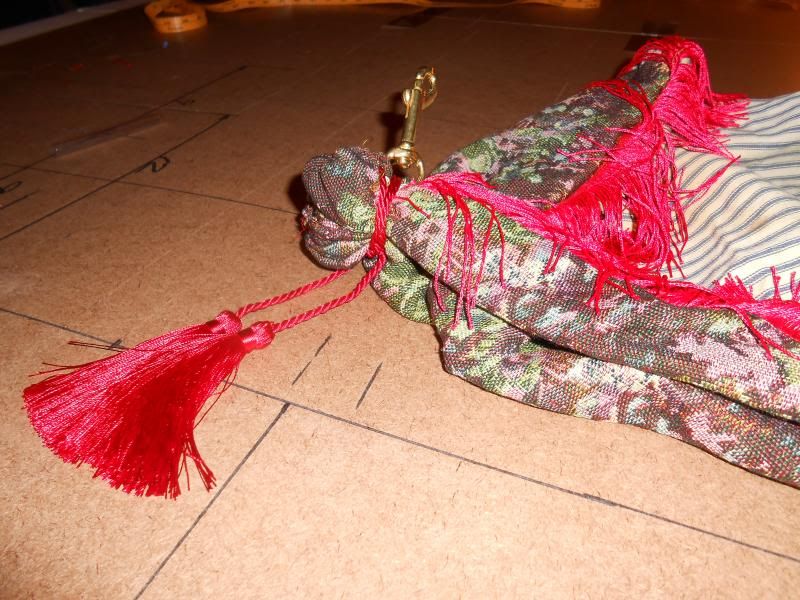
    I got some chair ties with red tassels on the ends and ran them through the channel


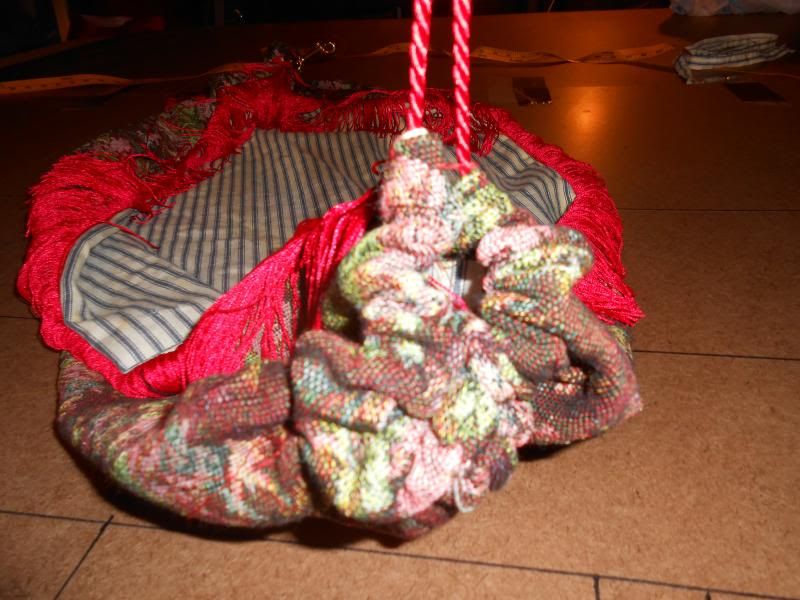
    Pulled them tight to form a ball, tied it around the ball and added some Victorian Dutch bling:


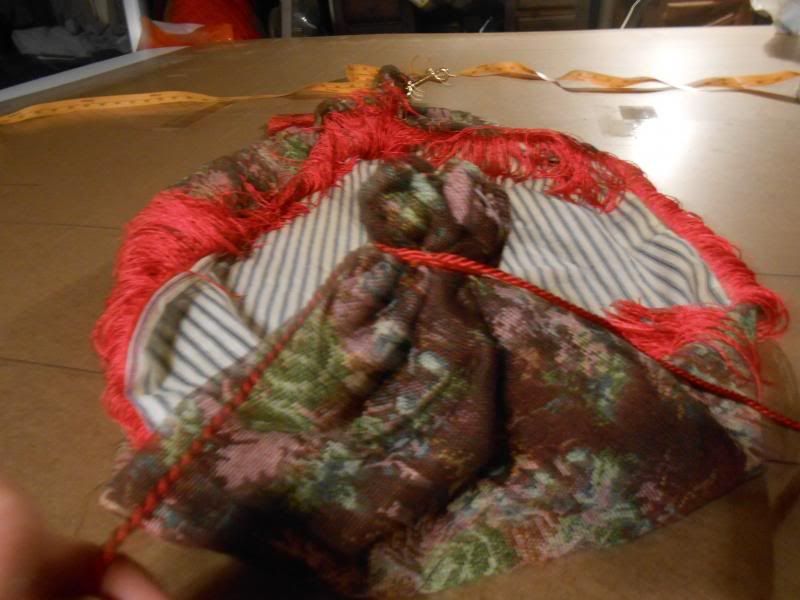
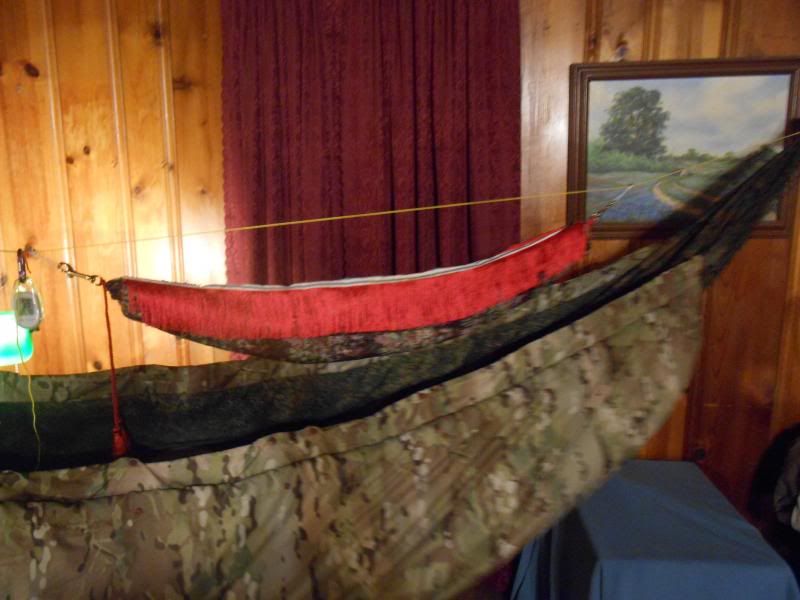
    Tying it around the ball made it hang kinda funky,


    so I untied the cord from the ball and just let it hang from the gathered end


    With full scale fringe instead of something 4/10 shorter you cant' see much of the hammock itself, but I think its going to be OK.

    Whaddya think?

  2. #2
    Senior Member MAD777's Avatar
    Join Date
    May 2009
    Location
    White Mountains, New Hampshire
    Hammock
    DIY, WBBB & Switchback
    Tarp
    HG cuben,OES Spinn
    Insulation
    DIY 3/4 UQ/TQ, UGQ
    Suspension
    Dynaglide / Dutch
    Posts
    10,950
    Images
    39
    Quite the imagination, Sarge! And it came to life nicely.
    Mike
    "Life is a Project!"

  3. #3
    Banned
    Join Date
    Dec 2011
    Location
    Rosenberg, TX
    Hammock
    DIY 12' Channel end
    Tarp
    HH Hex w/doors
    Insulation
    Underwoobie T/UQ
    Suspension
    RacerLoops w/Cinch
    Posts
    4,703
    Images
    8
    Quote Originally Posted by MAD777 View Post
    Quite the imagination, Sarge! And it came to life nicely.
    Wait until you see the lighting and air-conditioning system.

  4. #4
    Senior Member olddog's Avatar
    Join Date
    Jan 2011
    Location
    Lakeland, Fl
    Hammock
    WL Snipe
    Tarp
    WL Tadpole
    Insulation
    WL SS UQ, WL SS TQ
    Suspension
    Dutch speedhooks
    Posts
    4,324
    Images
    3
    Looking good sarge.
    Most of us end up poorer here but richer for being here. Olddog, Fulltime hammocker, 365 nights a year.

  5. #5
    Senior Member Dead Man's Avatar
    Join Date
    Jan 2013
    Location
    Clinton, MS
    Posts
    2,000
    Images
    1
    That's really amazing. The full scale hammock should look amazing. Hope it lays nicely. If it does, you could have a niche market selling to some of the high end bourgeois set who might otherwise see hammocks as common. I'll be glad to help you market them.

  6. #6
    Senior Member Brady's Avatar
    Join Date
    Mar 2013
    Location
    Full time digital hammock nomad
    Hammock
    Warbonnet Ridge Runner
    Tarp
    HG Cuben Standard
    Insulation
    Burrow
    Suspension
    Warbonnet Straps
    Posts
    662
    Now you just need the olive wool boreal shirt from Lester River Bushcraft to match. Though the colors aren't going to the olive wool has a great nod to steampunk. Oh no, I went to get the link and they're not listed anymore...darn...I been meaning to buy one.
    Brady

  7. #7
    Banned
    Join Date
    Dec 2011
    Location
    Rosenberg, TX
    Hammock
    DIY 12' Channel end
    Tarp
    HH Hex w/doors
    Insulation
    Underwoobie T/UQ
    Suspension
    RacerLoops w/Cinch
    Posts
    4,703
    Images
    8
    I'm going to make a wool blanket top quilt based on my Underwoobie design. It will have a faux leather edging on it with a draw sting end and a muslin liner that can be taken out and washed.

    The underquilt will be similar except using tea dyed canvas outer shell and a quilted osnaburg inner.

    The "leather" I've found is pretty expensive, but its supple and works like cloth---not like upholstery faux leather.

    I've still got to figure a way to conceal the Amsteel ridgeline. I'm looking for a gold colored sash cord that I can take the inner core out of, but without any success. I may just end up using more tassel fringe.

    There's also going to be a "valise" to carry it all in.

    Probably need a couple of native bearers to carry it though.

  8. #8
    Senior Member gospidey's Avatar
    Join Date
    Sep 2011
    Location
    Fort Worth, TX
    Hammock
    WB/Ridge Runner
    Tarp
    Winter Palace.
    Insulation
    Lynx
    Suspension
    Straps/cinch bkls
    Posts
    264

    Thumbs up

    So, breakfast in the hammock would be tea and scones? Don't forget to extend your pinkie when sipping your Earl Grey.

    Seriously, Sarge you are one interesting fellow. Looking good!

    Now we need someone to make a Buck Rodgers hammock.

  9. #9
    Senior Member grannypat's Avatar
    Join Date
    Mar 2012
    Location
    In the woods outside of Westminster, SC
    Hammock
    DIY, Dutch Argon
    Tarp
    Squidbilly/Tadpole
    Insulation
    20 Incubator,WL SS
    Suspension
    whoopies, MSH
    Posts
    3,069
    To conceal the ridgeline make a light fixture cord cover: https://www.etsy.com/listing/1806277...?ref=related-0
    Keep movin', keep believing and enjoy the journey!

  10. #10
    Senior Member
    Join Date
    Sep 2011
    Location
    Statesville, NC
    Hammock
    DIY Bridge
    Tarp
    Old Man Winter
    Insulation
    Balloons
    Suspension
    Whoopies
    Posts
    465
    Quote Originally Posted by sargevining View Post
    I've still got to figure a way to conceal the Amsteel ridgeline. I'm looking for a gold colored sash cord that I can take the inner core out of, but without any success. I may just end up using more tassel fringe.
    What about beads, at intervals, strung on the Amsteel. Each bead could be tied to a location on the ridgeline by simply making a thread loop through the amsteel to keep it in place. For each bead, stitch through the amsteel at one end, loop around the bead, stitch through the amsteel on the other end of the bead. The locator loops could be fine black thread, almost invisible, or they could be larger and decorative.

    You could also try "dyeing" the amsteel by coloring it using metallic gold crayon or glitter.
    I love the unimproved works of God. - Horace Kephart

  • + New Posts
  • Page 1 of 3 123 LastLast

    Similar Threads

    1. Hey, who remembers this CS XP UQ Yeti prototype test?
      By BillyBob58 in forum Under Quilts
      Replies: 2
      Last Post: 09-09-2014, 18:20
    2. Steampunk Hammock Sneak Peek
      By sargevining in forum Do-It-Yourself (DIY)
      Replies: 14
      Last Post: 09-05-2014, 14:22
    3. Steampunk Hammock Project ---- Top Quilt
      By sargevining in forum Top Insulation
      Replies: 29
      Last Post: 04-23-2014, 18:46
    4. Bridge hammock prototype
      By Mundele in forum Do-It-Yourself (DIY)
      Replies: 15
      Last Post: 09-12-2012, 19:10
    5. Prototype Hennessy Hammock
      By TheQueen in forum Do-It-Yourself (DIY)
      Replies: 16
      Last Post: 03-01-2007, 17:03

    Bookmarks

    Posting Permissions

    • You may not post new threads
    • You may not post replies
    • You may not post attachments
    • You may not edit your posts
    •