


Seeing as this is my fifth DIY hammock, I figured Id try to take notes about what I am doing, so I (or someone else) may be able to repeat the process if it comes out well.
This is still a WIP. I have integrated several elements from hammock designs I have seen on hammock forums.
The bug net, shelf, and footbox (a la WBBB XLC) can be zipped off, and stowed in a self closing peak bag at the foot end.
The structural ridge line is fixed (not adjustable), but it is able to be removed at the head end, and the line can be stowed in the foot peak bag as well if desired. Note: Dont try to use the bug net without the ridge line intact.
Instead of making another two layer hammock, I decided to make this one a single layer with 1.9oz coyote from ripstropbytheroll.com
Parts list:
4 yards of noseeum
< 7 yards of 1.9oz ripstop (60+ wide) [A double layer would take @ 11 yards]
12 yards 1 grosgrain
< 1 yard grosgrain reflect
24 feet YKK Zipper coil #3
3 each YKK Zipper pulls, double tab
6 each Slimline Zipper Pull /Cord End
2 mitten hooks
5 feet 1/8 Shock Cord
25 feet 7/64 amsteel blue
2 zip ties
lash it for temporary whipping and for prussiks
glow wire for tie out lines and zipper pulls
Gutermann Mara thread
1 line lock 3
1 pack hook
Method:
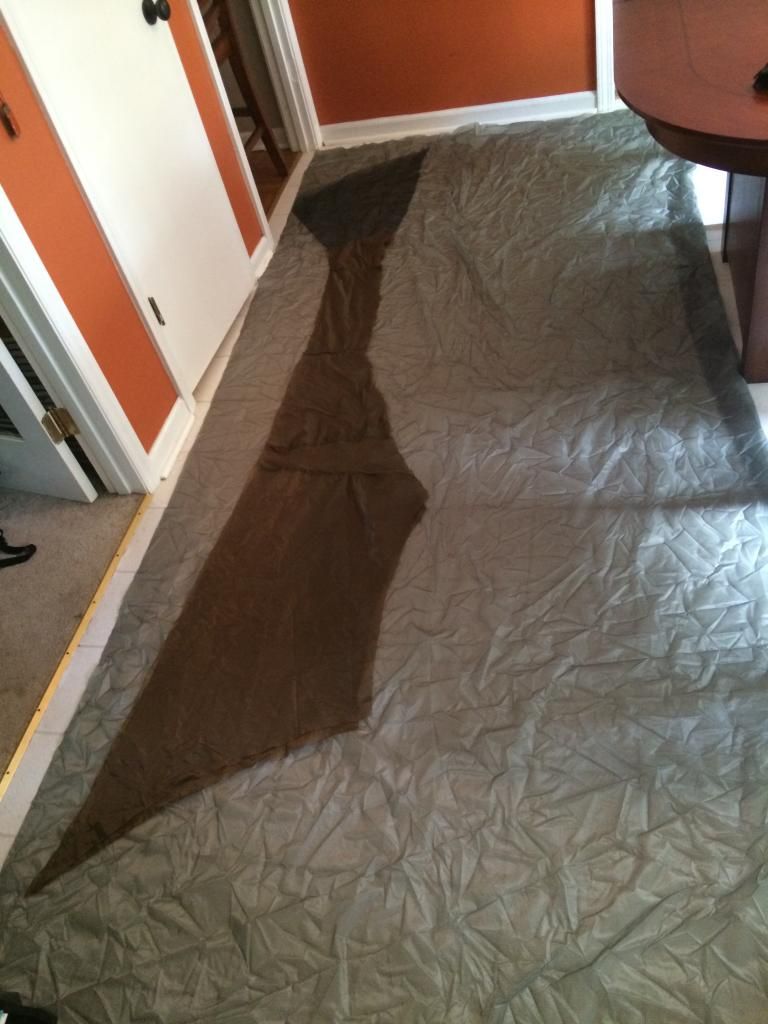
1. The shelf/footbox wing. The correct dimensions on this piece is critical. So much so, that I decided to make it first, and then work backwards to the hammock body. Using the 9 foot (ridge line) WBBB plans found HERE as a template for the side panel, footbox/shelf and patch pieces:
, I cobbled together these pieces using scrap pieces of noseeum and ripstop I had lying around. When the wing (and reinforcement patch) was assembled, I measured the edge that will attach to the hammock body, and it came to 132.5, which should be just about perfect for a 135 body, with a 1 channel at each end.
Note: At this point, I also made a second piece of ripstop to match the shelf portion, and set it aside, to be used in step 3 below.
Photo: The 'wing' is laid out on a piece of gray 1.1 ripstop.
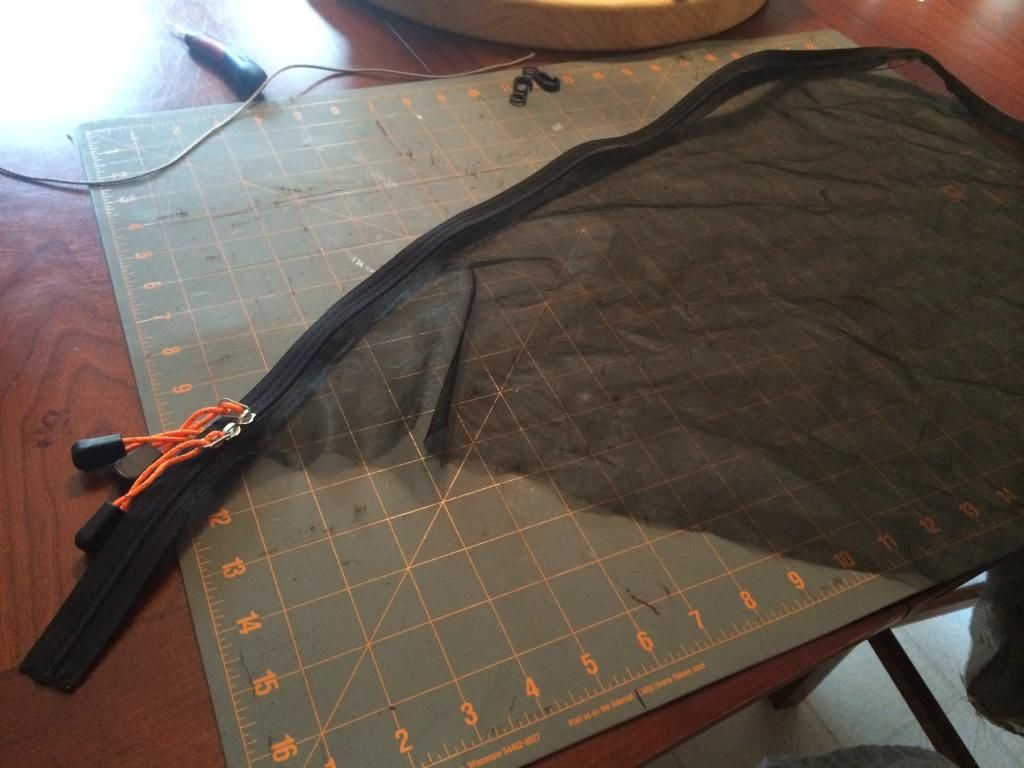
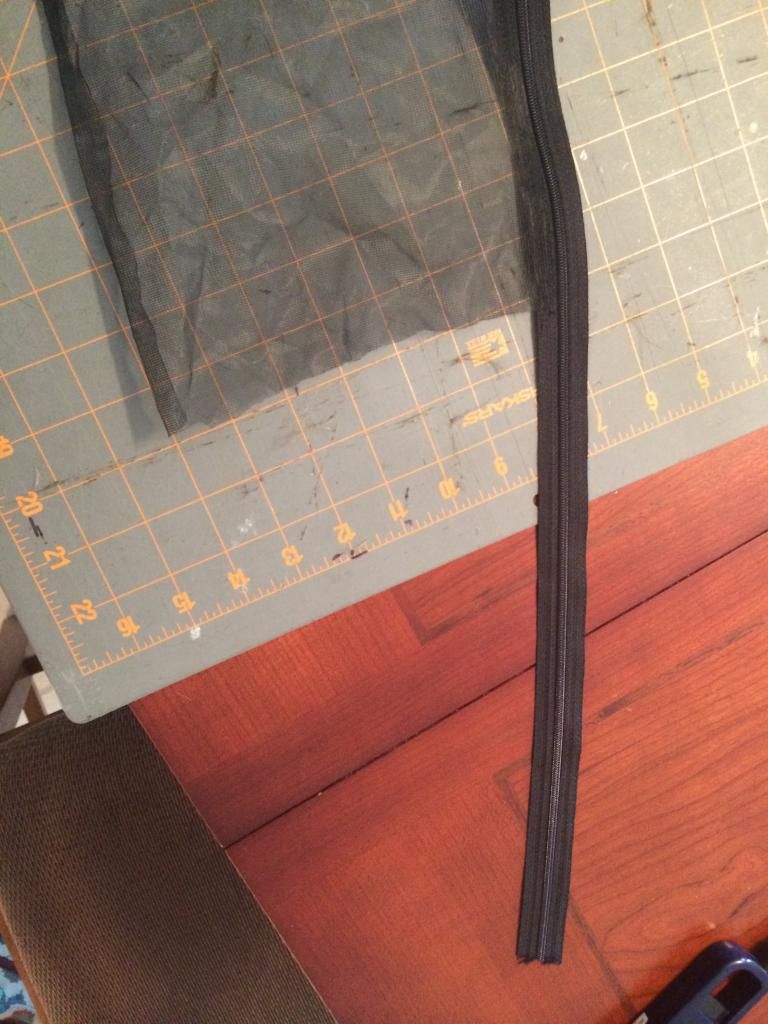
2. The zipper. Because I want the bug net, shelf, footbox, and side panel all to be one piece, and able to zip off, and stow at the foot end, I started by attaching the zipper to the footbox side of the wing first. Leaving about four inches of zipper hanging off the end, I rolled the rough edge that attaches to the hammock under 1/4, and sewed them together using a zipper foot. Once it was sewn, I went back and reinforced it with a second line of stitches. I butted up the side panel piece of noseeup to where the shelf ended and attached it in the same way.
Photo(s): Zipper is attached to 'wing' and side panel. Excess zipper is not removed until after being attached to hammock body.
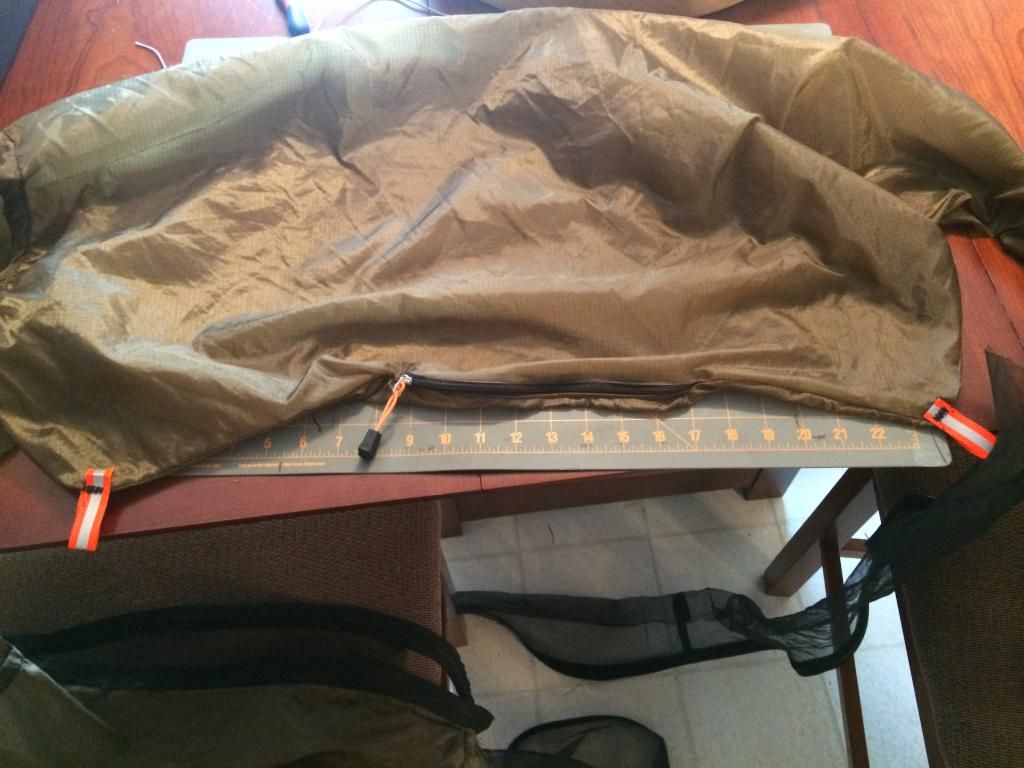
3. Shelf top. This step is completely optional, but I wanted the layer covering my shelf to be ripstop instead of noseeum. I also wanted zipper access to the shelf from the outside. In a nutshell, I sewed the two layers together inside out. If the zipper is sewn on the inside edge of the wing, the piece needs to be with the zipper teeth up (visible). Lay the extra shelf piece on top of the first, and pin it (optional). Starting at the tie-out points, and heading towards each end, sew both pieces together. Once both sides are sewn together, you can install a short zipper between the two tie-out points. Once it was all sewn, inverted it, so the rough edges and stitching are folded inside.
Photo: After sewing and inverting, the tie out corners are fitted with 3" loops of reflective grosgrain to form tie out loops.
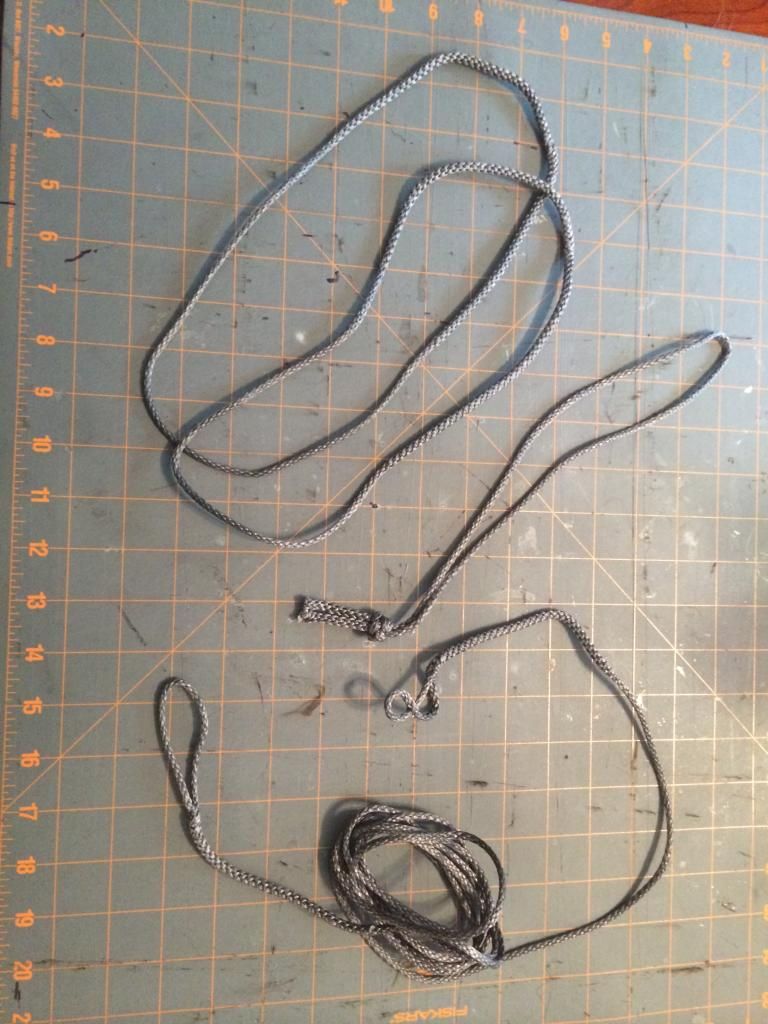
4. Ridgeline/Suspension. I made a pair of 12 amsteel continuous loops for the suspension.
For the ridge line, I first took a 40 piece of amsteel, and back spliced both ends. Then I tied a lanyard (or diamond) knot in the end. This will be whipped into the head end of the hammock, and act as a stopper knot for a soft shackle attachment. Next, I made the soft shackle with a 4.5 bury and 2 adjustment loop.
Photo: suspension loops, lanyard knot and ridge line with soft shackle attachment and McDonald Brummel.
Knowing that I wanted the total length of my ridge line to be 108, I attached the soft shackle to the lanyard knot, then measured from the end of the lanyard loop to 115.5. At the far end I made a McDonald brummel with a 3 loop. Before I do the last bury I make sure to measure and ensure that end to end, the ridge line is 108.

 Reply With Quote
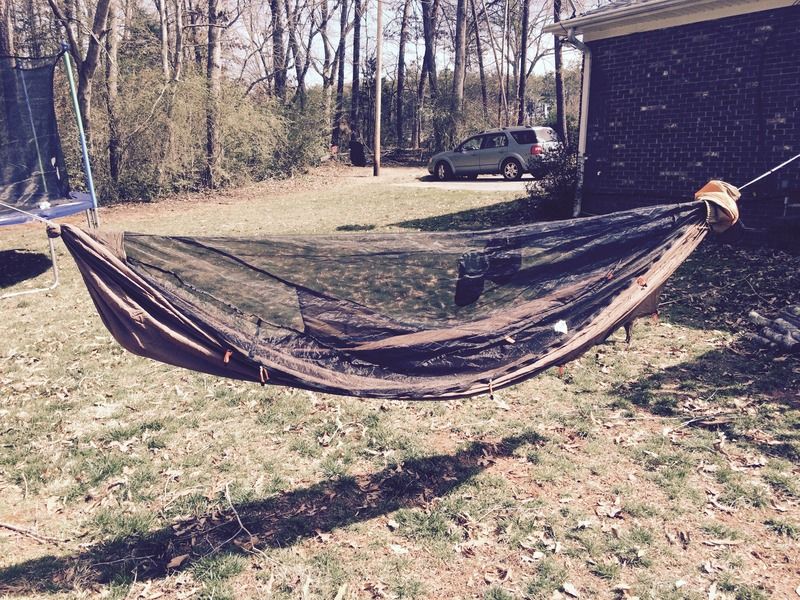


Bookmarks