


It only cost me $18 and 45 minutes of my life to build this hammock. BEST. INVESTMENT. EVER. I am a long time backpacker and rock climber. I figured, if I learn the basics of safe tree climbing and if I can get my hands on a hammock then my overnighters into the woods will become a lot more thrilling. I was right!
-
-
-
TRIP #1
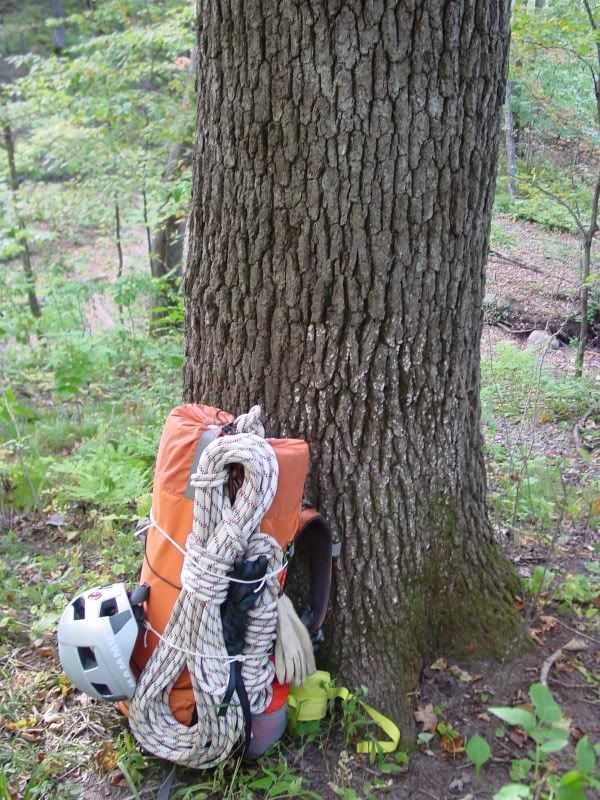
First, choose a sturdy tree!
Second, climb it.
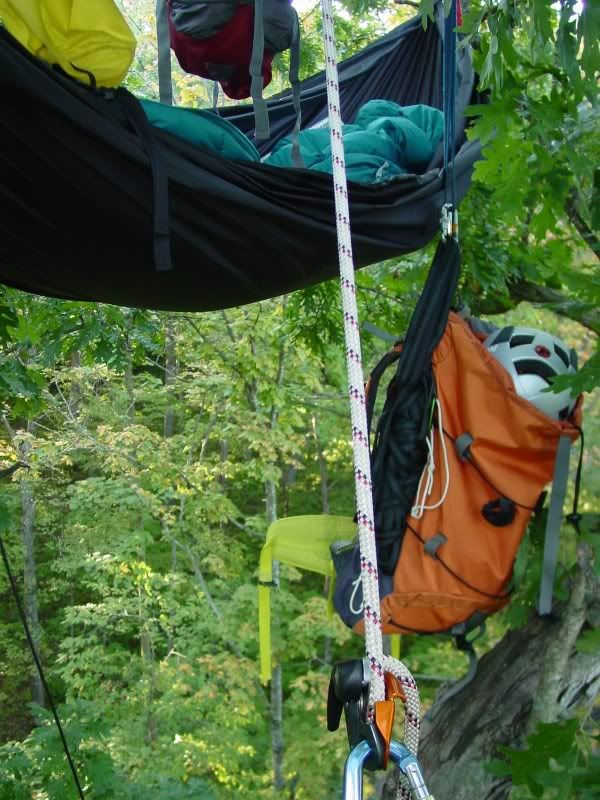
Third, set up camp.
Fourth, sleep safe and wake up 50 feet closer to the sky!
Fifth, actually this one should have been first because SAFETY FIRST! I was tied onto the tree 100% of the time, even while sleeping. I was very happy to find out that my 30 degree sleeping bag and a Ridgerest was enough to keep me warm down to the 28 degree temperatures that night.
-
-
-
TRIP #2
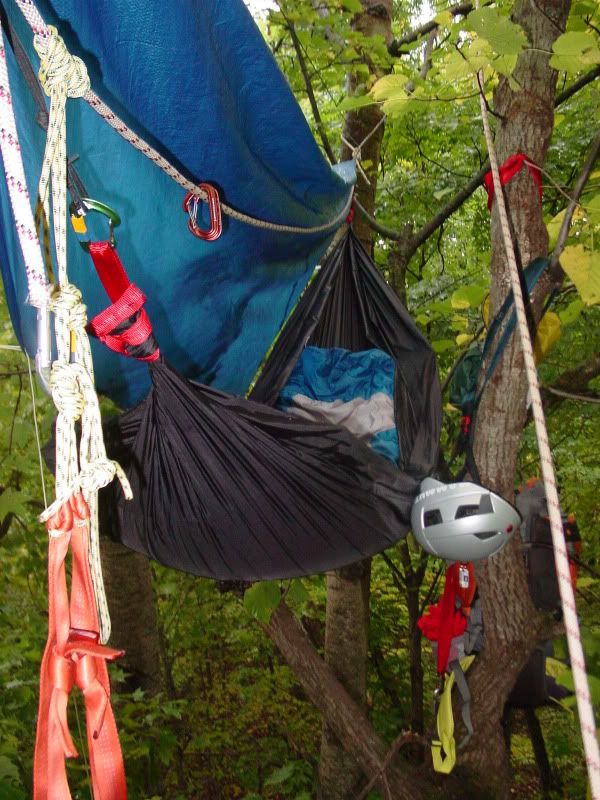
Here is my campsite. I was planning on ordering a silnylon tarp after this trip but the $9 poly tarps really come in handy when you have to cut random holes in your tarp to pitch it in ackward situations.
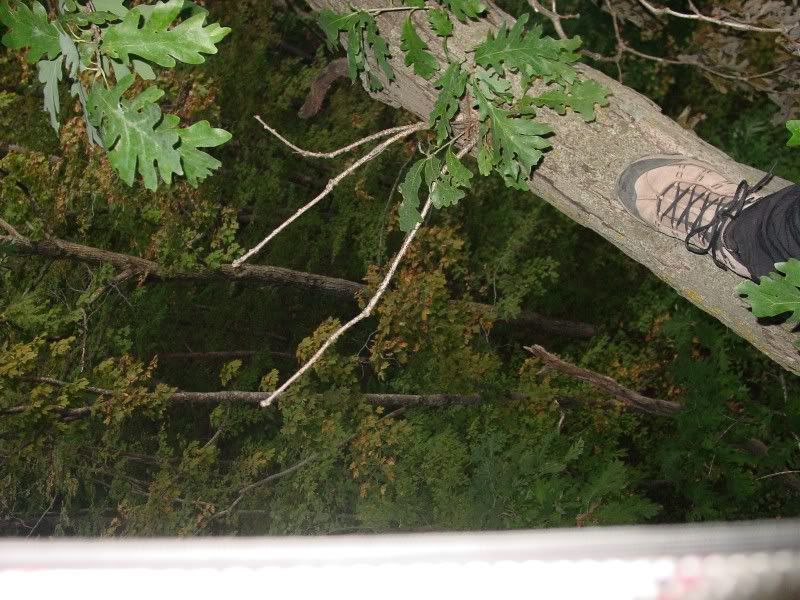
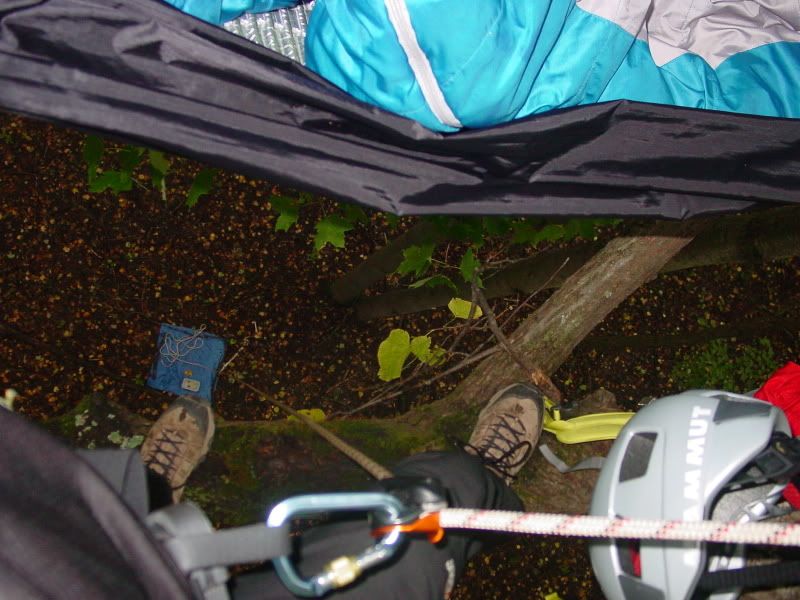
This shows the 52 feet of nothingness under my hammock.
The blue square tarp on the ground is directly underneath my hammock. It was used to keep the tail of my climbing rope clean.
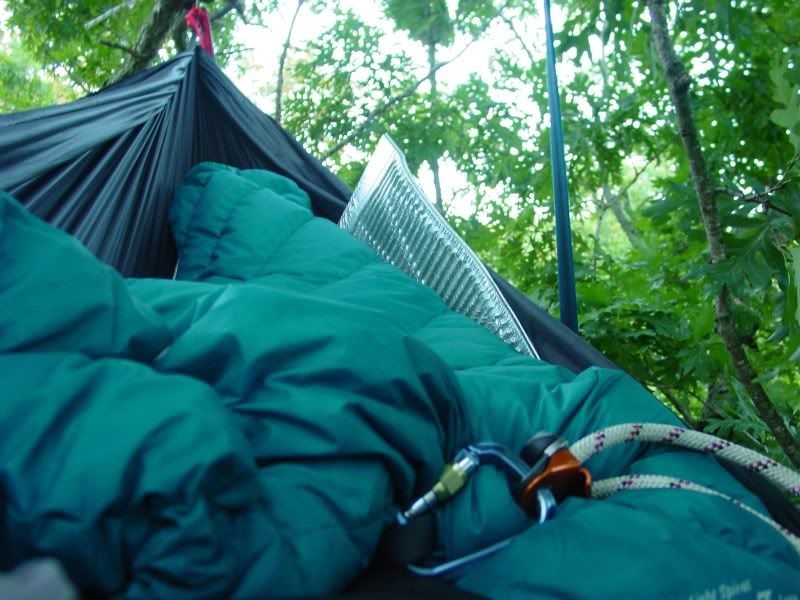
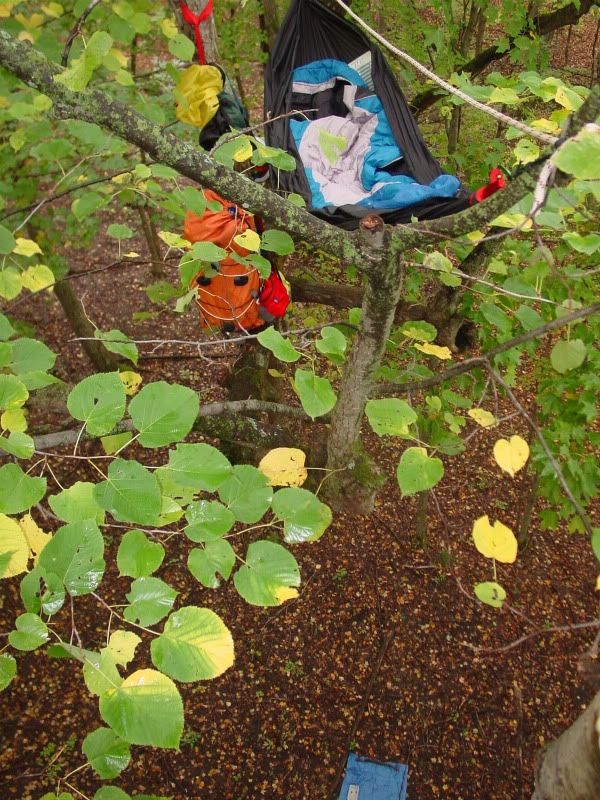
And one last picture! This was my view while eating breakfast.
-
-
-
For any of you veterans that hammock high in the trees please feel free to give me constructive criticism for my future excursions. I hope you guys enjoyed the pictures!


 Reply With Quote
Bookmarks