


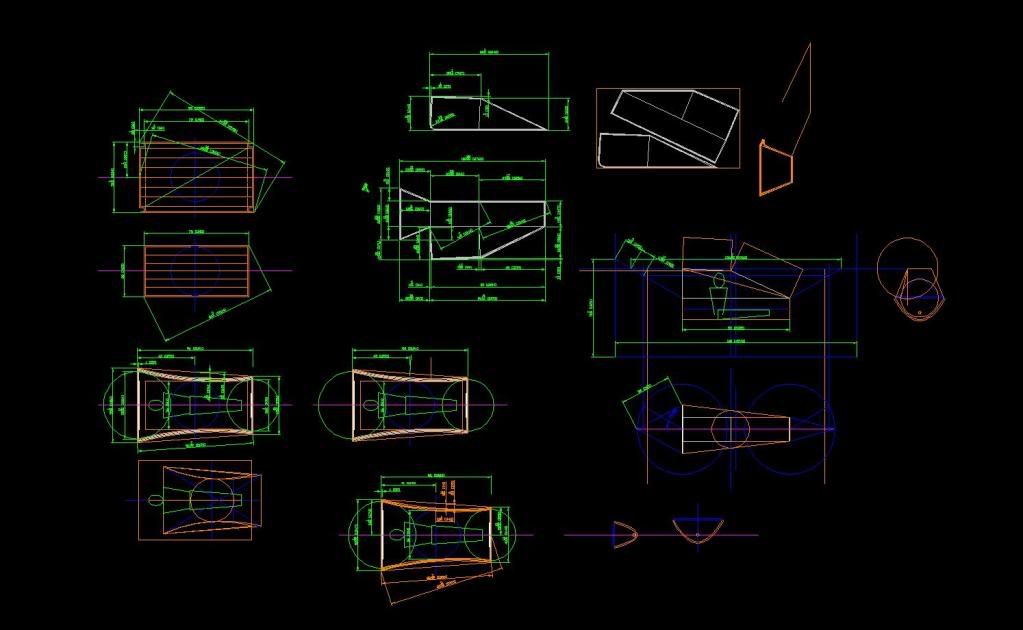
I've been working on a bridge hammock design ever since I saw GrizzlyAdams very cool design at a meet at Loch Ken last year, (with Grizz guiding me via pm), I made a full size mock up from some sail ripstop I had available, just to try out various ideas and dimensions, from that I created this design.
I used simple non coated rip stop from a kite building site, its light but its not soft, it crackles if you know what I mean, luckily it didn't bother me while I lay in it.
Finished dimensions are;
Length = 80"
Head width 50"
Foot width 38"
Depth of hammock 16"
There's a 6" curve on the sides, nothing special, I used a section of plastic pipe, which makes the waist at its smallest 36"
Spreader bars; 36" at the head, 18" at the foot. (with the parabolic curve I used it makes the foot end quite tight, I will increase the width to perhaps 42" for the next one, and maybe increasing the spreader bar to 20".
BTW sewing parabolic curves is a total pain in the rear, I ended up sewing a seam at the 1" mark, which is fairly easy, and then doubling the fabric to create the final seam, (not fun)
At each corner I beefed it up by sewing up a rectangular section of mat'l into a tube and then flattening them and sewing them in all around and crossed, this would be where I mounted the webbing straps.
I took a 12" section of webbing (its personal safety rated) halved it and sewed it up at the 3/4" mark and the end, then used 3 bar tacks to connect it to the hammock.
As you can see I used Autocad to design it (I’m a mechanical engineer)
I wanted to try it out this weekend at a canoe camping weekend I had arranged with a few friends, see Shewies post
http://www.hammockforums.net/forum/s...ad.php?t=14078
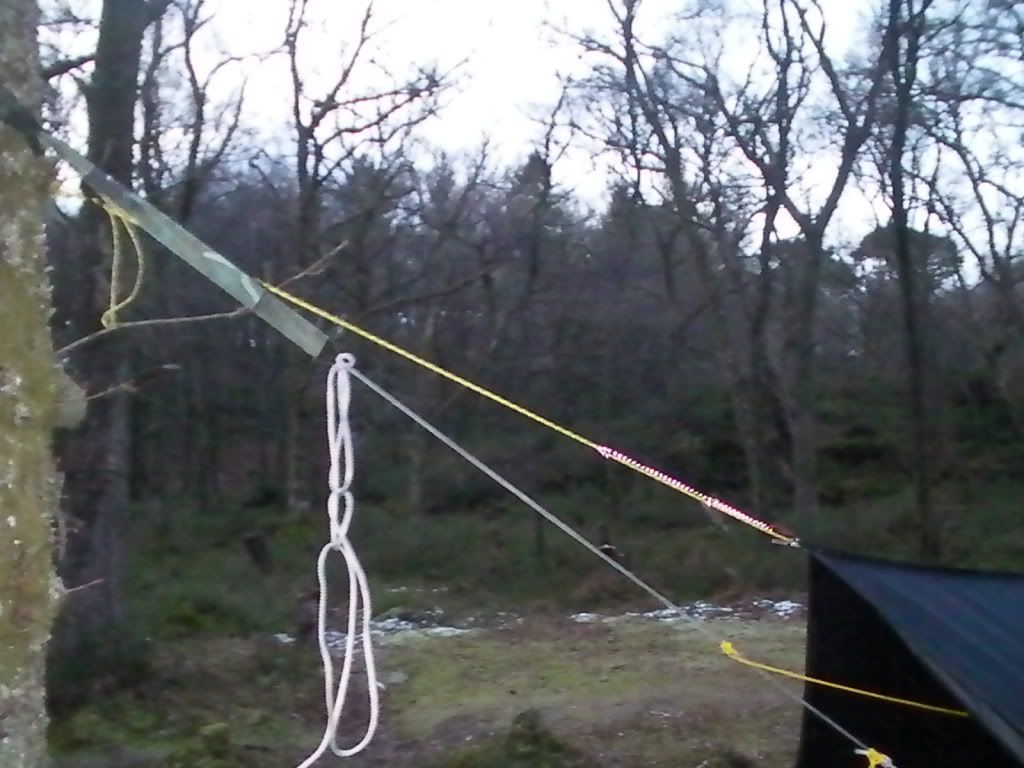
So I fitted a rudimentary suspension rig on it, using some amsteel blue I had kicking around, I ordered some Easton poles from Quest outfitters (Thanks Grizz for the link) to use as separator bars, and I was ready to rock, (but not too much, I hope).
Suspension
Head end
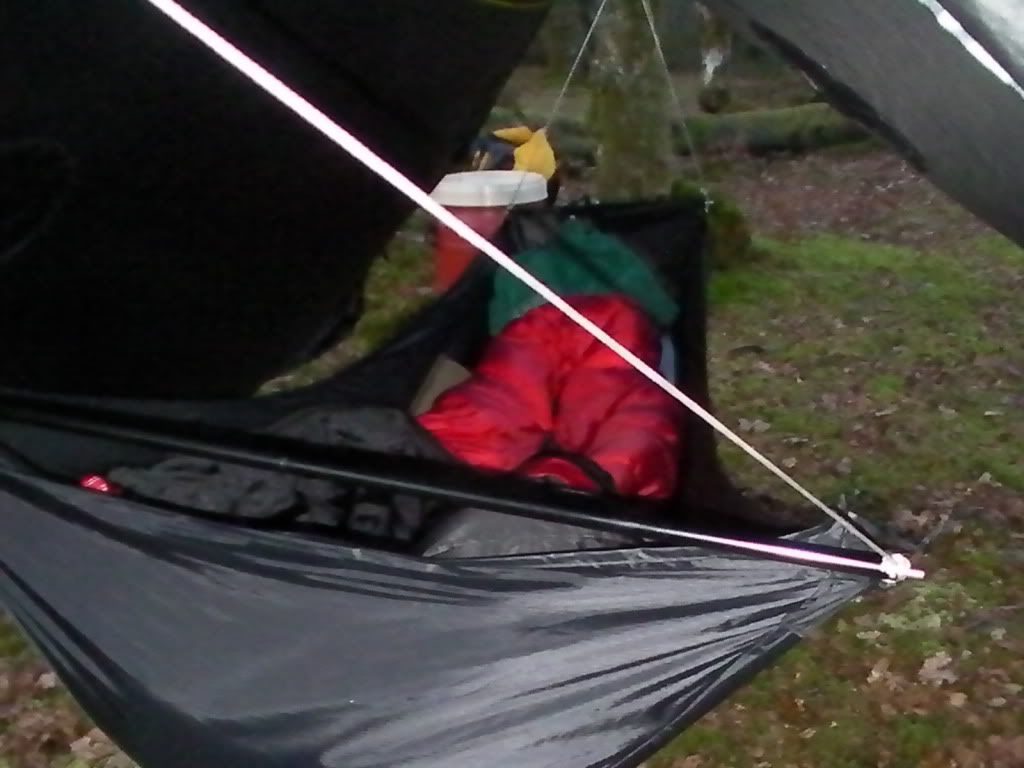
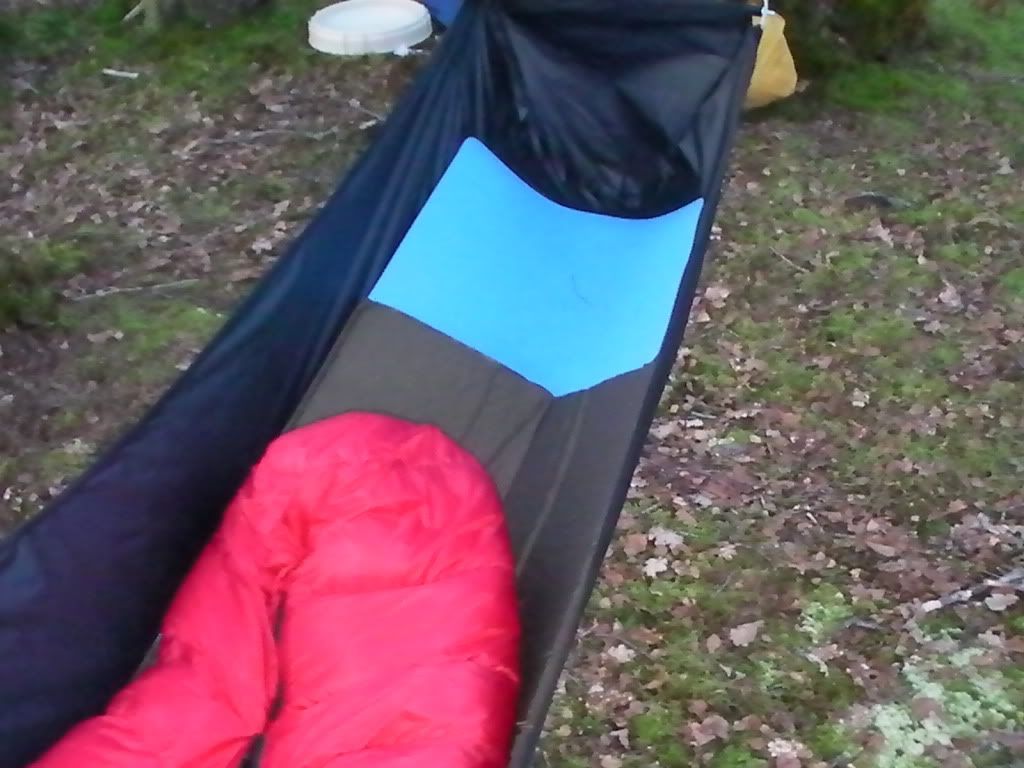
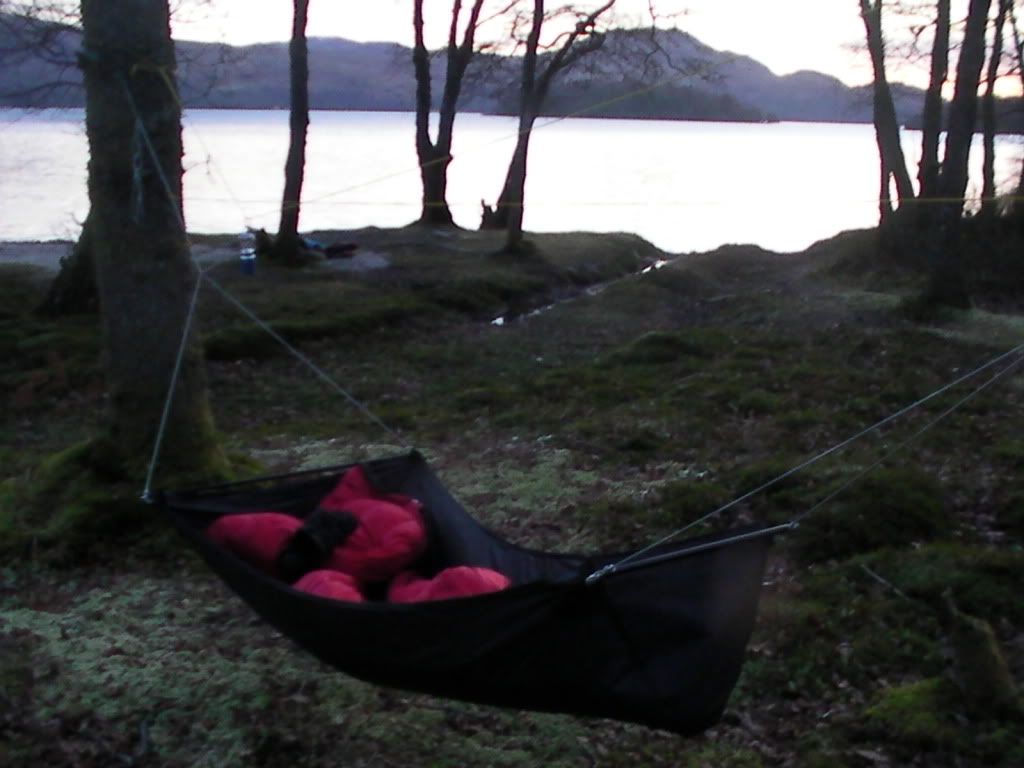
I wanted to try out the pad I'm taking to the Artic in a couple of weeks its supposedly rated to -60c, so used that plus an old 3/4 length thermarest (just as a safety) as insulation, it got well below freezing both nights, and I was fine.
The second morning, btw Bridge Hammocks need to be set lower just so you can get into them !, on Friday night when I set it up I did my usual, as per my Blackbird, my bridge doesn't curve down, I couldn't get into itI had to totally reset it.
And finally the bridge packed, no tree huggers
Next stage is a midge net for the summer and a cold weather covering, you can see the layout on the Autocad drawing, three sides will have 10mm velcro, while the forth will have a zip for exit/entry, the velcro will probably be backed up with a few toggles, haven't finalized that bit yet.
It will use 2 spreader bars 18" wide, using 6mm aluminium tube (which will fit inside the header spreader bars) and the constant distance cord (yellow cord) to hang from, this should create a 3d space I can sit up in.
Cheers
Stephen
Any questions or close up photos needed let me now.

 Reply With Quote


 , it stopped, and I had time to think "that's not good" then ripppp, thump as I landed on the deck, I had slung it pretty low so there was only around 300mm (12") to go
  .
.


Bookmarks