


At the Red River Gorge Hang Out GrizzlyAdams brought his Warbonnet El Dorado (WE) and set it up for everyone to see. The WE has a very unique design and I was intrigued from the first time that I saw it; Not long after that I contacted warbonnetguy (Brandon) and got one from him. After placing the order with Brandon, he sent me these setup instructions:
An external RL is all well and good, and would work just fine, but I wanted something on the inside of the hammock because not only would an internal RL help in setting up the hammock, but it's also great for storage and hanging things. After receiving the hammock, checking out the ends, and some more correspondence with Brandon about his whipping technique, I found a way to add the internal ridge line.Originally Posted by warbonnetguy
This tutorial will show 2 methods of adding a internal structural ridge line to a Warbonnet ElDorado (WE) hammock: One method will show you how to fish the ridge line through the whipping and the second method will show you how to take apart the whipping and add a ridge line that way.
Both methods of adding the ridge line (RL) are pretty simple, but the first method, fishing the cord through the whipping, is the easiest and the quickest of the two.
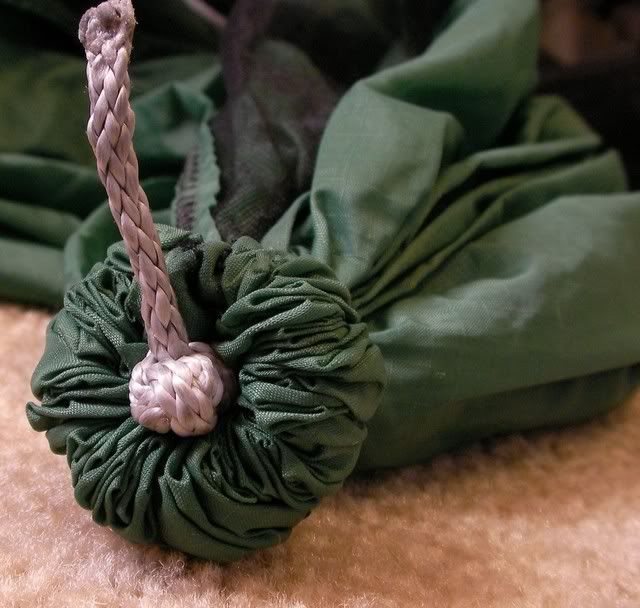
For both methods I will be using Amsteel 7/64 Spectra for the RL cord and I will be making use of the double overhand knot (DOK). You will also need to remove the suspension line to reveal the mason line whipping (pictured below). I will go in depth on the whipping in method 2.
Method 1: Let's go fishing...
This is the easiest, quickest method, but you will have to be dealing with fairly thin (probably 3mm or less) cord to be able to fish it through the ends of the hammock. If you are using larger diameter line you will want to go with the 2nd method.
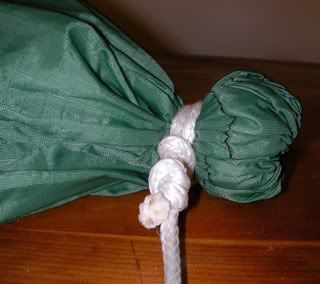
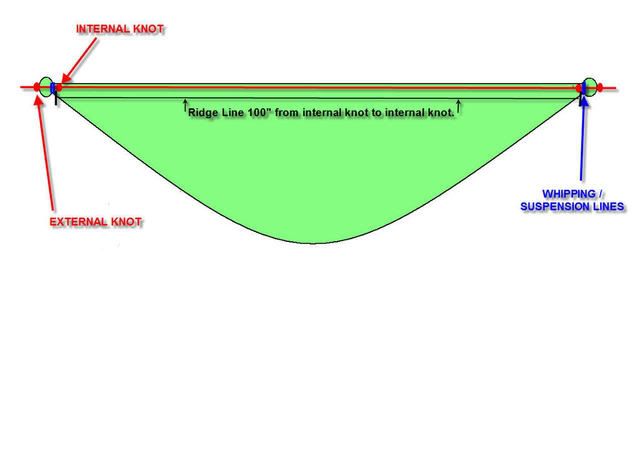
I want to first talk about some terminology that I will be using in this tutorial. You can see in the picture below that there will be 2 knots on each end of the ridge line: the internal knot on the inside of the hammock and the external knot on the outside of the hammock. The whipping and suspension lines are situated between these 2 knots. This setup is very similar to the ridge line thingy I used in making my HH clone. The tension from the whipping and suspension is what hold the RL in place.
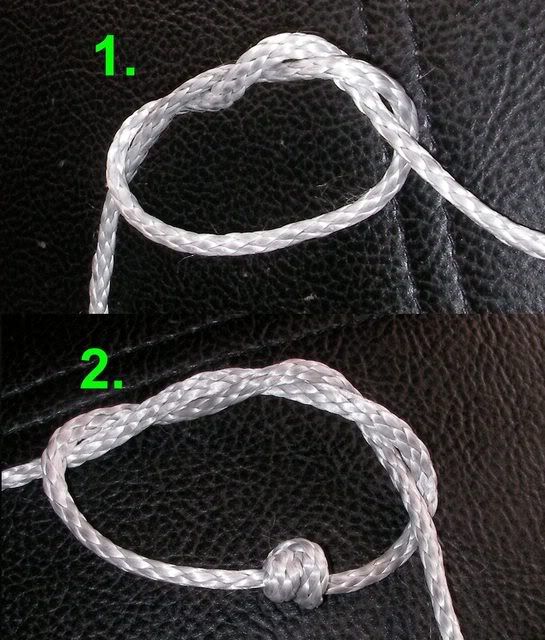
Start by tying the 2 internal knots on each end of the RL cord. These 2 knots should be 100" apart, with about 10-12" of extra line on each end. I actually made mine about 98-99” between the knots to allow a little for the line stretching. These knots are a double-double overhand knot. Tie the first DOK (1.) and then tie another right on top of the last one(2.). This will make a thick knot that won't pull through the whipping.
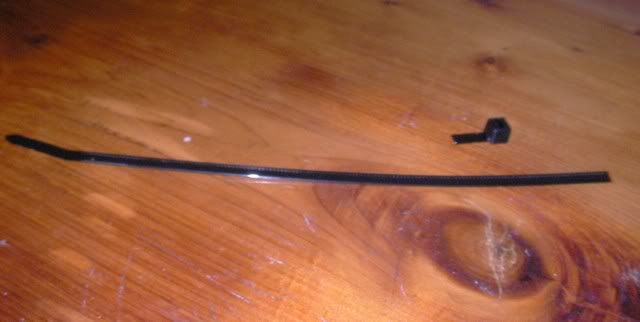
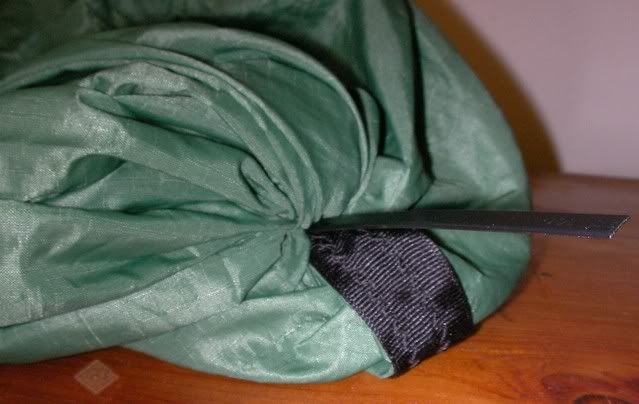
The only materials that you need for the fishing method is an 8+" wire tire and a small amount of duct tape. Before starting, cut off the large, locking end of the wire tie:
Unzip the hammock and start pushing the wire tie through the center of the whipping until it passes through to the outside of the hammock. The wire tie may get caught in the folds of the fabric so this may take a couple of attempts before it goes through. Be patient and gentle.
Wire tie starts in the inside...
...and goes through the whipping to the outside:
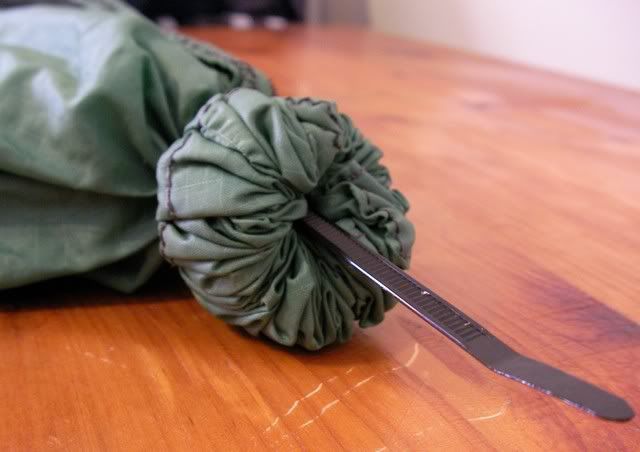
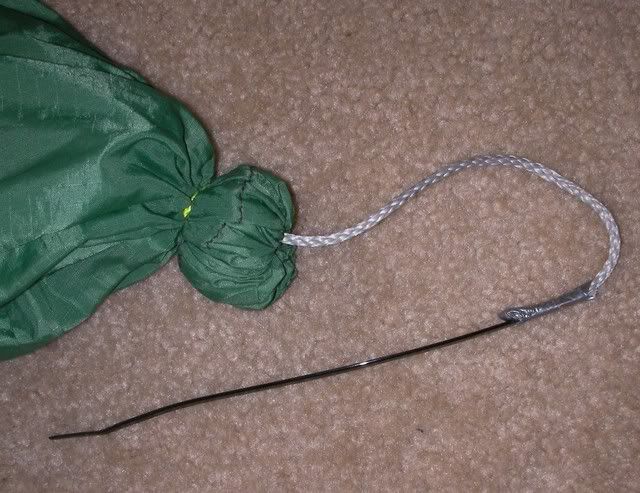
Next you will want to secure your RL cord to the section of the wire tie inside the hammock with a small piece of duct tape. Then slowly pull the wire tie, with the RL cord attached, through the whipping from the inside to the outside. The internal knot should stop when it hits the whipping.
Shot of the internal knot after pulling line through:
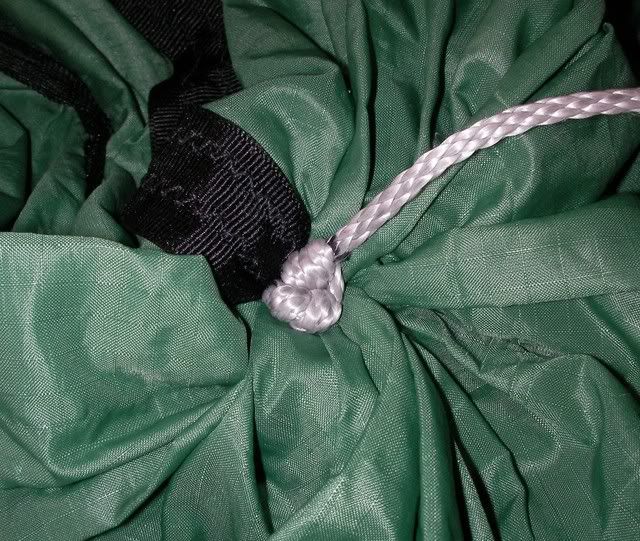
To finish tie another double-double overhand knot to form the external knot. This knot should be kept as close to the whipping as possible when tying. When you are finished it should look something like this:
Repeat all the steps on the other end of the hammock to finish adding the RL. When done replace the suspension lines and you are ready to hang


 Reply With Quote
Bookmarks