Page 1 of 2 12 LastLast
Results 1 to 10 of 13
  1. #1
    New Member
    Join Date
    Mar 2012
    Location
    Goshen, VA
    Posts
    26

    Starting my first DL Hammock

    I just got everything in the mail today. Made my whoopies and am now ready to move onto the hammock itself.

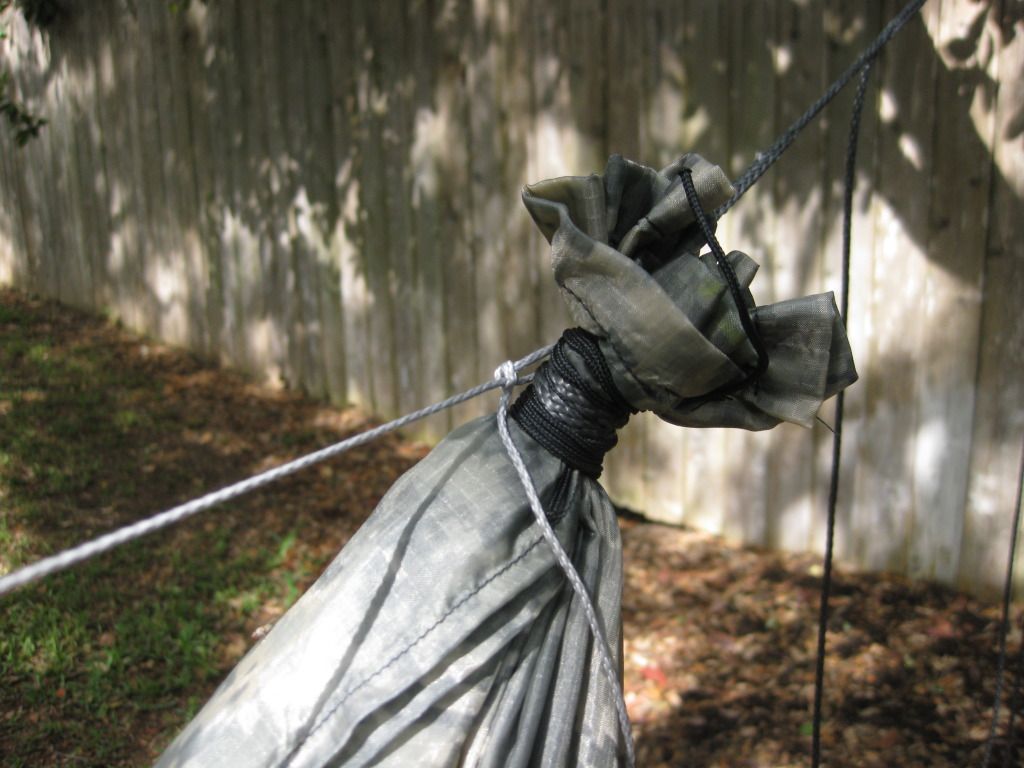
    I've a question on the transition where you go from hemming both pieces together to where you have the opening for the pad and hem each piece individually. I can't picture in my head how this happens.

    Anyone have a picture or can you explain it in real small words

    thanks,
    dave

  2. #2
    Senior Member Hiknhanger's Avatar
    Join Date
    Nov 2010
    Location
    Greensboro, NC
    Hammock
    DIY
    Tarp
    Chinook 12 x 9.6
    Insulation
    Mummy bag
    Suspension
    UCR's
    Posts
    765
    Images
    1
    ImageUploadedByTapatalk1334370830.345767.jpgWhat I did was put a bar tack at the place where the layers separate for the opening. Run the hem for the separate layers as close to the joined seam as possible. I just folded over the hem for separate layers just once and ran one stitch. When I do another I will do a rolled hem for neatness & to prevent fraying. I had to take a lighter and melt the edges to prevent fraying. Sew and learn I guess! I hope that helps.

  3. #3
    Senior Member the_lorax's Avatar
    Join Date
    Mar 2010
    Location
    Apple Valley, MN
    Hammock
    DIY DL & GTUL
    Tarp
    Gear Guide 12x12
    Insulation
    IX UQ, CS TQ
    Suspension
    Whoopies
    Posts
    257
    I just did a full lenght rolled hem on each half and then carefully lined the two sides up and sewed them together in the middle. No fancy transition required then.

    Good luck!

  4. #4
    Senior Member
    Join Date
    Jan 2011
    Location
    IN
    Hammock
    WBRR, Lots of DIY
    Tarp
    MacCat; Cloudburst
    Insulation
    Lynx, HG T/UQ, AHE
    Suspension
    Varies
    Posts
    8,464
    Quote Originally Posted by the_lorax View Post
    I just did a full lenght rolled hem on each half and then carefully lined the two sides up and sewed them together in the middle. No fancy transition required then.

    Good luck!
    Same here. I do a full length rolled hem down the sides of each half. Then, I line them up and do a rolled hem/channel on the ends to connect the pieces.

    Instead of stitching the sides together at all but the "pad openings", I just put a couple of ~1" long stitches in the "closed" sections. This allows me to reach in anywhere along the full length to adjust the pad.

  5. #5
    Senior Member Hiknhanger's Avatar
    Join Date
    Nov 2010
    Location
    Greensboro, NC
    Hammock
    DIY
    Tarp
    Chinook 12 x 9.6
    Insulation
    Mummy bag
    Suspension
    UCR's
    Posts
    765
    Images
    1
    I had considered doing the full rolled hem first too but didn't. Wish I had in retrospect. Mine works fine but it would have looked more finished. I did ok for my first DIY. I like the idea of the 1" tacks spread out too. Good idea.

  6. #6
    New Member
    Join Date
    Mar 2012
    Location
    Goshen, VA
    Posts
    26
    I got the two pieces cut. I got my fabric from Magna and the salvage ends were hammered. I had to trim off 1-1/8" from both sides to get it cleaned up.

    I used my soldering iron and a long piece of aluminum as a straight edge so it worked OK.

    I just started the rolled hem, I wish I had a rolled hem foot, but some paper clips and an iron set on low seems to do the trick. I think I'll go with the suggestion of rolled edges, 1" tacks, then fully stitched on the ends for the gathering. Thanks for the idea!

    dave

  7. #7
    New Member
    Join Date
    Mar 2012
    Location
    Goshen, VA
    Posts
    26
    Well I got it all made up.

    I ended up hemming the entire sides, as I want to attach some stabilizing shock cord as I get motion sickness in a hammock and hope this will help calm that down. Nothing better than feeling like your going to puke when you wake up in the AM.

    I do like the stability of the pad in the DL. In my 15 minutes of laying, shuffling and flipping, it didn't move around on me.

    I'll post some picts in a bit.

    Next I need to figure out how to attach the shock cord to stabilize it. Finalize on the ridge line length (have it at 100" right now).

    Then on to the IX UQ and bug netting. Though it seems I may need to make a simple single layer for my daughter if I want to have a chance of laying in mine . . .

    dave

  8. #8
    New Member
    Join Date
    Mar 2012
    Location
    Goshen, VA
    Posts
    26


    I'm new to all this, so if you see something wrong let me know.

    thanks,
    dave

  9. #9
    New Member
    Join Date
    Apr 2012
    Location
    In my hammock! in California
    Posts
    39
    Looks good. But look up Marlin spike hitch or better yet watch this video. If not, I'm afraid you might have a sore butt!

  10. #10
    New Member
    Join Date
    Mar 2012
    Location
    Goshen, VA
    Posts
    26
    thanks for the pointer. I remember seeing that, I've now changed my spikes to be wrapped within a marlin spike hitch.

    dave

  • + New Posts
  • Page 1 of 2 12 LastLast

    Similar Threads

    1. What is a good starting width on an 11ft Tablecloth hammock?
      By JP_dog in forum Do-It-Yourself (DIY)
      Replies: 12
      Last Post: 02-11-2014, 16:26
    2. Starting first diy hammock for 11yo son today or tommorow
      By antichip in forum Do-It-Yourself (DIY)
      Replies: 5
      Last Post: 01-31-2014, 15:07
    3. Starting in TX, BMW and Hammock to go
      By roberts13t in forum Introduce Yourself
      Replies: 14
      Last Post: 01-09-2014, 16:38
    4. Just starting to Hammock Camp in Atlanta
      By specialops in forum Introduce Yourself
      Replies: 19
      Last Post: 11-22-2012, 10:37
    5. Starting my DIY hammock tomorrow and need a little help.
      By SC_Dave in forum Do-It-Yourself (DIY)
      Replies: 10
      Last Post: 03-24-2012, 18:51

    Bookmarks

    Posting Permissions

    • You may not post new threads
    • You may not post replies
    • You may not post attachments
    • You may not edit your posts
    •