

Awesome! this is a great way to get a nice frankenquilt without breaking the bank. I am terrible at sewing but am up for the challenge of making one of these.

Awesome! this is a great way to get a nice frankenquilt without breaking the bank. I am terrible at sewing but am up for the challenge of making one of these.

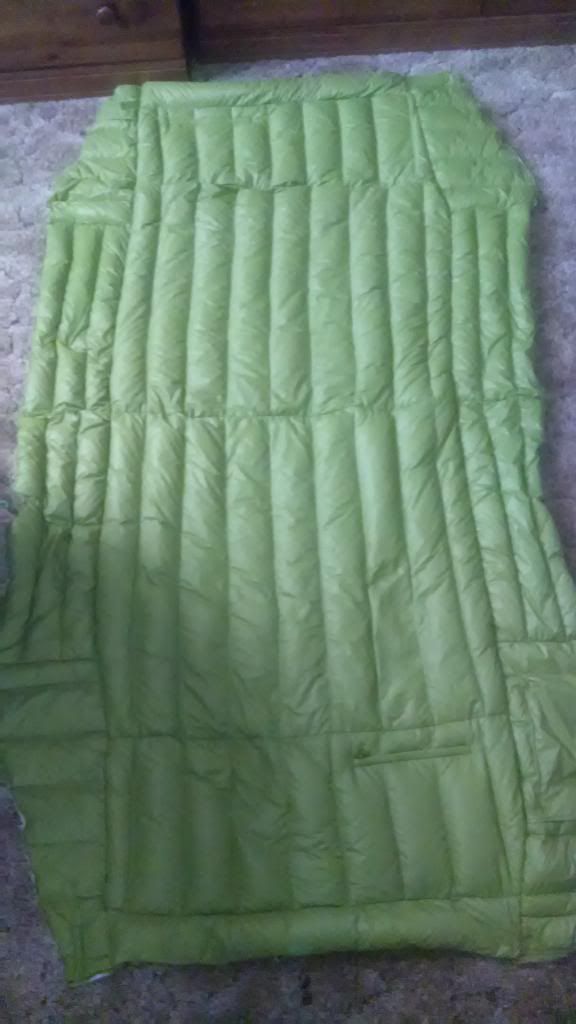
I just finished an UQ made of the JCP jackets. Used 2 3XLT jackets following the basic layout others have used. I sewed & cut rather than seam ripping. Used all but the 2 front panels and the arms (to be used for items).
I use 3 small dart on each long side. 1/8" shockcord suspension (15') using a cordlock to join the ends to enable shortening if needed. Used 1/8" shock cord on the ends, sewn in on one side and a cordloc on the other to draw up. 1 1/2" grosgrain was used for the shock cord. I did not run a continuous piece of ribbon down the long sides. I split it into 4 sections so I could add/change darts and use hangers if needed.
If memory serves correct, I ended up with 60" x 40", for a nice spring/fall 3/4 length UQ.
What worked well:
1) The darts really seemed to make a difference
2) Shock cord suspension
3) Sewing & cutting seemed to be a big time saver
What I would change:
1) Use the sleeves at the corners rather than piecing in other smaller bits
2) Use 14 or 14.5' of shock cord (for my WBBB)
Here's what all I remember using (approximately on some things)
2 3XLT jackets
1 spool polyester thread (125 yd)
1 roll of 1.5" grosgrain ribbon (25')
20' shock cord
3 cordlocs
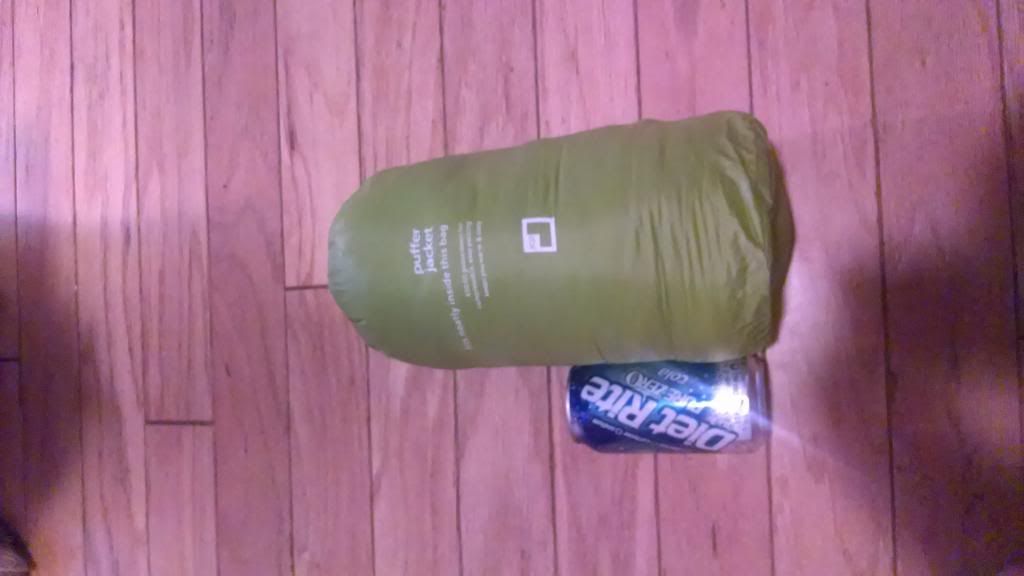
In the stuff sack I ended up with 17 oz.
Lets see some Pictures!
Im curious how you did your darts.
I used a slightly (read: Completely) different approach:
I burned holes with an awl in the very bottom of the backside of 2 jackets, then placed snaps, all male facing out in one jacket, and all female halves facing in in the other. Then sewed a loop on each shoulder like an epaulet, but smaller. The sleeves are tucked inside, the jackets snapped together, and suspended w/ shock cord and mini biners. With 3xlt jackets I get almost full coverage, and the jackets can still be unsnapped and used as jackets.
Last edited by gothmog; 10-03-2013 at 11:32. Reason: sp
I actually did 2 of these. The other I use similar to the green "lobster" another member posted some time ago. One jacket is placed on backwards, the other, or the bottom one, offers a choice. Sleeves tucked in, like a sleeping bag, or sleeves out and put on legs, feet stay in the sleeves like booties.
For the darts I just gathered the material & sewed in the dart. This left me the ability to change or remove the dart.Originally Posted by Hammonkey

Last edited by Broken Halo; 10-03-2013 at 08:35.

Nice job there. I don't think I have those skills so mine was a little more on the rustic side. Much respect!
Happy Trails to one and all.
Enjoy the outdoors wisely and elevate your perspective.
Modified Penny Wood Stove instructional Video-http://www.youtube.com/watch?v=0fPlHqsYy38
Hammock Wheel https://www.hammockforums.net/forum/...09#post1035609
Another Really cool JC Penny Puffer instructional- https://www.hammockforums.net/forum/...141#post953141
Does anyone know if they are going to sell them dirt cheep this year again?
Here's is my 2nd using a slightly different layout of pieces. This layout used more of the jacket yielding a slightly longer quilt and less piecing of smill bits. I also placed the darts slightly farther apart.
I think I will use a similar layout for a gathered end top quilt with the addition of a separated sleeve on the sides at the top.

How about some pictures of this method?
 Posting Permissions

 Reply With Quote


Bookmarks