


First off, big thanks to wilsonbmw for disassembling his HH for us to learn from.
I started this thread to find out how to incorporated some of the features of a HH in a DIY model. I think the hammock that I made accomplished what I set out to do and here's how I did it.
I was basically trying to make my own version of the HH Ultralight Backpacker Asym. My original HH is very comfortable and fits me well, but there were a few things that were I wanted to change. I wanted a top loading hammock for easier entry and exit. I wanted to be able to reach outside the hammock while I am inside the hammock. I also wanted to be able to go without the top net when the weather permitted.
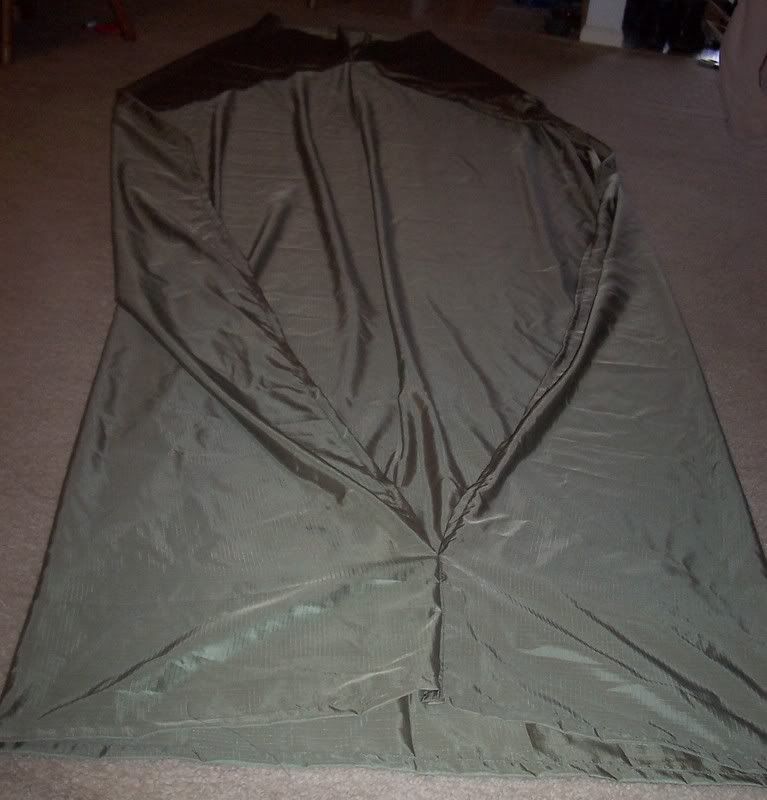
I started by checking the HH site for dimensions of the fabric for the HH ULBA which was 120" x 60". I used untreated 1.9oz ripstop for the hammock body. I started by roll hemming all four edges of the fabric.
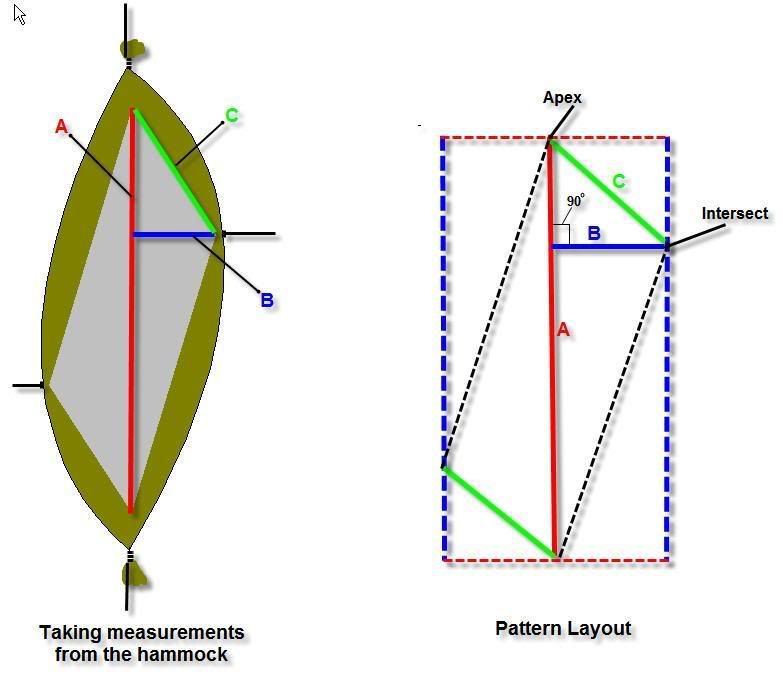
Before I went any further I took the time to lay the hammock body out flat and located the asymmetrical tie out points. You can see in the illustration below, to find the asymm. tie outs you need to find the center of the hammock. The tie out points are located 26" on center. Measure up 13" on one side and 13" down from the center on the opposite side and that will give you the proper tie out locations that will be compatible with the JRB line of quilts or other HH accessories that attach to the side tie outs.
Notice the orientation of the tie outs to the foot end of the hammock. If you are standing at the foot end the "high" tie out is on the right side and the "low" tie out is located on the left side.
[IMG][/IMG]
Next I sewed the fabric together on each end for 8", basically creating a short tube on each end:
I did this because I plan to add a zipper around the lip of the hammock body that will allow me to attach a bug net, or a top cover like I use on my HH now, or go completely topless. This will save weight in the long run because I will only have to caryy the top portion I need; netting for buggy summertime, top cover for winter, and topless in the spring and fall (and star gazing).
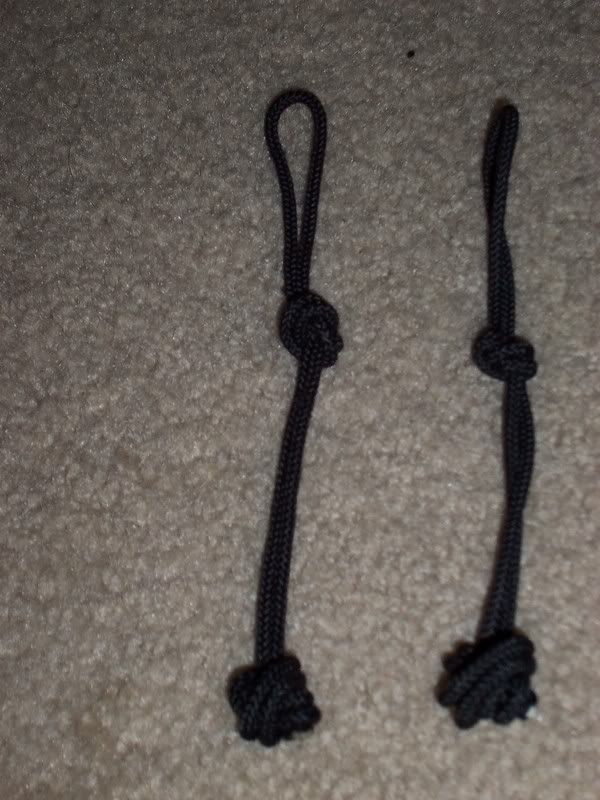
I realized that my ridge line was going to be a problem because it needed to be located inside the hammock ends otherwise it would interfere with my zipper idea. I made a loop thingy from the Spectra line I cut off my original HH. You will see why did this soon.
I used rolled the edges from the bottom of the hammock body instead of the standard gathering technique. I must have rolled and whipped this thing 12 times before I got the right "feel". I came up with 5 rolls per side. I made sure to keep the edges as even as possible when rolling. You can see the loop thiny situated in the middle of the hammock, between the top and bottom layer.
Hammock laid out:


 Reply With Quote
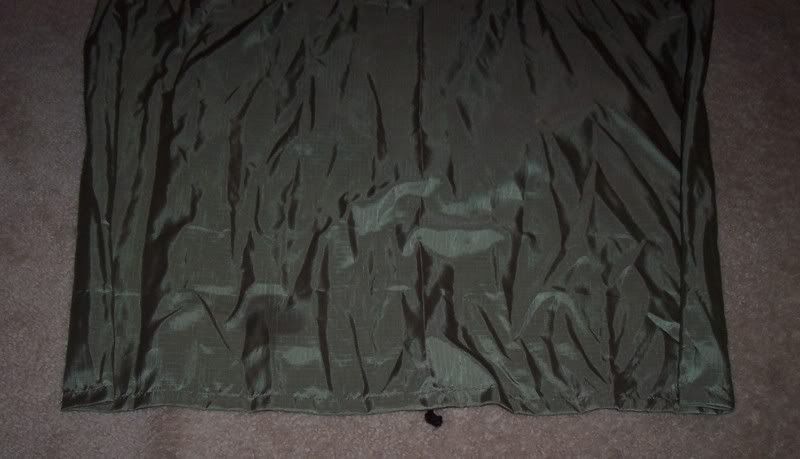


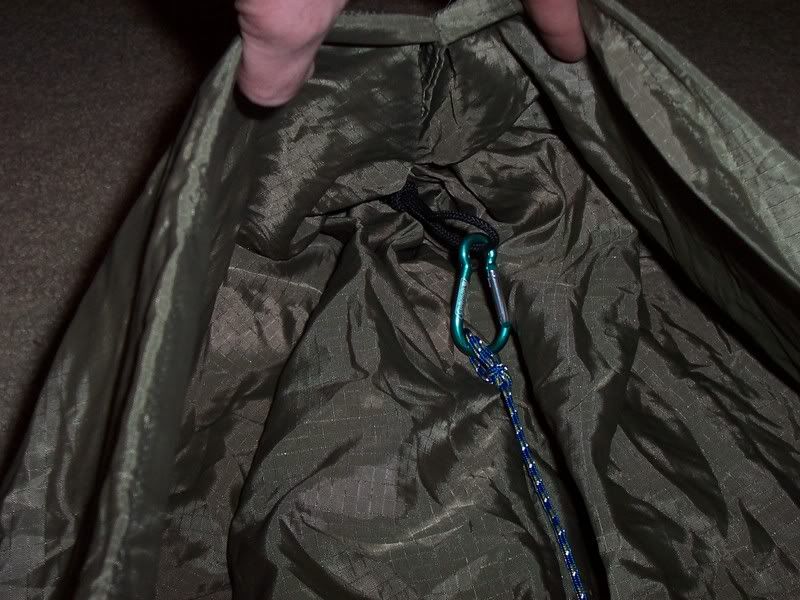
 ). I will get some pics of it hanging soon. My JRB under quilts fit the hammock perfectly. What was that little loop thingy for? It's what I clip my removable ridge line to (second pic). The loop thingy is locked inside the whipping and this method actually ended up working very well.


")

Bookmarks