


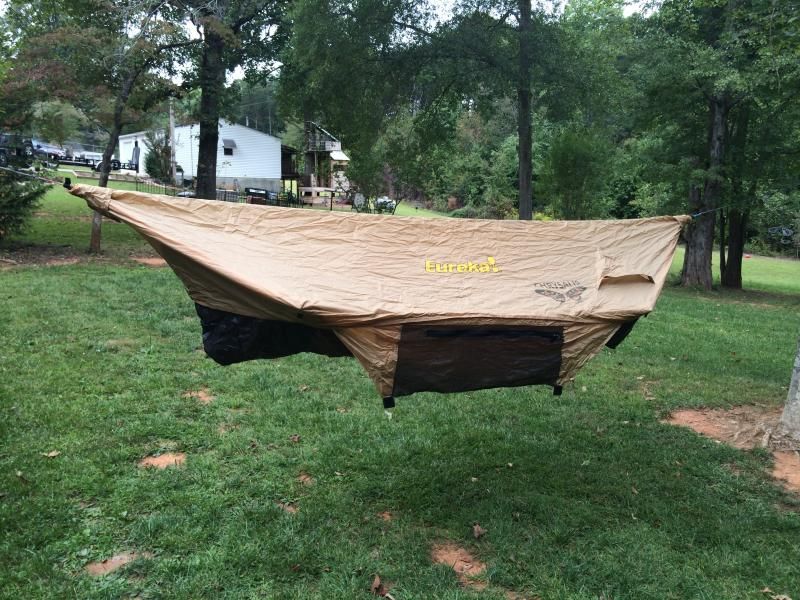
Last week, I picked up a Eureka! Chrysalis bridge hammock/hammock tent system in a trade at the the PSH Fall Sprawl. When I got home, I was eager to check it out, and once I had the car unloaded, i had it in the back yard to try it out.
First impressions: This is my first bridge hammock, and it is definitely comfortable. It has an effortless flat lay, no squeeze (shoulder or feet) and very nice storage space at each end. The previous owner swapped out the original suspension and ridge line, so I only had to mod it a little to have amsteel loops at the ends, and removable suspension.
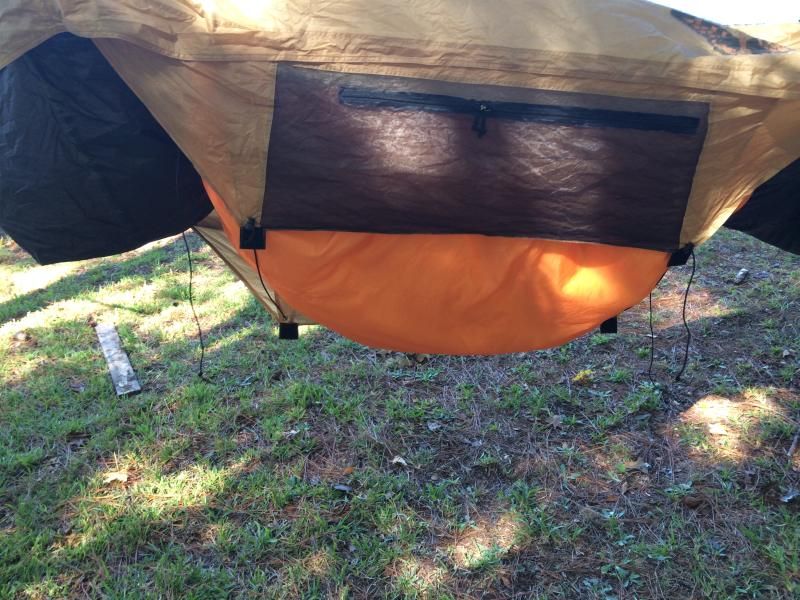
The next thing I had to address was how the over cover secured underneath the hammock. I didnt/dont like the hook and loop attachment, mainly because it is difficult to secure once in the hammock, and impossible if using an under quilt. So, I popped some small grommets into each of the four velcro tabs, installed a mitten hook on one side, and ran shock cord through the other, with a barrel lock to adjust the tension. Now, I can just lift the cover open, climb in, and it will pull itself closed behind me.
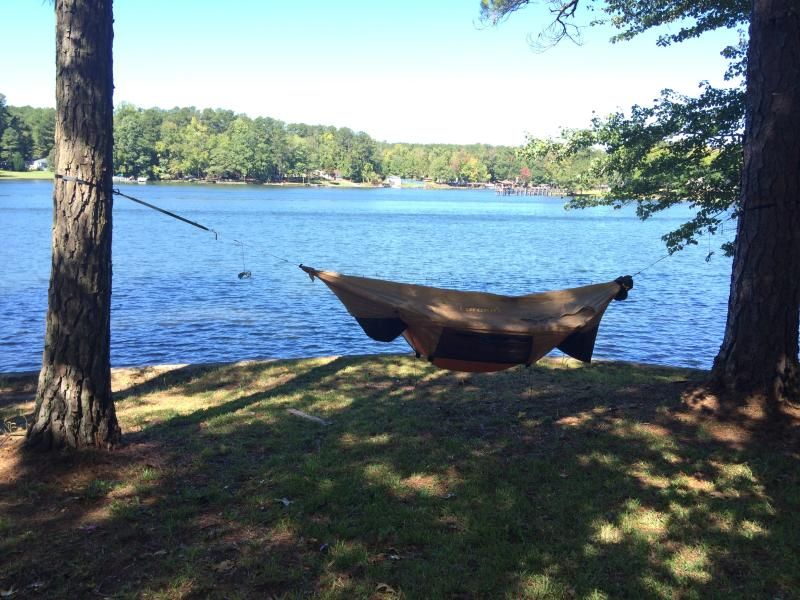
A good friend of mine has a cabin on Lake Greenwood. I have found this to be the perfect place to field test our camping gear, because of its proximity to the water, (and a cabin, if things wind up going south) and plentiful trees. The lows this weekend were to get down into the 30s, and I wanted to see how the new hammock performed in the cold, especially with the wind coming off the water.
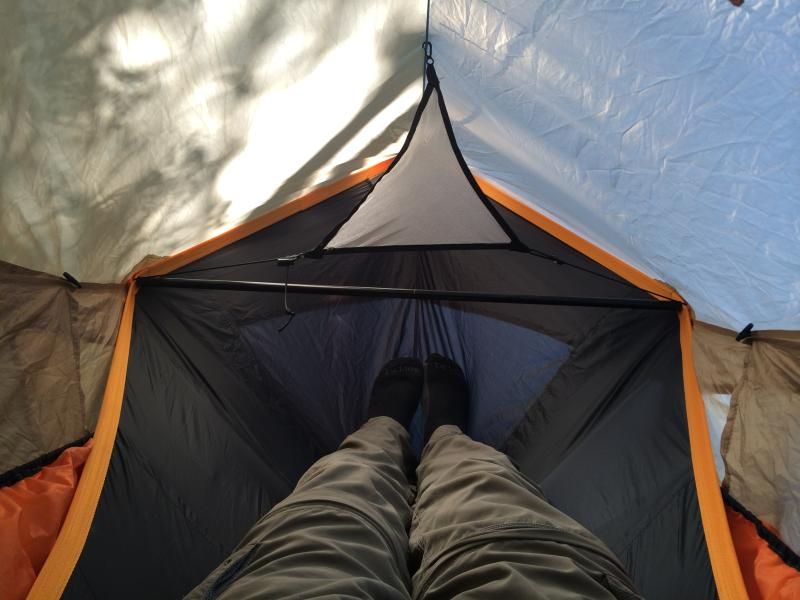
I learned to attach the (3/4 length, Insultex) under quilt by running the shock cord suspension through the loops in the sides of the hammock body where the spreader bars are seated, and clipping them to the ridge line, using the same suspension triangles that I use on my GE hammocks. It was more of a chore to install, but it was very easy to adjust the tension from inside the hammock. Using this, and a small synthetic sleeping bag as an over quilt, I was able to stay quite warm... for the most part.
When I woke up Sunday morning, I noted that lows got down to around 38F. The inside of the cover was beaded with condensation. In the future, I need to remember to bring a little microfiber towel to wipe it down periodically, and before getting out. Also, this was about the limit on my insulation. Much colder, and I probably would have had a rough night.
The cover does a very good job creating a little micro-climate. However, it isnt as easy off/on as I would like. It is secured at each end in the suspension loops. So, to remove/install it, I have to untie the larks heads. Not a huge deal, but Im looking for a easier way.
All-in-all, its a really nice system. Its a bit heavier than my DIY hammock, due to the spreader bars, and being a bit over built. But its a good starting point for sure. Considering that its a bridge hammock, it doesnt require any more tree spacing than any of my gathered ends, I view this to be a fairly good 3 season camping hammock (Fall->Winter->Spring). South Carolina summer in this thing would likely be a cook box. The over cover I feel serves as a good weather shield, but I would still bring a tarp if it's calling for rain because it provides no protection for under insulation (or anything else not inside the hammock with you).

 Reply With Quote


Bookmarks