Page 1 of 4 123 ... LastLast
Results 1 to 10 of 37
  1. #1
    Senior Member AdventureMyk's Avatar
    Join Date
    Jul 2012
    Location
    Knoxville, TN
    Hammock
    Snep Hammock, about 12 DIY's, etc.
    Tarp
    OneTigris Tiegman
    Insulation
    HG & HangTight
    Suspension
    Varies
    Posts
    847

    Clarke Vertex 2-person hammock and Z-liner review

    I've had the Vertex for about half a year and loved it, however, I got tired of the Cold Butt Syndrome (aka: CBS) that came from not having any form of under quilt. Clarke has its own Z-liners and frankly there was next to no information out there on them save for one person who owned them and was mostly happy. A handful of mixed reviews on them for other versions but not for the Vertex. I decided to take the plunge and see what would happen, after all, Clarke has their 100% satisfaction guarantee.

    First impression of Clarke as a company:
    I had some questions about the Vertex so I e-mailed them on a Tuesday. I got responses back to my questions within 5-10 minutes and shortly thereafter an invitation to call as it would be easier to clarify a few things. I went ahead and made the call where I found a few enthusiasts on the other end of the line who were happy to take the time to put me at ease over the few concerns I had. At that point they took my order over the phone and mentioned the liners should be in stock and definitely there in time for my trip on Sunday. So far so good.

    Wednesday I get a message saying there had been an error in the inventory and they put a rush in to make the liners but I should still have them in time for my trip.

    Thursday I get a tracking number with an apology that they were not able to get them done to their satisfaction until late on Wednesday, as in after shipping was gone. I honestly appreciate they would rather send them out right than to rush them!
    The tracking number was for an early Saturday delivery from USPS. Again, my trip was on Sunday.

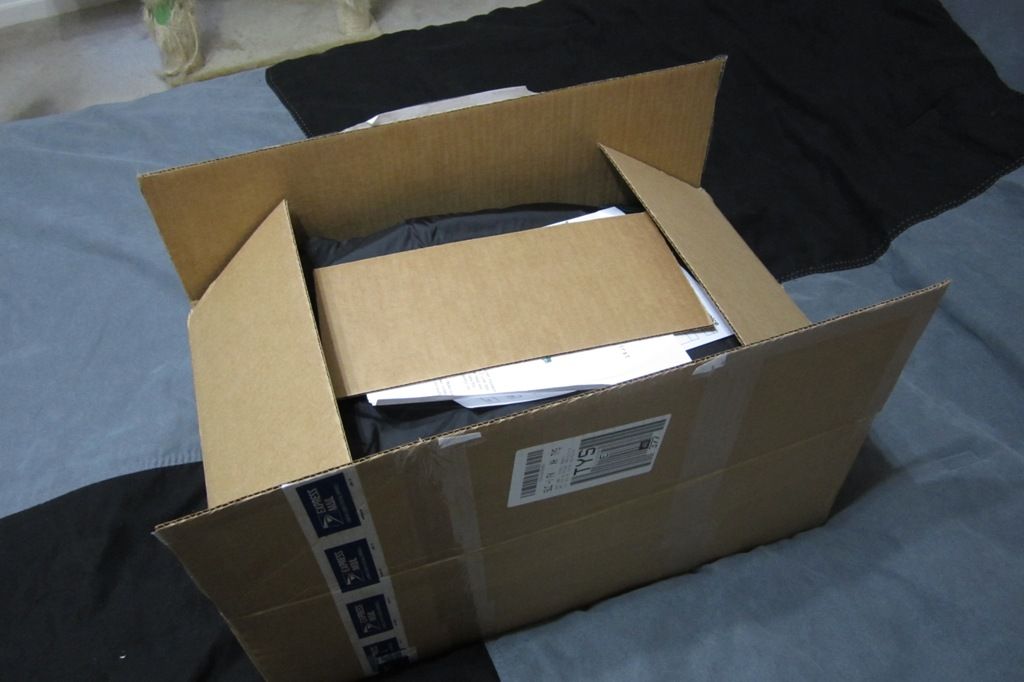
    Saturday morning the liners arrive around 11am and the box was a bit smaller than I expected. More than that, I saw what their rush delivery charge was on the box. Keep in mind, they didn't charge me any extra on shipping. Guys, all I can say is thank you! They gave me a promise, a mistake happened, they lived up to your word and fixed it. That's respectable no matter who you are!

    Contents:
    I was being quite careful when cutting through the tape to make sure I didn't nick anything only they had taken the time to put a small cardboard insert in to protect the liners. Little details being what they are yet they leave an impression.


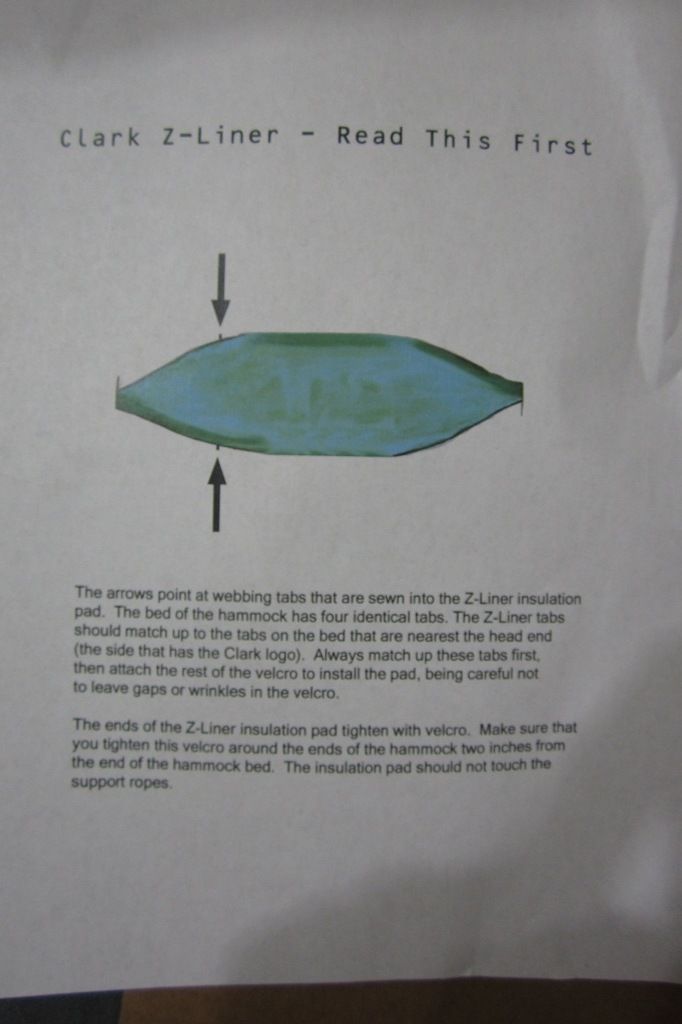
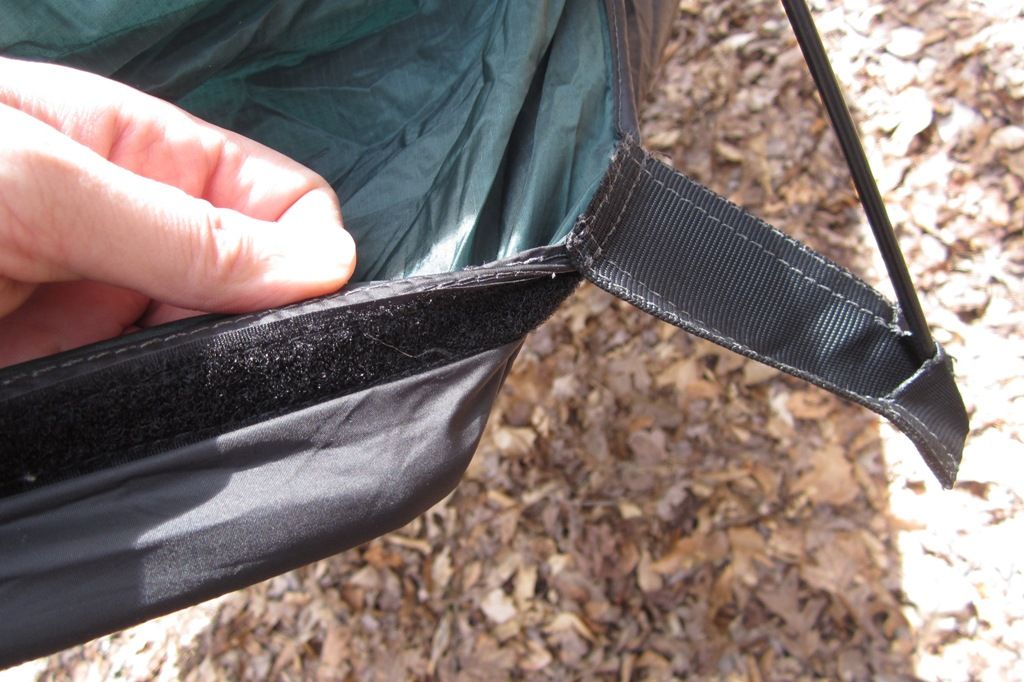
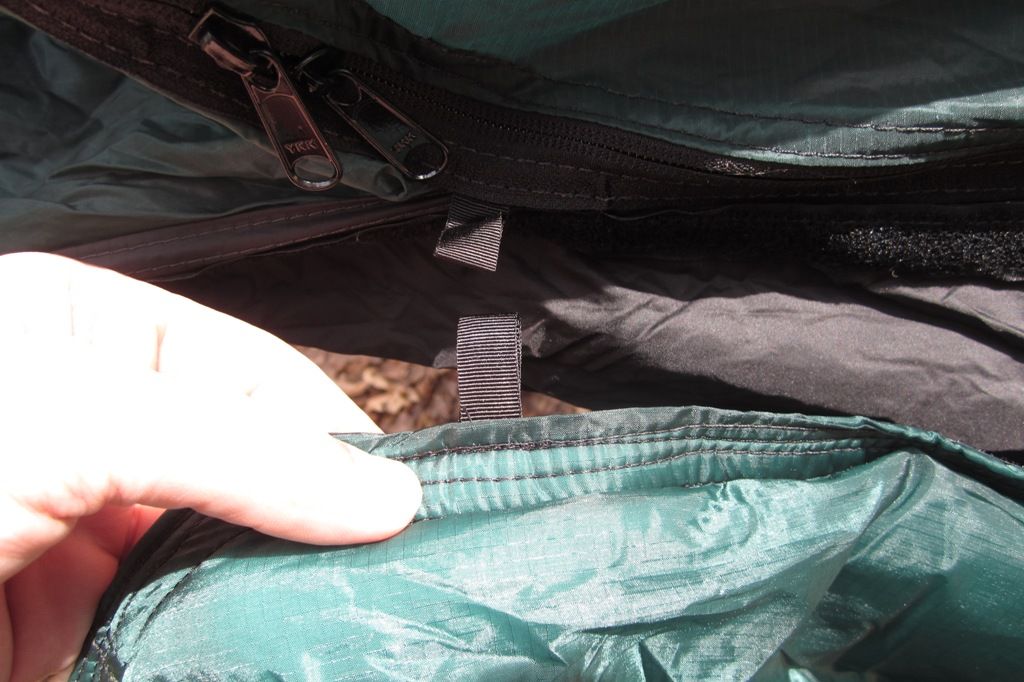
    Simple instructions for care, cleaning, feeding, etc. but the main one is that there are tabs on one end of the z-liners that match up to the tabs on the Vertex. This really makes putting them on a whole lot easier! Make sure you watch the tabs.


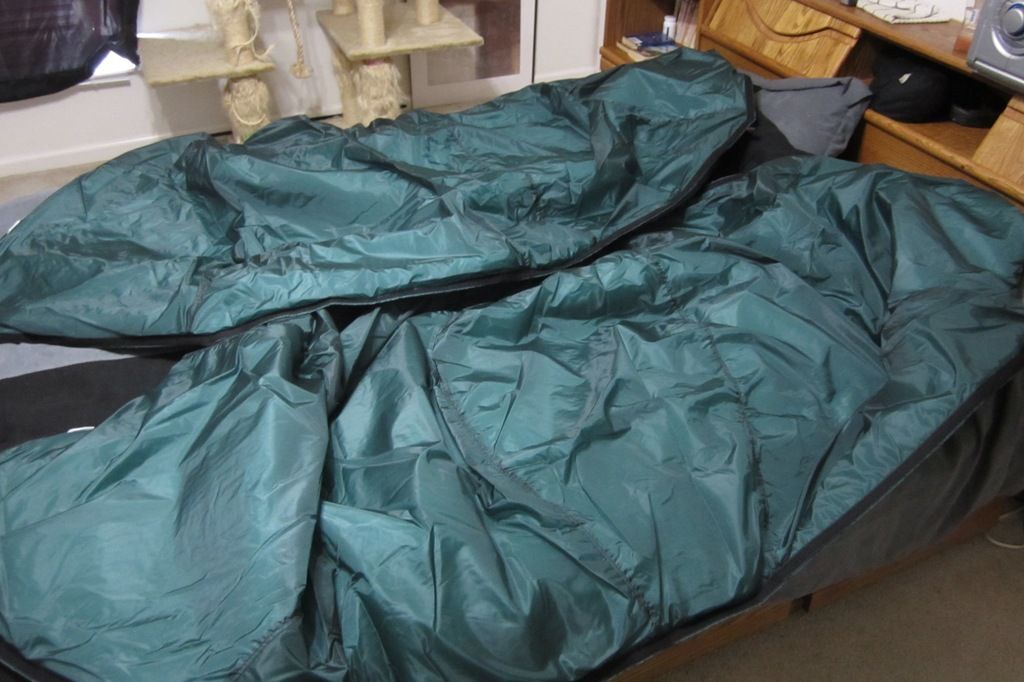
    They are a good bit larger than I thought! This is the set spread over my queen-sized bed.


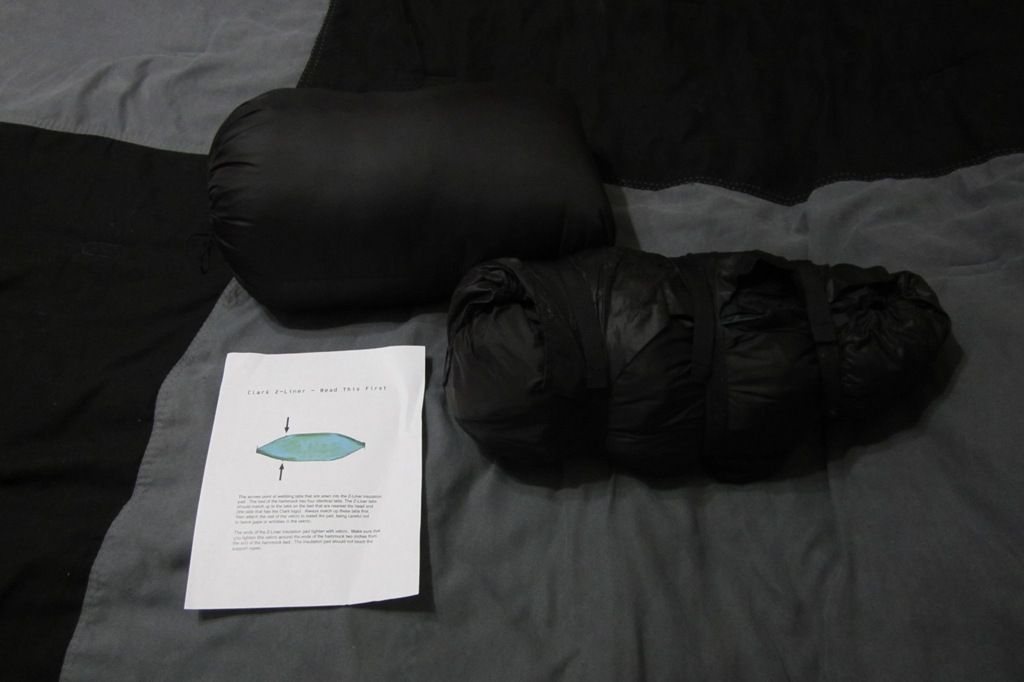
    I have yet to ever manage to get the Vertex to fold in on itself as cleanly as they show it but I get better as I go. The one with 3 straps is the hammock, the smooth stuff sack has both liners. Honestly, when I first pulled it out and stuffed the first one in I was looking for the 2nd bag. It really needs to be crammed but it DOES fit. I'm not sure a compression bag would make them much smaller. Keep in mind that the liners hardly weigh anything, they are a large volume item and that they WILL take up some space in your backpack.


    Putting them on the hammock:
    Since my trip was the following day I took the chance to skip across the water to a local park with some good Vertex-worthy practice trees (don't worry, I've only found 2 sites that the Vertex wouldn't work at in terms of trees out of dozens). This is from the quick test-fitting.

    A bit of trepidation at trying to line up all that Velcro and I was worried over nothing. It's super simple as long as you line up a tab the first time. To keep them off the ground I simply tapped one side farther down to hold it up while I worked the section in place. It also helps if you already have your sleeping bag or something else inside to weigh down the hammock and give it shape for the liner to conform around. Time to install one side was around 2 minutes.

    Left side has the sleeping bag in it, right side is empty.


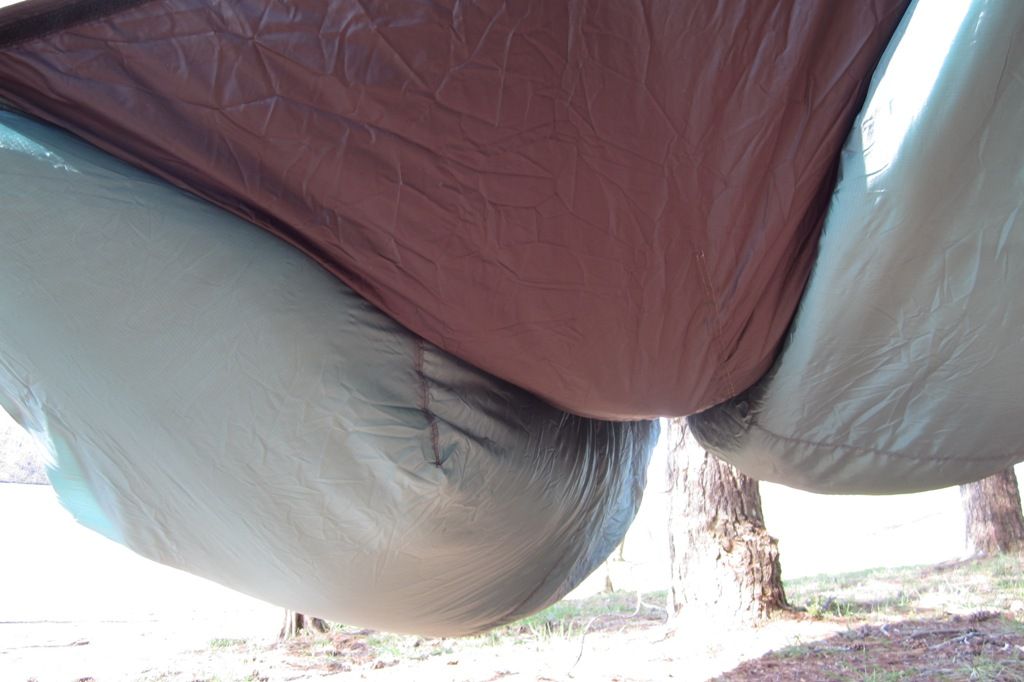
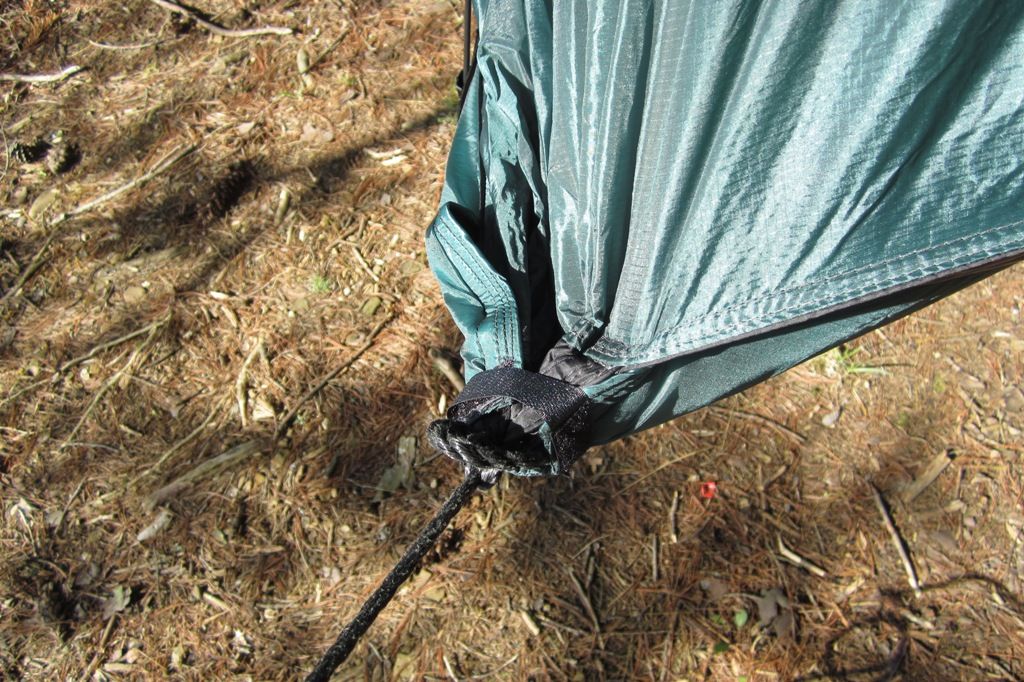
    The liner extends all the way to the very ends of the hammock where it loops over with simple Velcro. As the instructions point out this should NOT be wrapped around the rope but to the end of the hammock itself.


    My first impressions were a little odd. It was windy out and I didn't use a sleeping bag or anything, strictly the liners. The first thing I noticed is that they did very little to cut the wind and that a significant breeze would suck out the heat, however, they did warm up very quickly. I was a bit concerned about this but once we went camping and put the rain fly in place it was a non-issue. If, however, you are planning a nice cold breezy spot to star-gaze you might want to keep it in mind.
    Last edited by AdventureMyk; 04-21-2015 at 17:51.

  2. #2
    Senior Member AdventureMyk's Avatar
    Join Date
    Jul 2012
    Location
    Knoxville, TN
    Hammock
    Snep Hammock, about 12 DIY's, etc.
    Tarp
    OneTigris Tiegman
    Insulation
    HG & HangTight
    Suspension
    Varies
    Posts
    847
    Three different nights in the same week:
    The weather was all over the map but we did manage 3 separate overnight trips to Frozen Head State Park (Just outside Wartburg, TN) which is about half an hour or so from my house. The Sun-Mon trip, a Wed-Thu and a Sat-Sun. The weather was different for each and it was a pretty good test, however, the expected pouring rains never happened. A few mild rains overnight, some stiff wind, some cold rushes, etc. but none of the storms that were forecast.

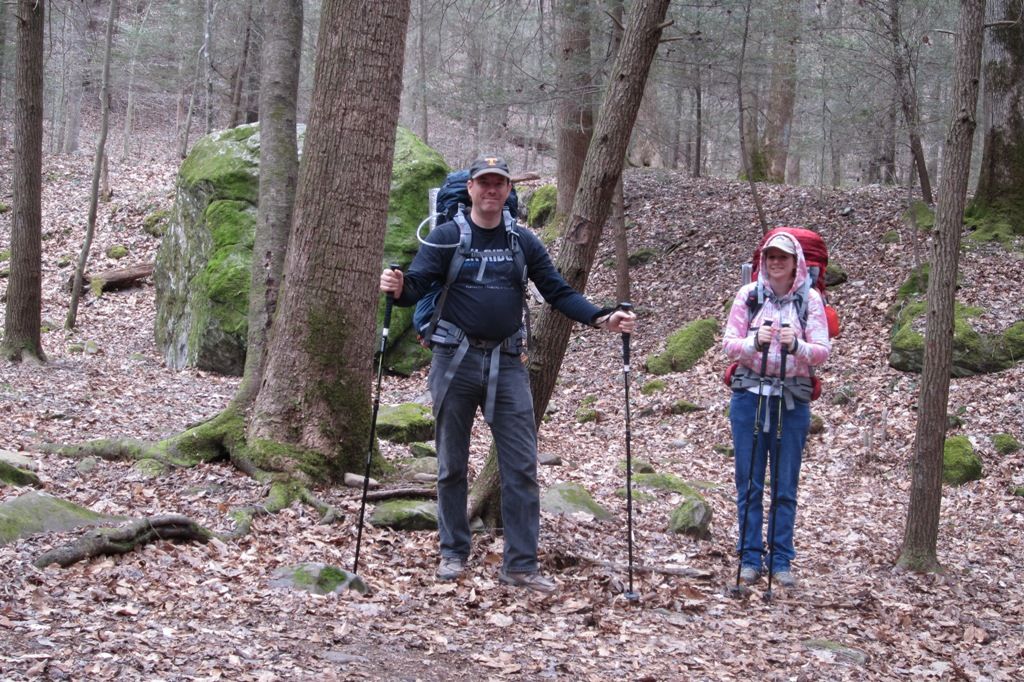
    First night was at Judge Branch which was a short hike in. Weather was supposed to be cold, raining, and generally nasty. I love it when the weather guys are wrong! These sights usually have at least 1 table for every 4 campers the site is supposed to support. It's a great place to set your backpacks and gear, cook on, etc. Best of all, the parks are free to camp in for the back country and very well kept.

    Setting her up.


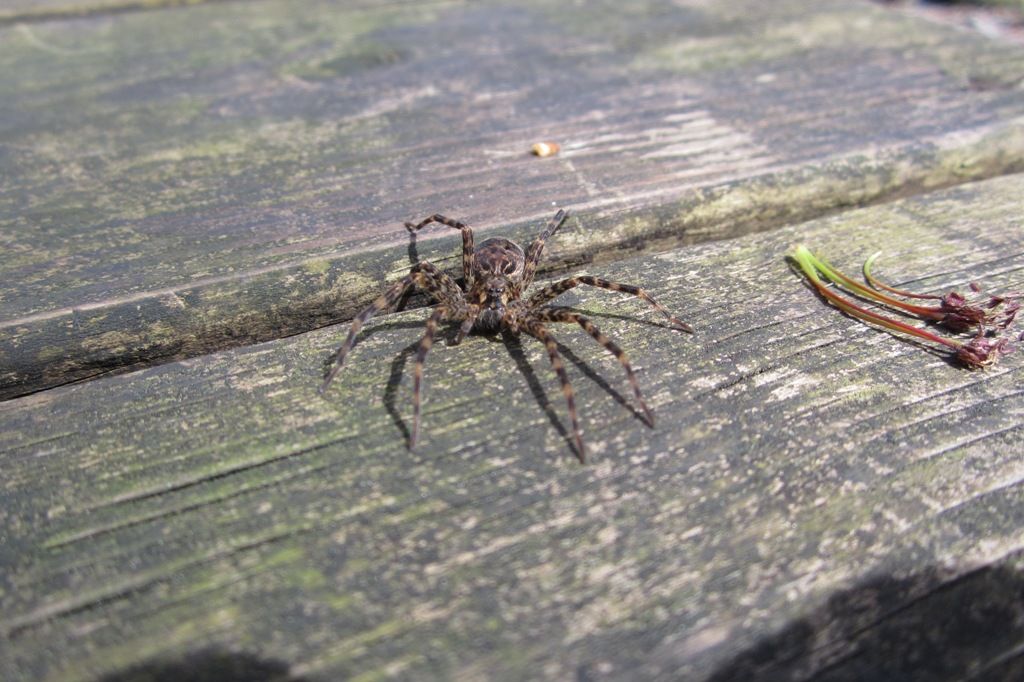
    They do occasionally have Spider Rangers who will come out and make sure you are doing well.


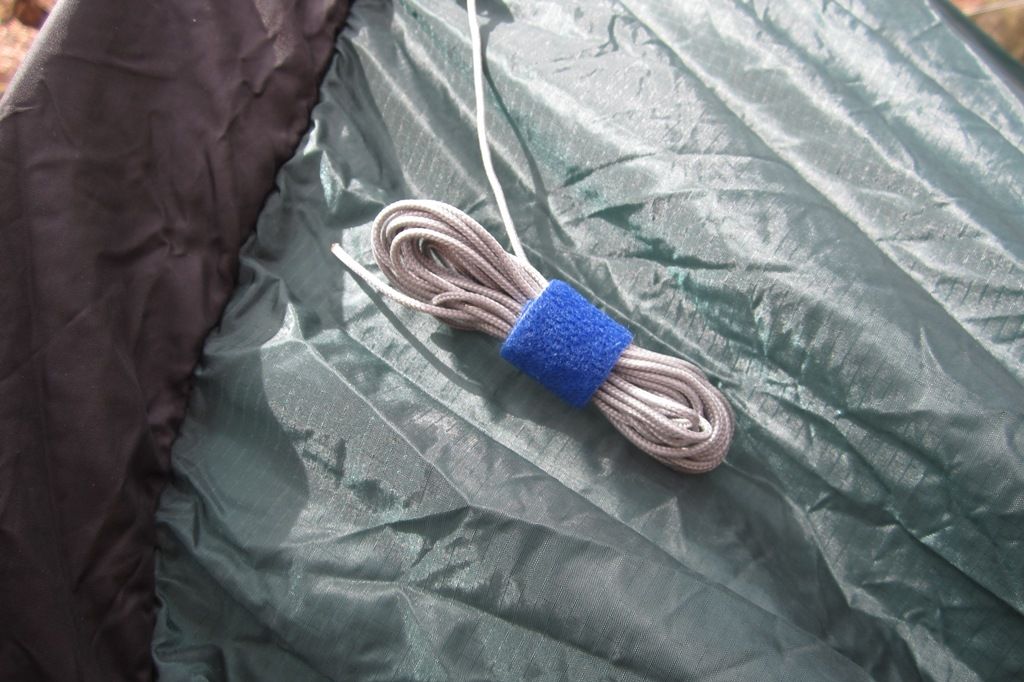
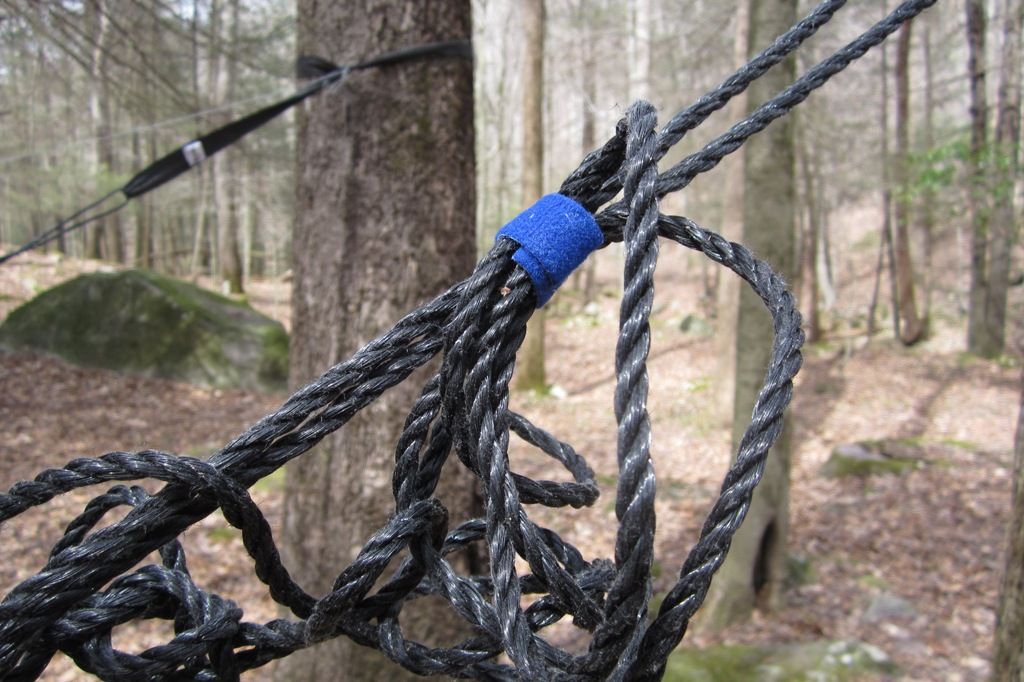
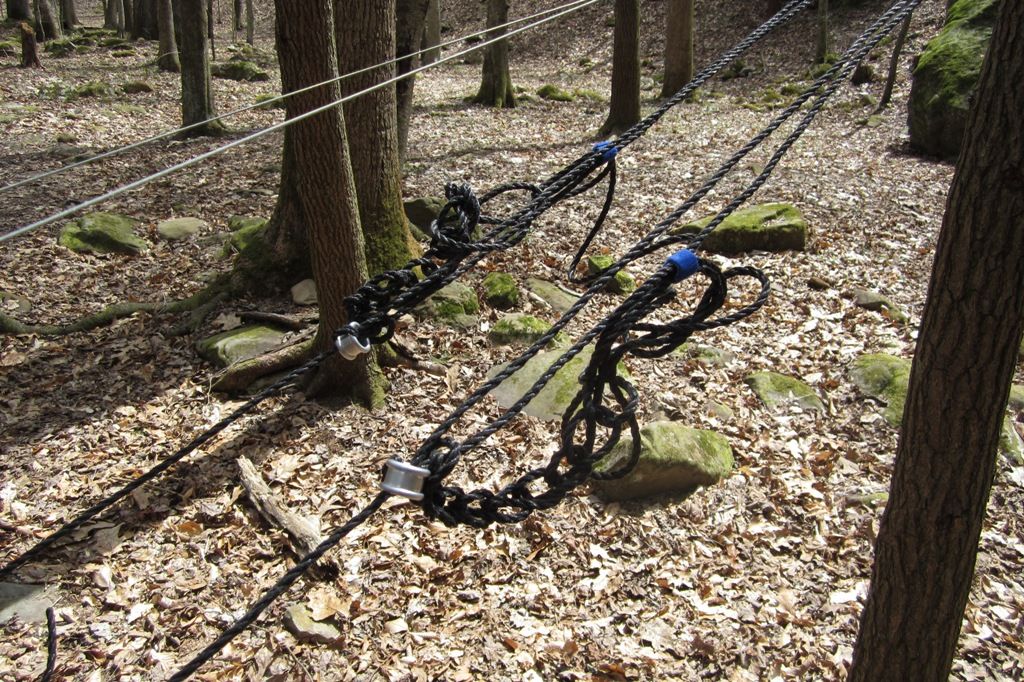
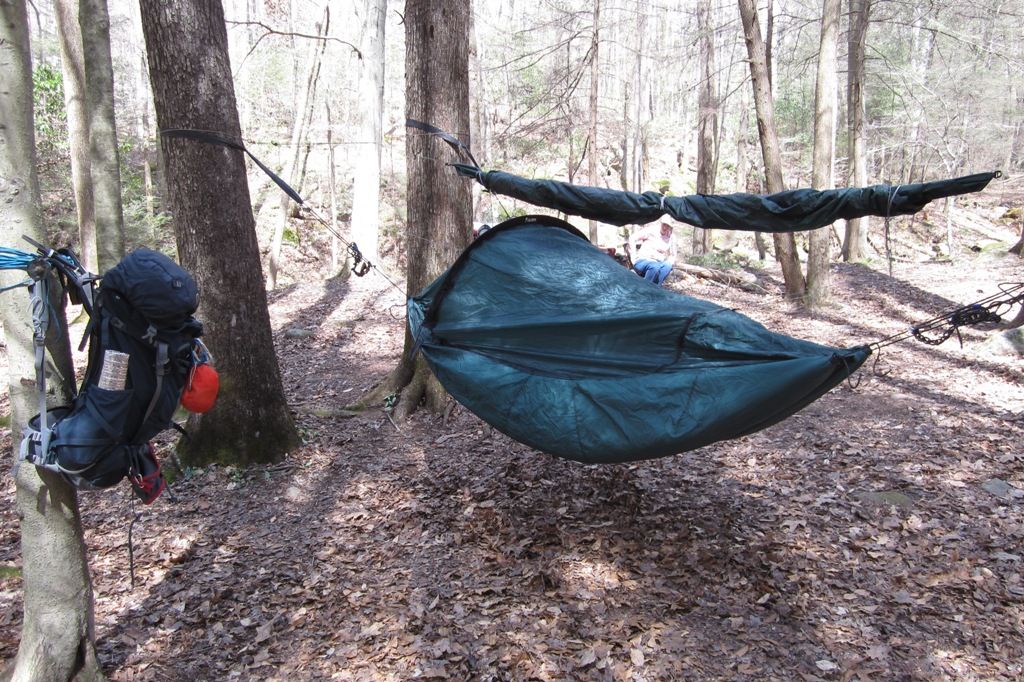
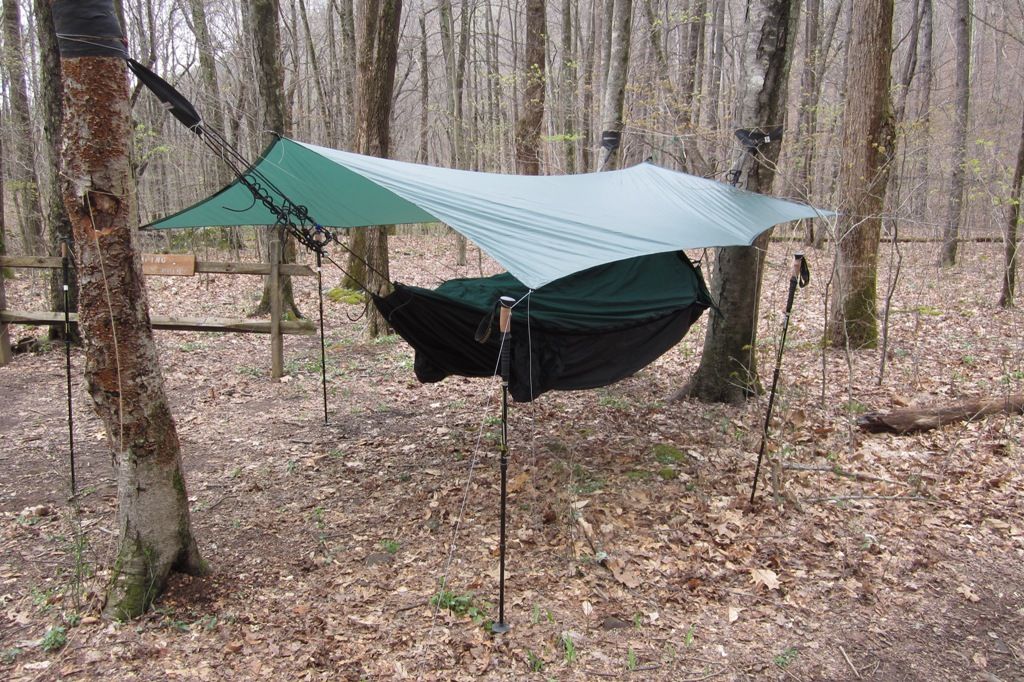
    One thing I noticed quickly about the Vertex is that it has several lines (4 big ropes for the hammocks and another 4 small slippery guide lines). When you just stuffed them in the attached bag they became a tangled mess. This is a virtually no-weight solution. It's simply a double-sided Velcro piece that they sell in rolls that look like Scotch tape for around $4. I made a couple small ones for the guide lines and a few larger ones for the bigger ropes. A lot less headaches, especially when taking the hammocks out and trying to keep them off the ground.


    Once I have the hammock tied off I use the smaller ones to keep the lines up out of the way so they don't land on my head when walking around them.


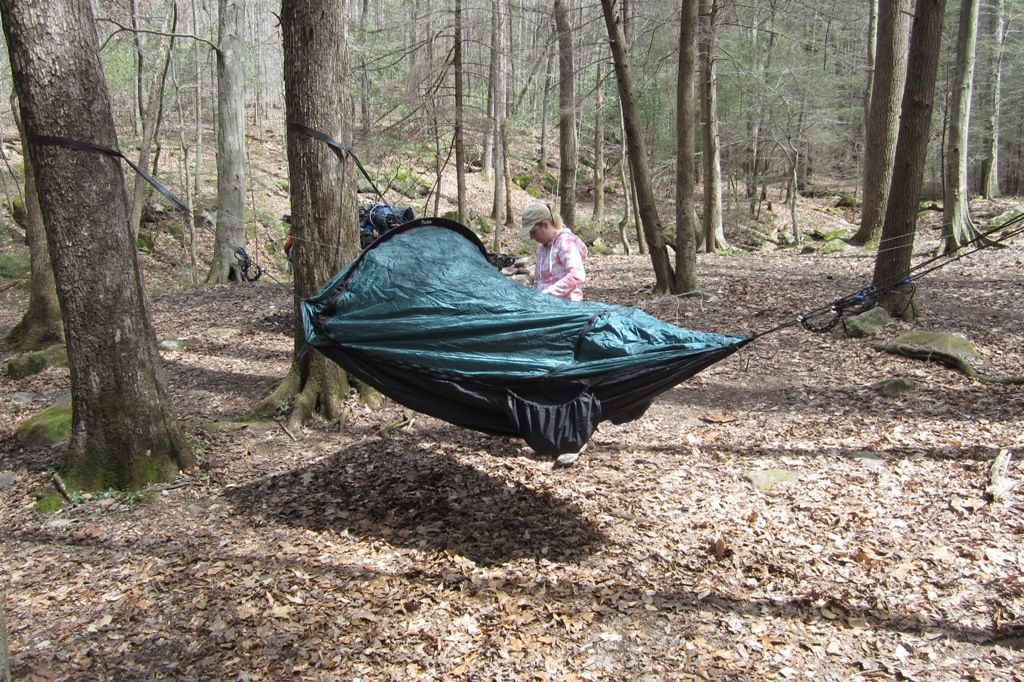
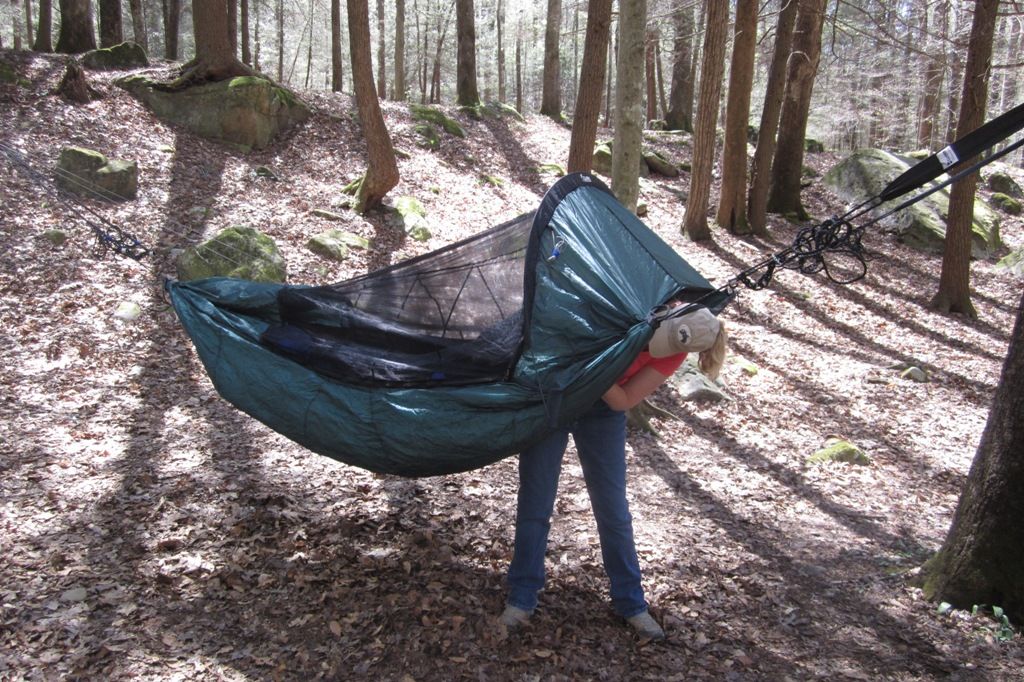
    Becky setting up her side. You might note that my Vertex is the hybrid between the old (no foot bow) and the new (had the Velcro for the z-liners). Some people really like the lack of 2nd bow, I'd kind of like to have it but it's fine without it. Your mileage may vary.


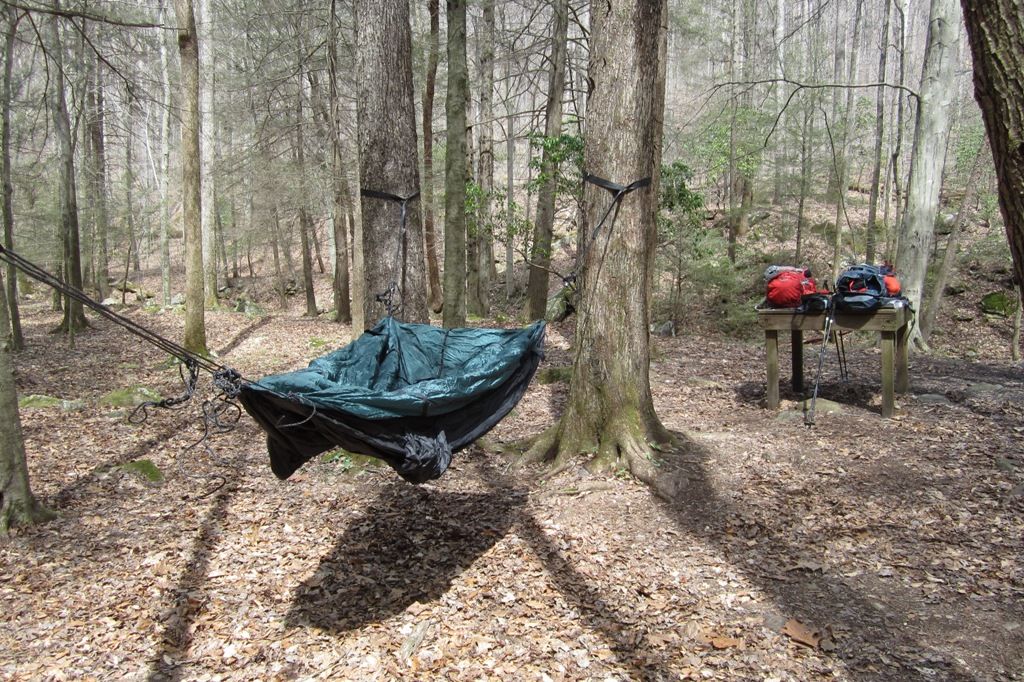
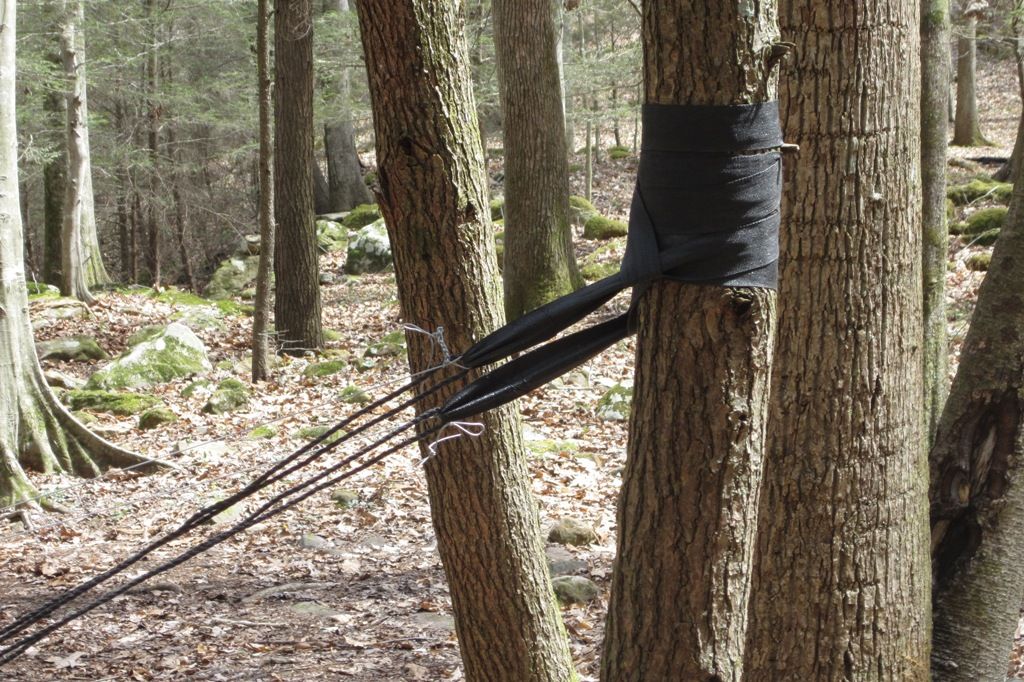
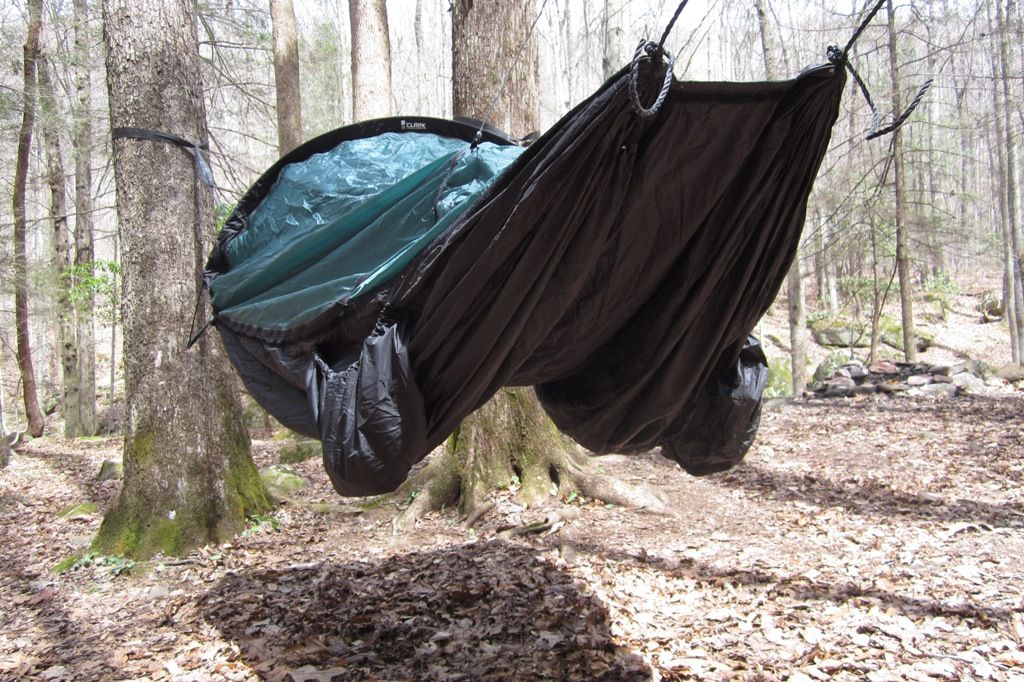
    The two foot ends get their own tree straps and are hung individually and if you use the drip-ring to tie off on they are easy to adjust. This tree was a little thinner than normal but if you use a good stout foot tree then you literally can't feel the other person getting in and out of the hammock unless you have a lot of stuff in the storage area between you. It's an awesome design!

    The small grey cords are the guide lines to keep the foot area up. I tie them off to the same point on the tree straps so they don't get stretched. It's kind of like a car suspension in that they move with the hammock.


    Fast slip knots work great for the main ropes. It takes about 30 seconds to put each main line up and about 5 seconds to pull them free including the tree straps and drip rings. Super easy, doesn't slip, no tying or unraveling skills, etc.

    Last edited by AdventureMyk; 04-21-2015 at 17:52.

  3. #3
    Senior Member AdventureMyk's Avatar
    Join Date
    Jul 2012
    Location
    Knoxville, TN
    Hammock
    Snep Hammock, about 12 DIY's, etc.
    Tarp
    OneTigris Tiegman
    Insulation
    HG & HangTight
    Suspension
    Varies
    Posts
    847
    Installing the Z-liner:
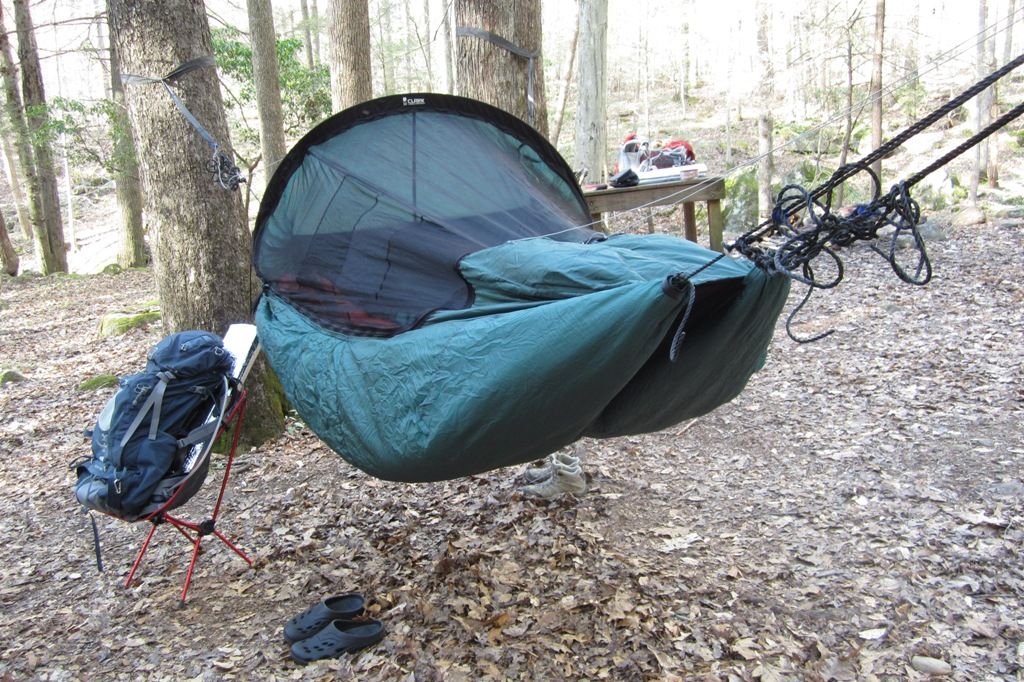
    Without the Z-liners


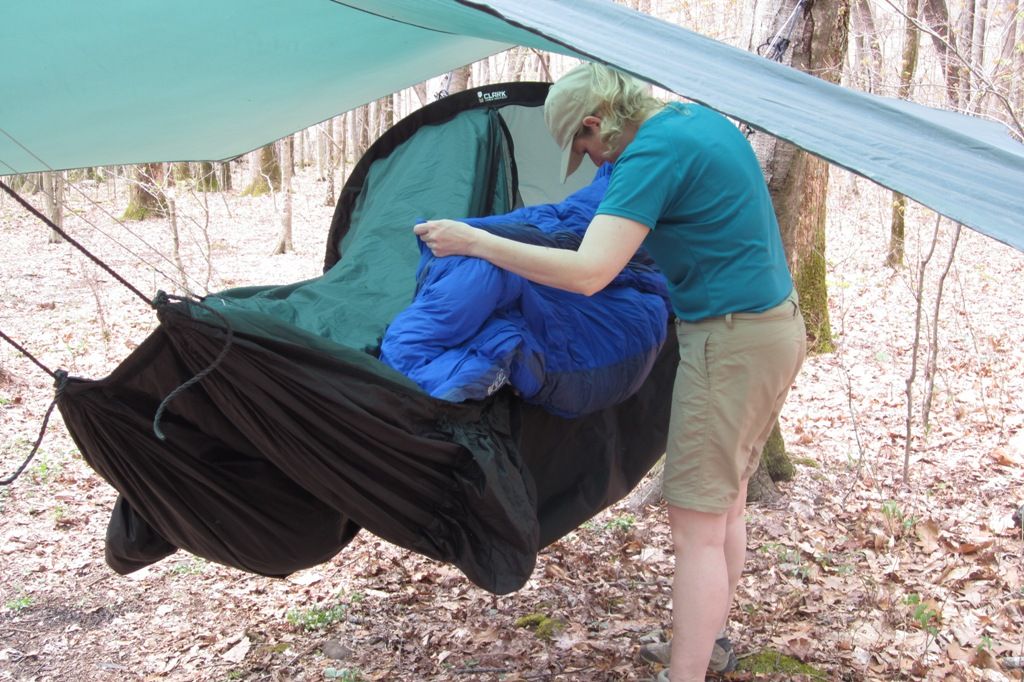
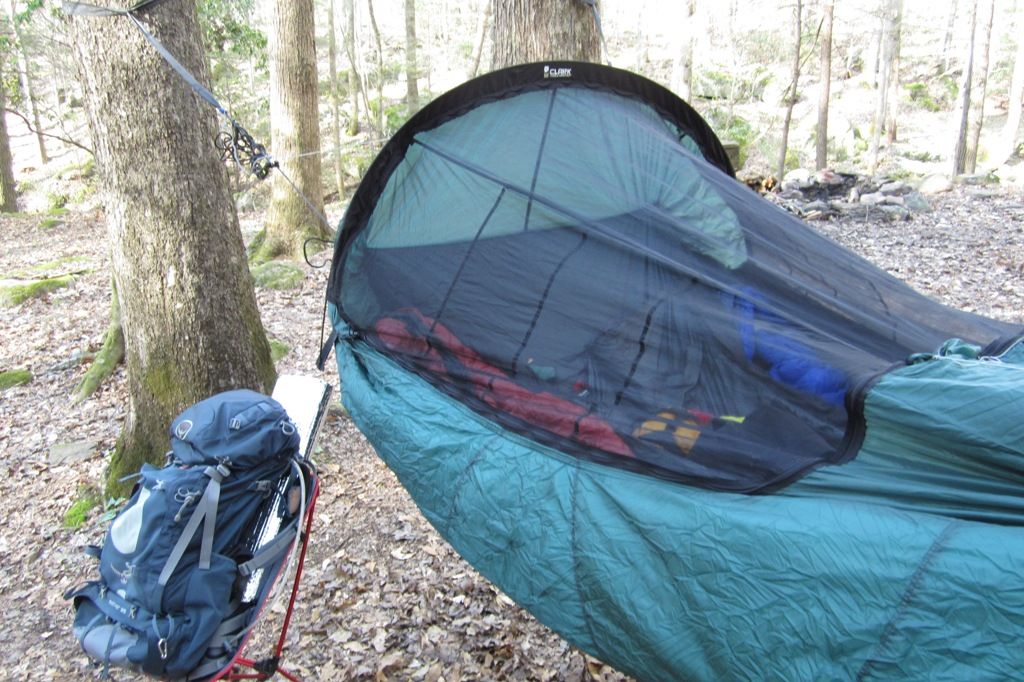
    Again, putting the sleeping bags in first makes it easier to work with by giving the Velcro something to press against. I use a Western Mountaineering Alpinlite that I love dearly and she uses a Marmot Sawtooth. Both are excellent down bags and both seem to work better than their EN temp ratings. (Still got some CBS being sleeping bags which is where the Z-liner came in).


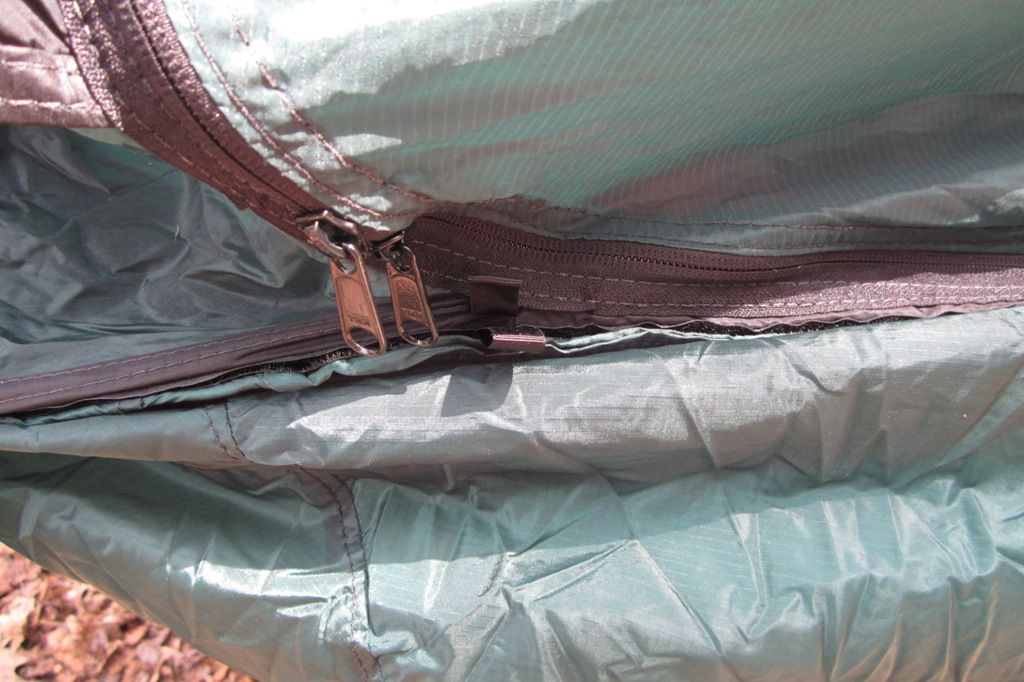
    The Velcro runs under the slip for the bow and the tabs are next to it.


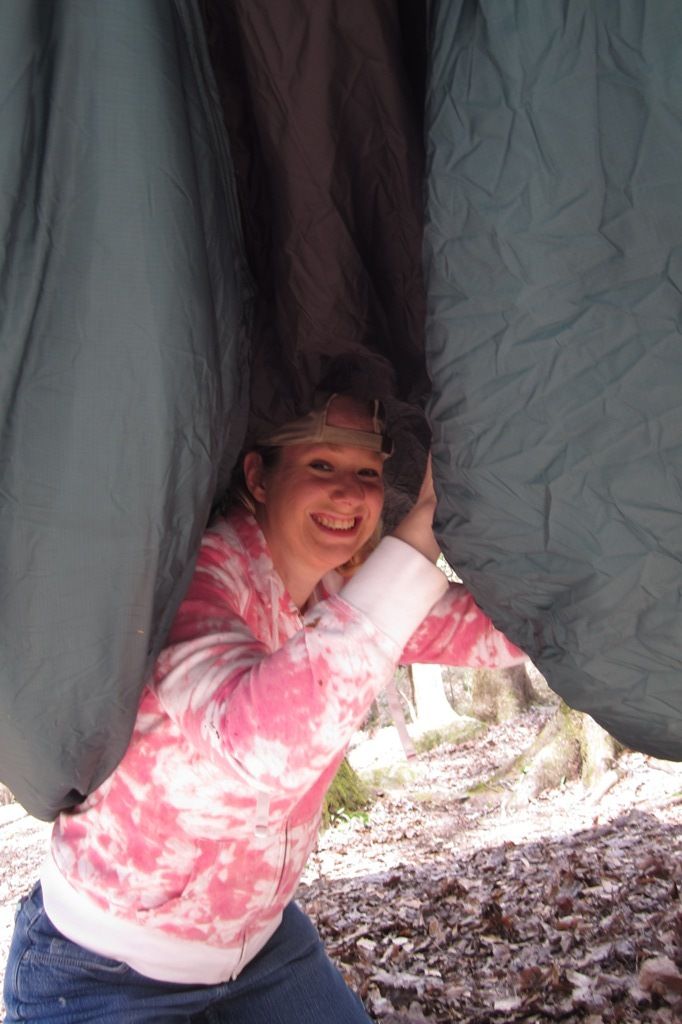
    Becky skipping along underneath doing her side. It's actually kind of fun squipping along and playing with the Velcro.


    Liner on and the Vertex at the ready for the storm that apparently came late as a mild rain.


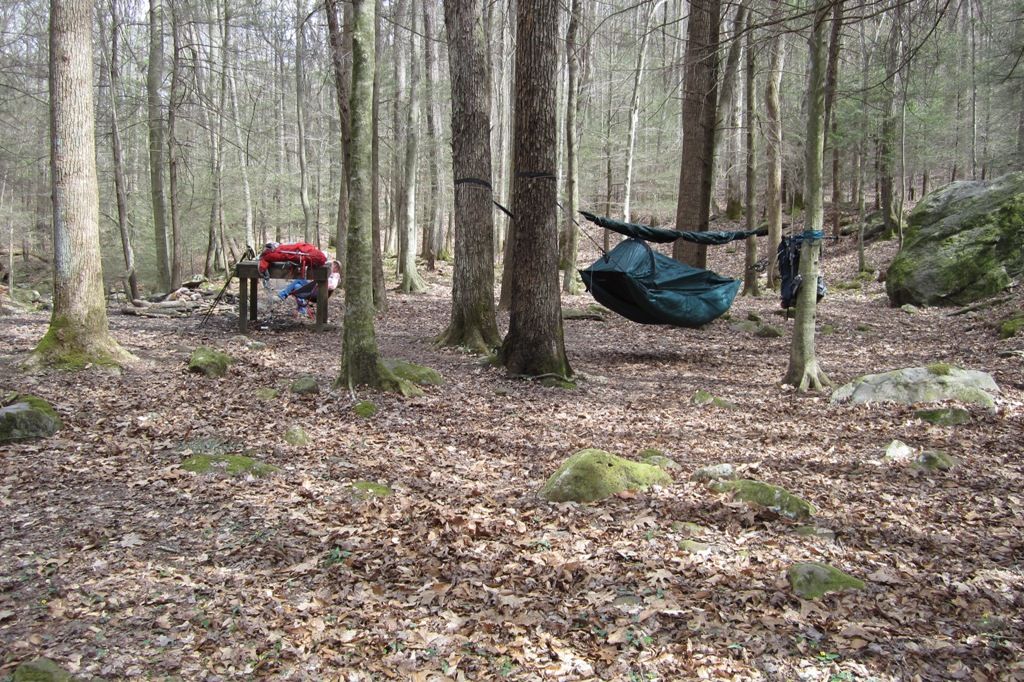
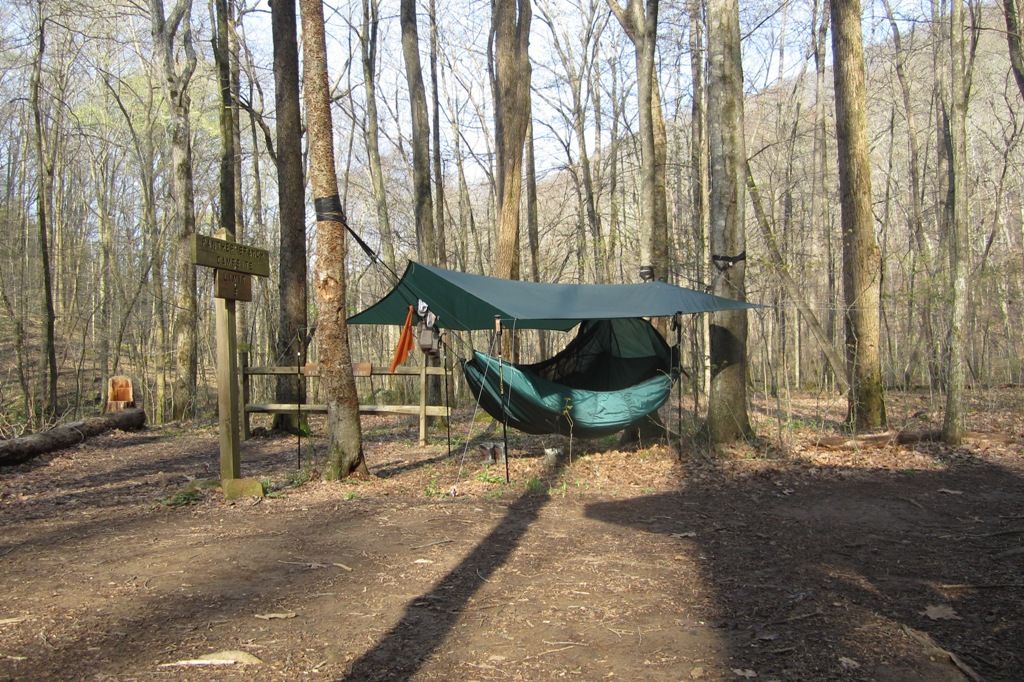
    Overall view of the camp site. The creek runs along the left and was a series of nice little cascades to serenade you to sleep.


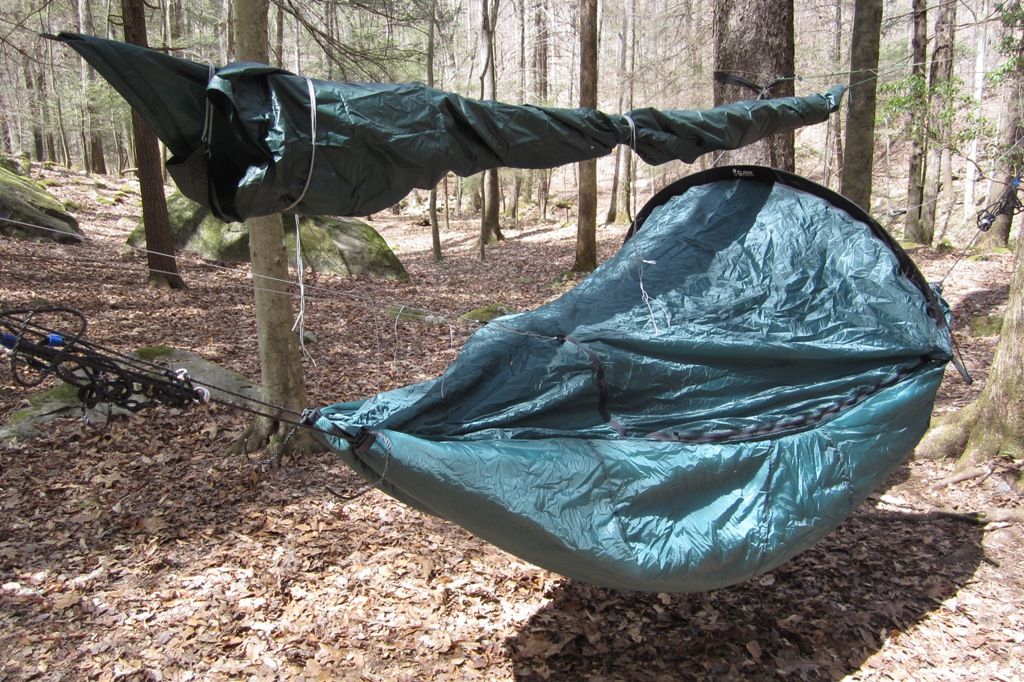
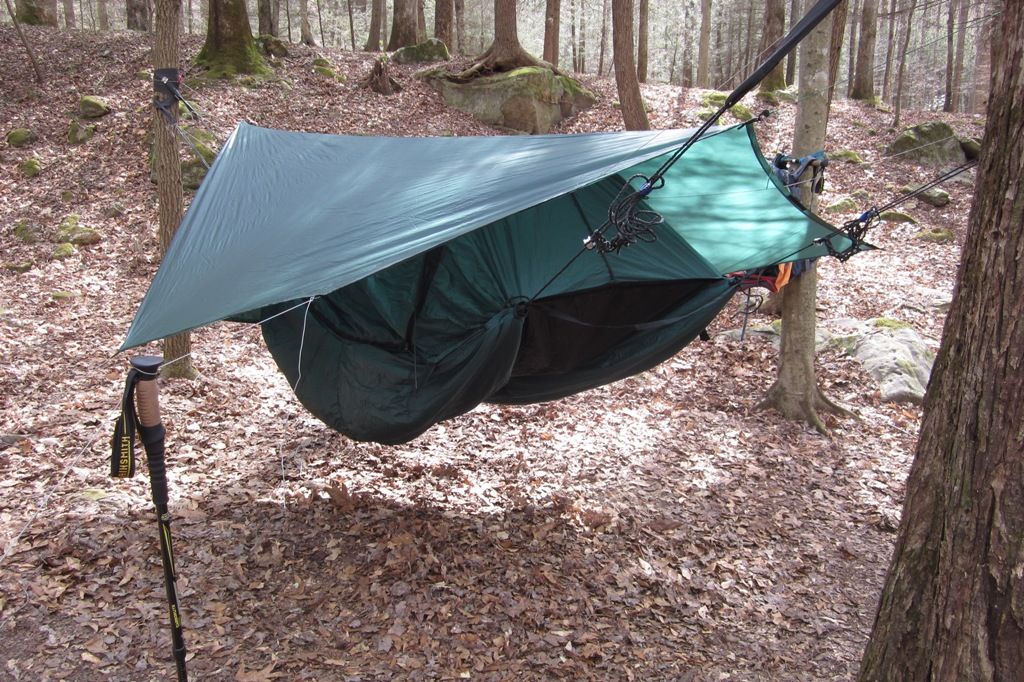
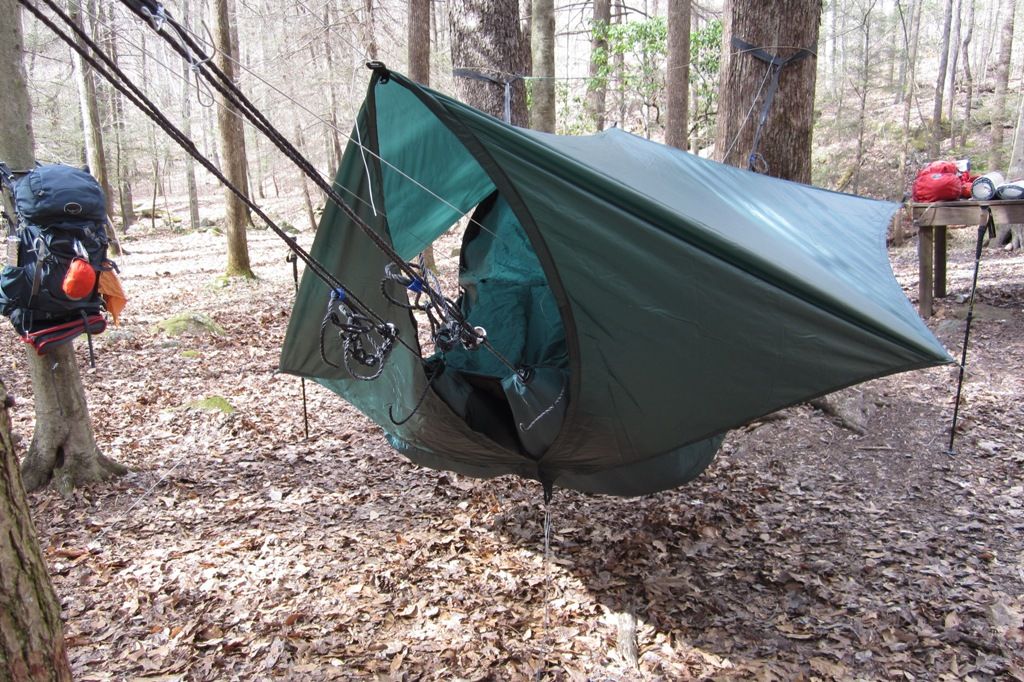
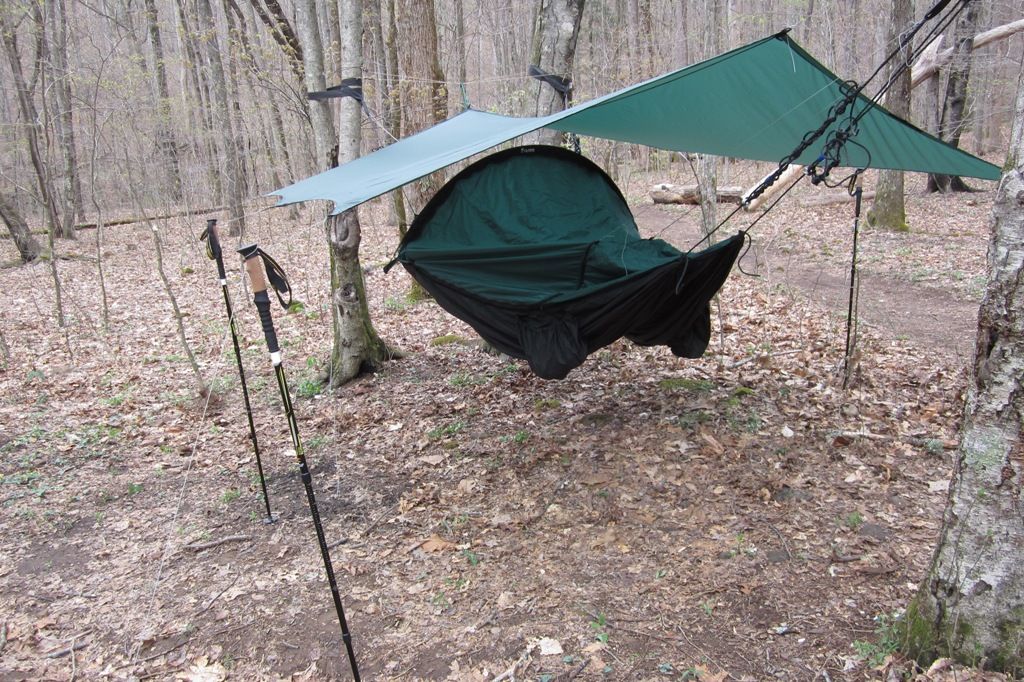
    The night was supposed to be cold and rainy so I set the Vertex Tarp where the foot was somewhat enclosed but the head end was a bit more open. It was my first time trying something like this and it was easy and breezy. I figured if the wind did cut underneath enough to draw the heat from the hammock then I could simply pull the poles but I never needed to. When used with the sleeping bag we never felt any drafts.

    Head end


    Foot end


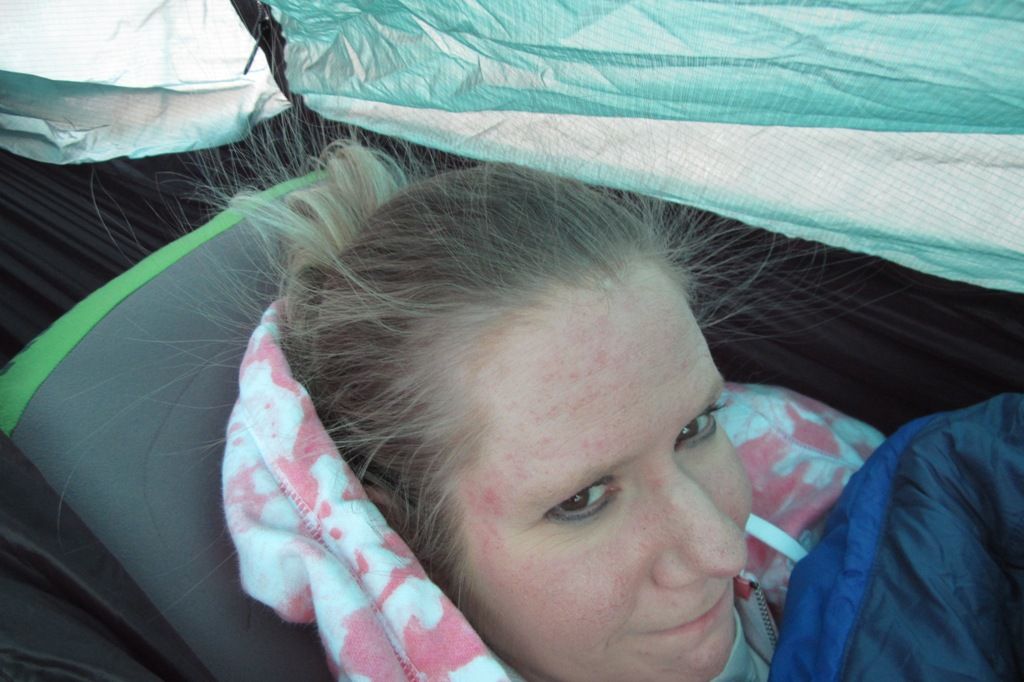
    There are some fun things about excessive amounts of dry down and the very slippery hammock material: Static! She was trying not to laugh.


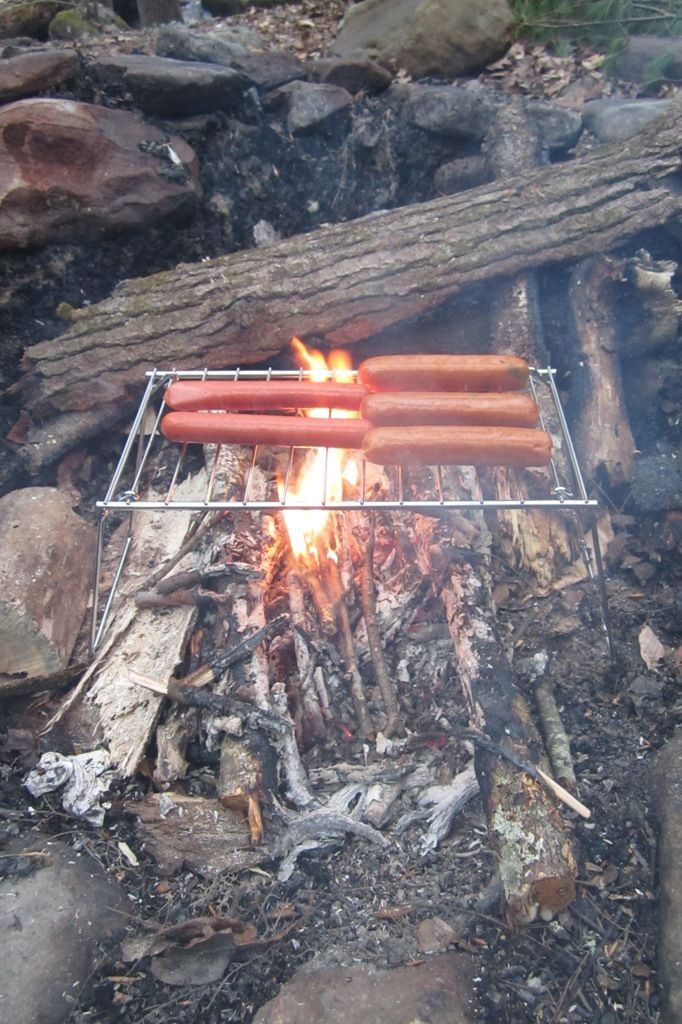
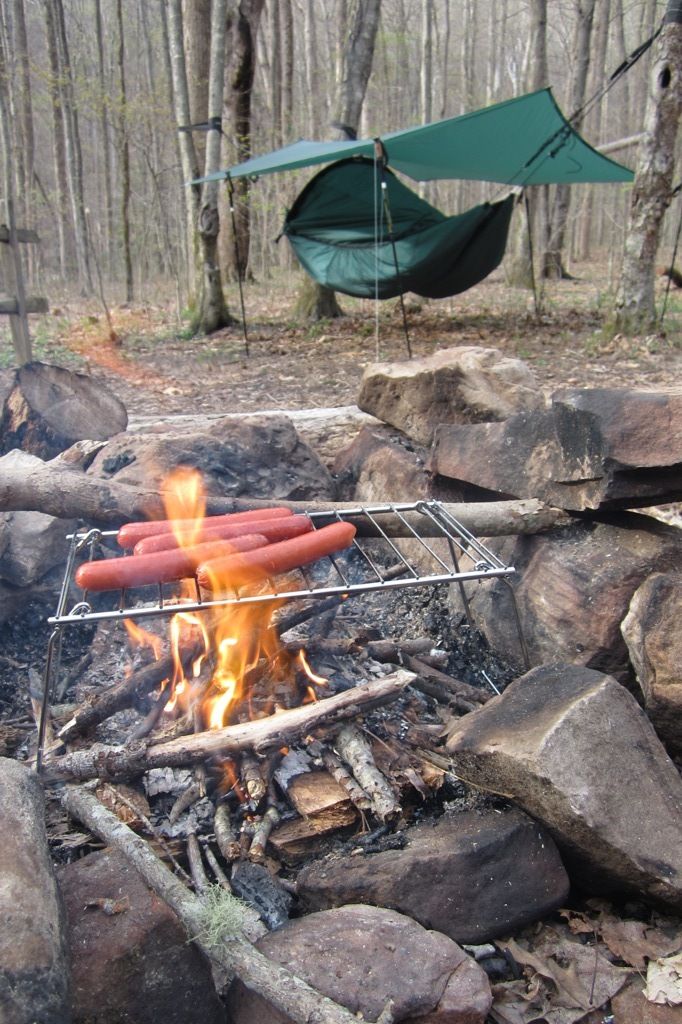
    A bit of dinner while waiting for the weather to hit...and waiting and waiting and... well, dinner was good. (not shown was the BBQ rice, pasta, etc. that were cooked up in the GSI Pinnacle Dualists. This is another awesome set of kit)

    Last edited by AdventureMyk; 04-21-2015 at 17:52.

  4. #4
    Senior Member AdventureMyk's Avatar
    Join Date
    Jul 2012
    Location
    Knoxville, TN
    Hammock
    Snep Hammock, about 12 DIY's, etc.
    Tarp
    OneTigris Tiegman
    Insulation
    HG & HangTight
    Suspension
    Varies
    Posts
    847
    Sleeping:
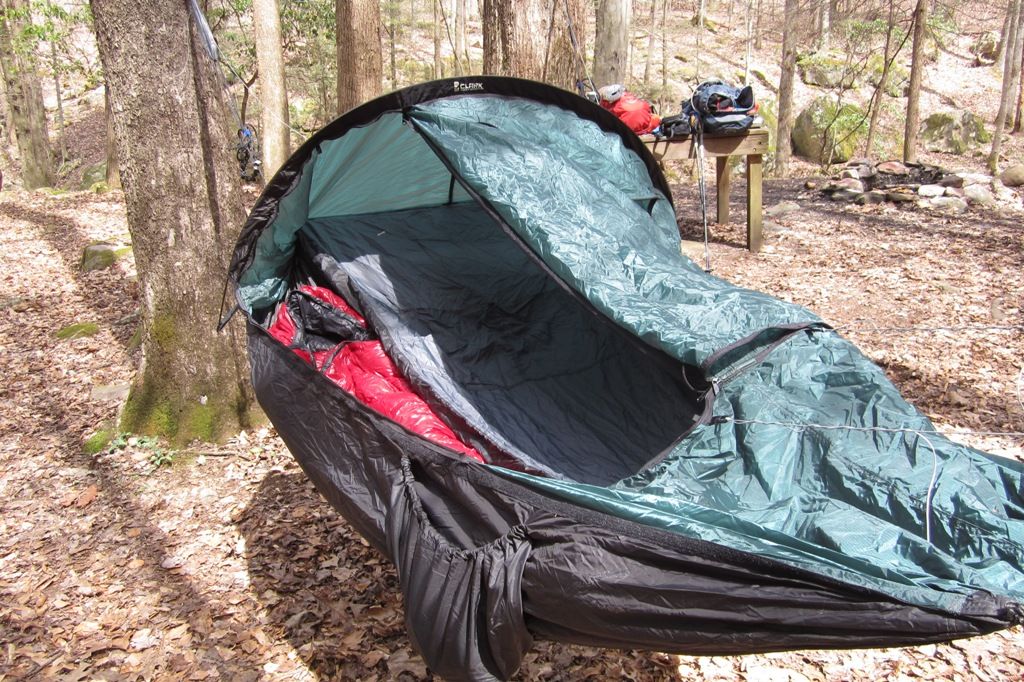
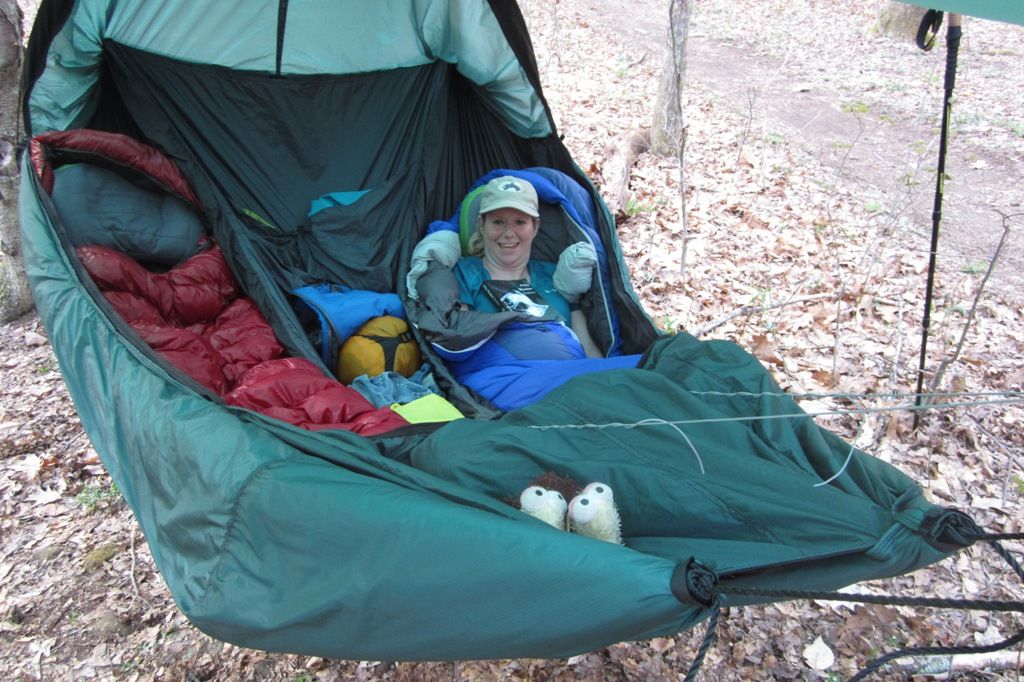
    If anyone has ever mentioned there is a ton of room in the Vertex they aren't kidding. It's HUGE! It's like being inside a floating 3-person tent! Lots and lots of headroom that you can sit up, stretch your arms out and literally have to reach to grab the upper zippers. The good news is that you can't really feel claustrophobic, the other good news is that with the Weather Shield being quite breathable and the open area we have never once had any condensation in the hammock. It didn't matter if it was 16 degrees and dry, humid, hot and humid, etc. Never once and that's something I can only say I've enjoyed on the Big Agnes Slater 3+.

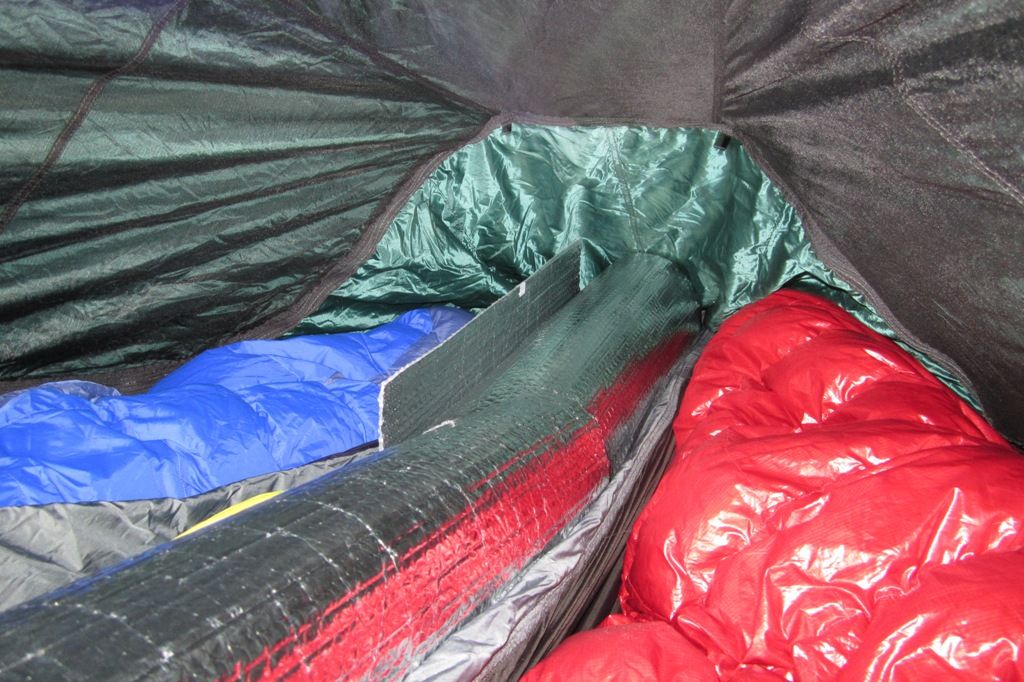
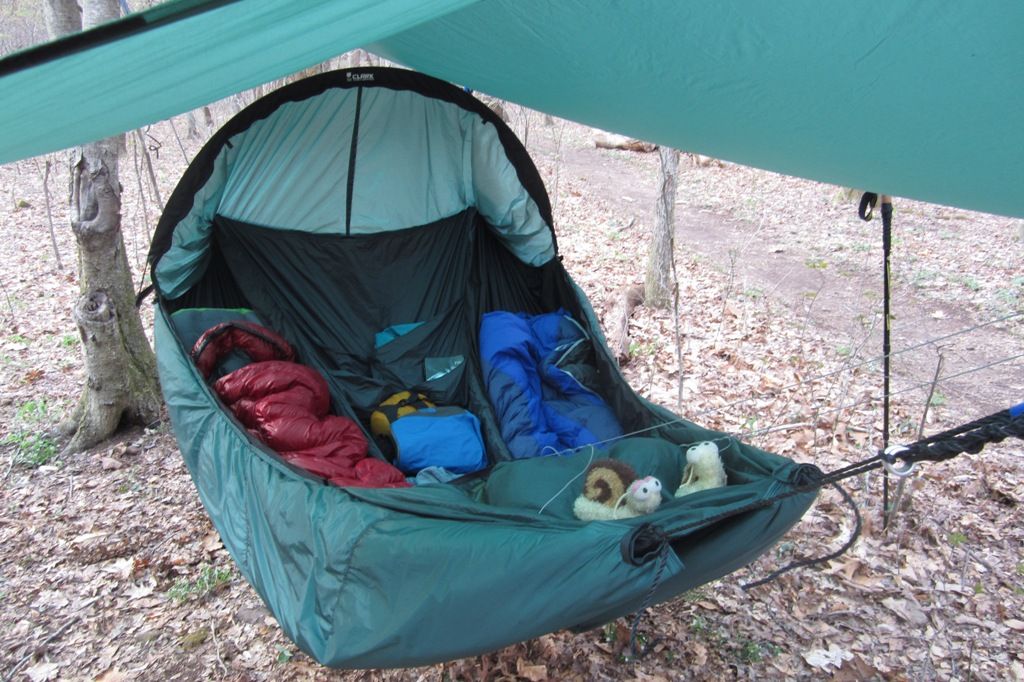
    Because of the initial worries over the wind taking the heat from the Z-liners we brought some Reflectix that we used beforehand as a back-up. After all, the temps were to hit the upper 30's with rain. This is what we had been using before though they tended to bunch up, slide, and kick sideways out from under the legs. In this trip we kept them in the storage area just in case we had to grab them. I'm happy to say that even when the temps hit their bottoms we never remotely needed them. Z-liner was doing its job nicely!


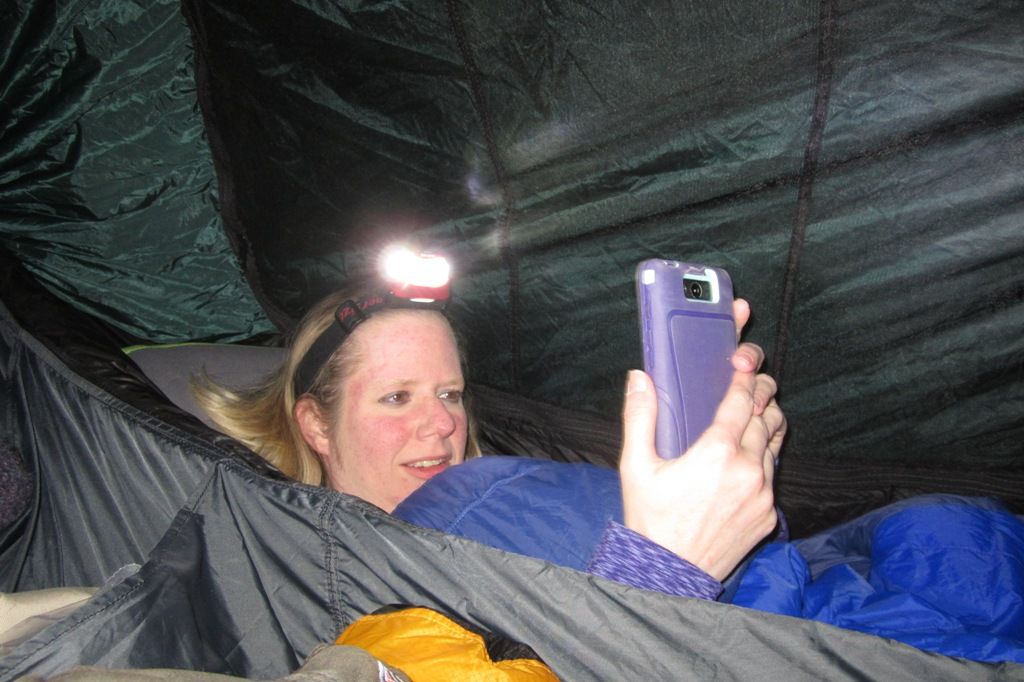
    A couple Sea To Summit Aeros pillows are a perfect match for the hammocks. Inflate 'em up when you want to lay back and read as Becky's doing, then just tap the adjustment to air them down a bit for snuggled in sleeping. They weigh next to nothing, don't make any noise, pack up super easy and small, etc. I must have tried 20+ pillow combinations before taking a chance on one of these and the next day she went out and bought one. They are that good.


    Thus concludes Day 1 at Judge Branch.


    Last edited by AdventureMyk; 04-21-2015 at 17:55.

  5. #5
    Senior Member AdventureMyk's Avatar
    Join Date
    Jul 2012
    Location
    Knoxville, TN
    Hammock
    Snep Hammock, about 12 DIY's, etc.
    Tarp
    OneTigris Tiegman
    Insulation
    HG & HangTight
    Suspension
    Varies
    Posts
    847
    Day 2, Panther Creek camp site at Frozen Head State Park, Wartburg, TN:

    The weather was to be very warm but with forecasts of short moderate to heavy rain at times. We geared for it and had the warmth and you could see and even smell the rain all around you but it never once came. Owls? Yes. Mosquitoes, gnats, no-seeums? Yep, yep, and my far too much yep, but no rain.


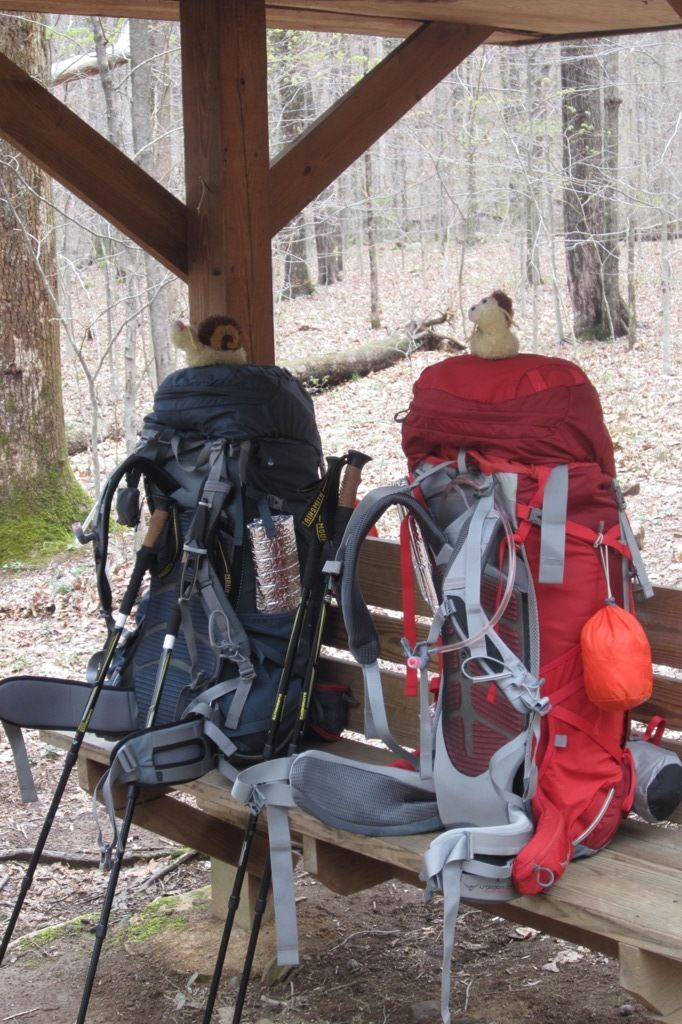
    There is a nice sheltered rest bench at the camp site. It was the perfect place to set the backpacks while setting up in case the storm that was threatening actually hit or would give a few people good refuge if they were caught out on the trail.

    Sitting on top of the bags are our mascots, Gloopy and Glip, Snail Adventurer's Extraordinaire! (Seriously, these two snails have gone more places and done more things than most people)


    Warm weather and potential rains meant setting up the tarp a bit differently. This was very breezy and high enough not to have to do more than a quick duck under the edges.


    Becky dropping her bag in before she puts her Z-liner on.


    Dinner!


    This might give you some idea of just how big the Vertex is and how much storage space the center has. While it looks like the sleeping area gets squished it only does that when it's empty. I've never felt like it was trying to cover me or enclose me.


    The bulk of that trip was spent exploring around the area and will be set up as another review on it's own. There were a lot of fun waterfall explorations, some trail hikes, etc.

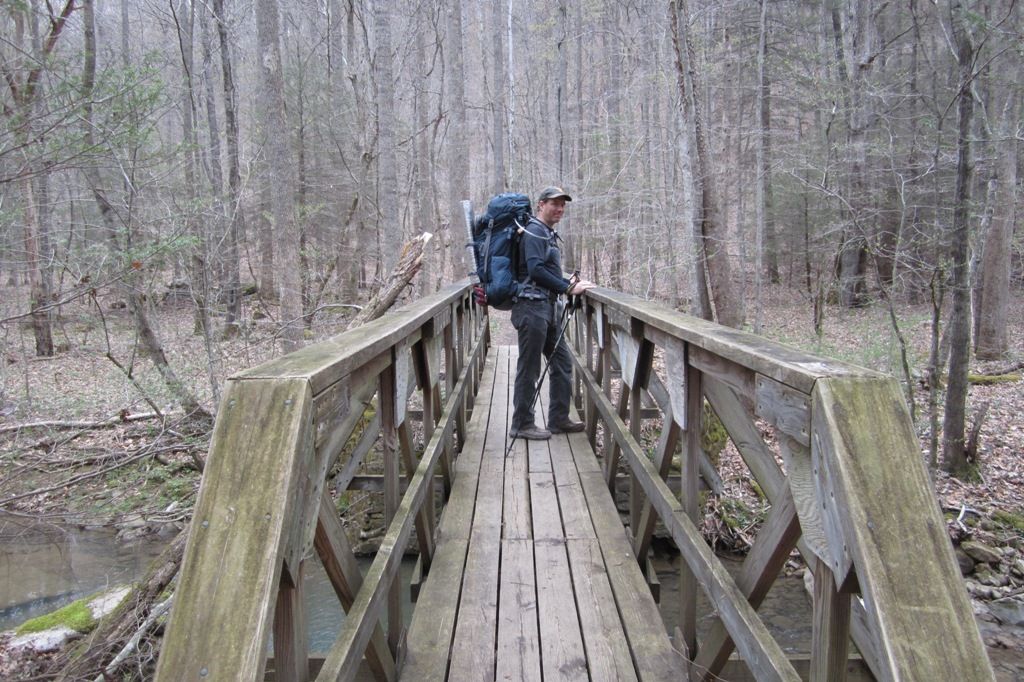
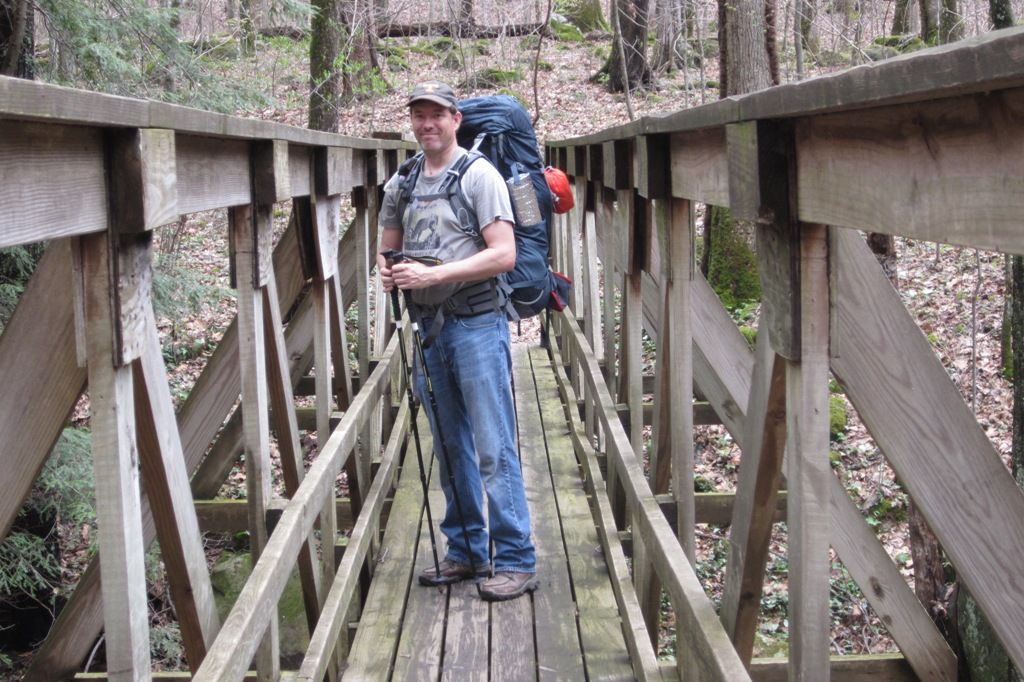
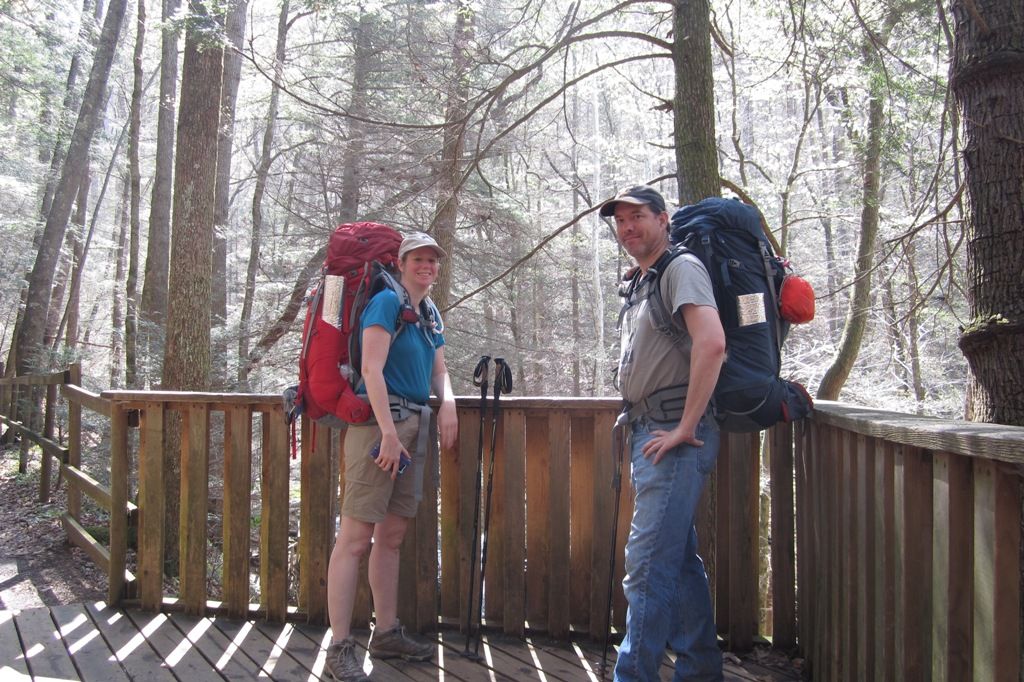
    Hiking back out

    Last edited by AdventureMyk; 04-21-2015 at 17:56.

  6. #6
    Senior Member AdventureMyk's Avatar
    Join Date
    Jul 2012
    Location
    Knoxville, TN
    Hammock
    Snep Hammock, about 12 DIY's, etc.
    Tarp
    OneTigris Tiegman
    Insulation
    HG & HangTight
    Suspension
    Varies
    Posts
    847
    Day 3, Judge Branch again:

    Weather was to be crystal clear (and it didn't disappoint!) with temps in the thirties (again, didn't disappoint). Stargazing kind of weather! We came back to Judge Branch as it was just a great overall site and a quick hike. We also didn't even get to leave the house until after 1ish so having the place around half an hour away is a real bonus.

    Setting her up in stargazing mode: The Weather Shield (top green layer) simply tucks into the big pouch above your feet when you run the zippers to one side. The mosquito net does the same.


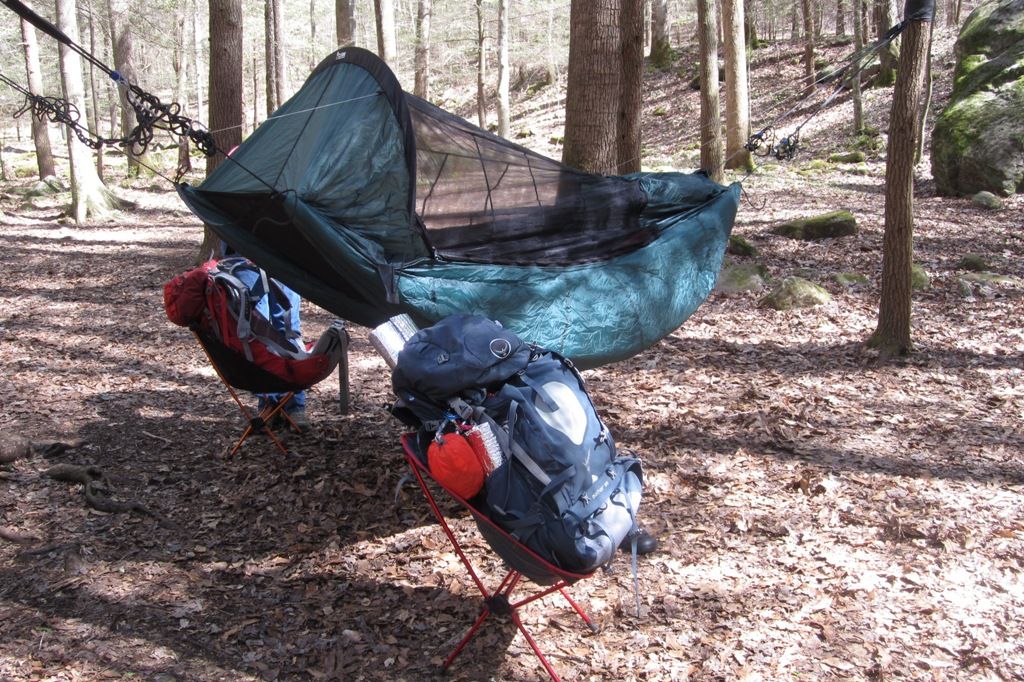
    With no rain forecast we set the backpacks in the chairs next to the hammock where we could simply pull the straws from the hydration packs in when we wanted a drink.


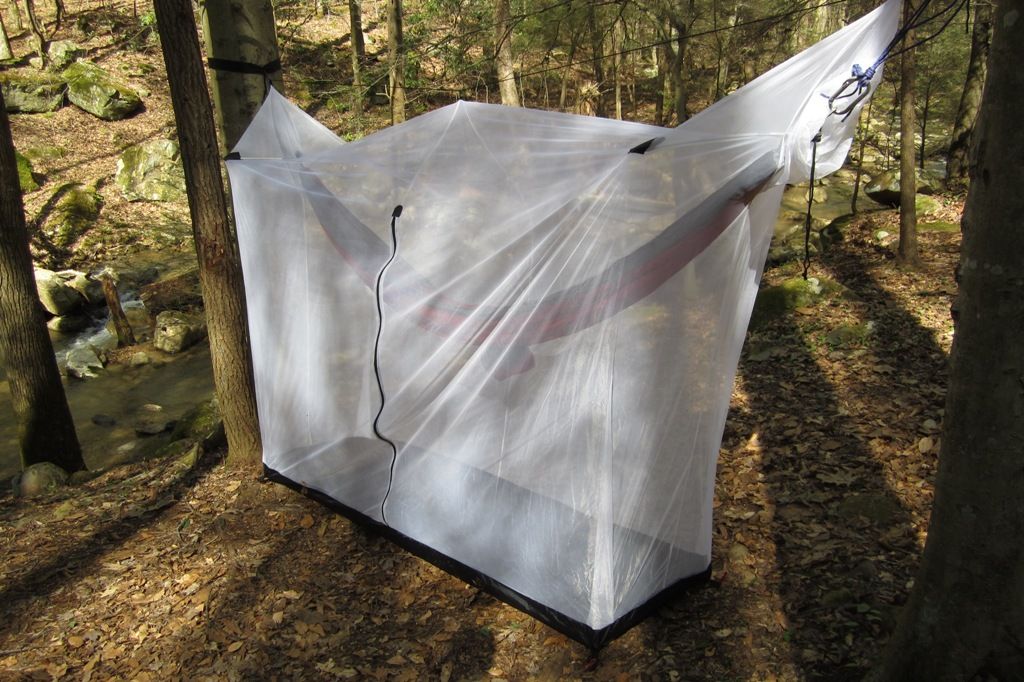
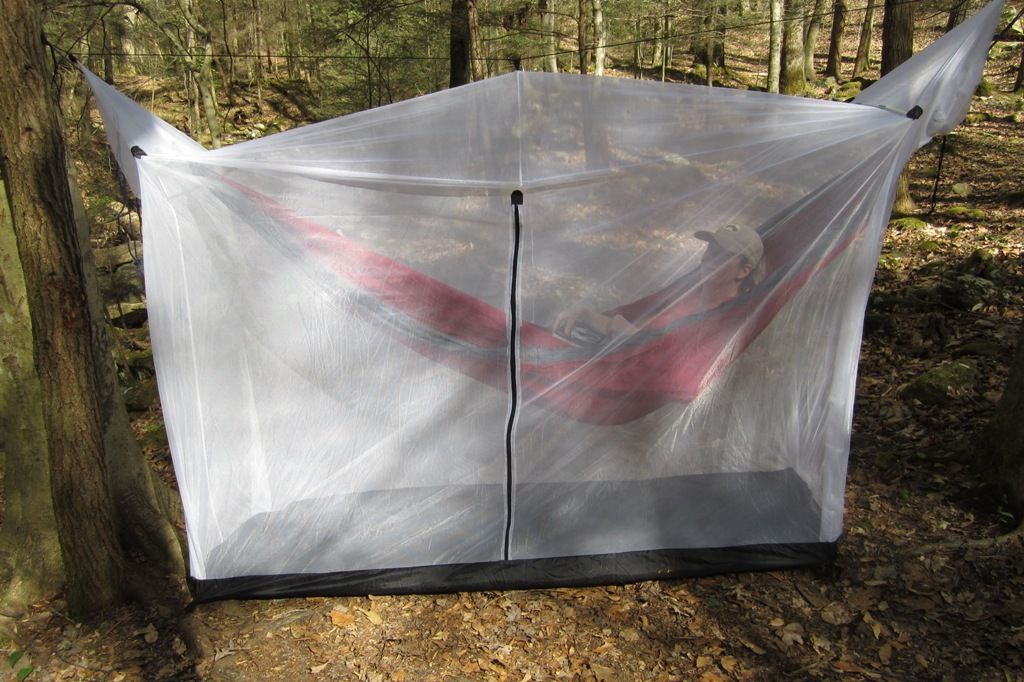
    Becky wanted to try out her new Grand Trunks bug net (I got one, she liked it, she got one) with her Ticket To the Moon double. With all the myriad of mosquitoes, flies, etc. that were starting to come out when we got there it worked great! Enough that her quick test turned into a nice book then a bit of a nap.


    She prefers to sleep Banana style (no comments from the Minion's) while I easily went into a flat diagonal without ever even noticing the bug net. That was perfect for us and should be about the same for my 2 TTTM single's.


    Back to the Vertex we're in Stargazing Mode:


    The night was very cool and clear to start with and at some point around 1am the temps plummeted. That simply meant sitting up enough to draw the Weather Shield over us to keep in the heat that was escaping (only the faces were cold) and the rest of the night was more comfortable than a hotel room.

    Verdict:
    I have been very happy with the Vertex ever since I got it. At first we took a regular tent with us as a back-up in case we couldn't find any trees. There were only two times that ever happened in the last dozen-plus trips and those were places we expected it. Now we don't bother as there are so many options out there it's not even a challenge. This is in East TN where trees and forests and such are pretty much the norm though.

    In terms of camping the Vertex has give us some of the best sleep we've ever had and I'm not limiting that to camping. When using 3 stout trees there is virtually no movement between the two when your partner moves around, plenty of storage, easy to set up for sky watching, open, or warm, etc. You can even lower the Weather Shield just part of the way and tuck it between the mosquito net for some warmer stargazing. The Weather Shield seems good for short light rains, mists, drizzles, etc. but I would not trust it for anything heavy or sustained. That's why they include the very nice SilNylon tarp as part of the package. It's plenty big enough to do the job and I'd bet on their single hammock lines (NX, etc.) the included Velcro on the tarp would easily door in both sides.

    The Z-liners were a gamble and I knew that going in. There were some changes in the language on their website that made it a bit more clear. The liners are intended to work WITH a good quality hammock, not to replace them. They are not meant to be a true under quilt such as an Incubator 20, etc. Then again, the pair of them were around $300 instead of $300 each like the Incubators.

    With no sleeping bag and no liner I've been comfortable down to around 60 without much wind, 65 with a breeze. Add the liners and that would probably take it to low 50's with something as simple as a fleece thrown on top. The liners and our true 20-degree bags? Twenties easily with just a base-layer of under armor and good socks, teens maybe pushing it a bit. If we needed to take it down as close to zero then I'd use the liners, bags and the Reflectix (probably between the liner and the bottom of the hammock) and not think twice about it.

    Did they work as advertised?
    I would happily say yes now that they cleaned up the language on their ad. Before then it wasn't describing them as using the sleeping bags and that's where some of the confusion came in.

    Fit and finish on the liners and hammock are top-notch. No stray lines, threads, cords, etc. The Velcro is all very well stitched and frankly it's kind of fun just taking one end and letting it pull away in two long 'brraaaaaps' as you remove the liners. It honestly couldn't be any simpler.

    I guess the real verdict is that I'd love to grab one of their new NX-270's which looks like a very nice upgrade to the longstanding NX-250. I think that would be the ideal hammock system to go with my motorcycle camping where the Vertex is significantly overkill.

    Would I recommend it?
    No matter which way you cut it the Clark Hammocks aren't cheap and there are certainly cheaper ways to do it. Then again, if you were to compare the analogy this would be the Porsche or Mercedes vs. the Nissan or Toyota. You really do get excellent craftsmanship and a fantastic product even if the initial buy-in is a bit pricey. Keep in mind that it's everything you need for 2 people in a reasonably light and flexible package. To go out and duplicate this would be buying 2 of most everything and still not have the huge interior space, storage shelf, etc. There just isn't anything else on the market that I know of that's like it.

    Yes, I'd recommend this set-up to anyone who can afford it and will use it enough to get their money's worth. After 15+ uses (though the Z-liners are new to me) there isn't a single sign of wear anywhere on the system including the tarp. I expect to get many years out of it at this rate.

    What would I change?
    Like most people the stock nylon-like rope that comes with it for the main suspension leaves a bit to be desired. Initially I thought of swapping to Whoopie Slings yet the stock ones might be cumbersome but they don't weigh much at all and once you get the hang of the slip-knots that I use they are very fast and easy to set-up. I may eventually go whoopies just to make the set-up that much more compressible but I'm not in any rush.

    I would like to have the bow at my feet that the new style includes and the new one apparently offers head and foot outside storage pockets where mine only has the foot set. These are easily big enough for my hiking boots, keep them off the ground when it's raining, etc. I'd like to have the head set just as a good place to put my drink bladder that I wouldn't want laying in the center storage. Maybe at some point I'll sell the one I have and upgrade to the new but there just isn't enough reason to do that when what I have works perfectly well.
    Last edited by AdventureMyk; 04-21-2015 at 17:57.

  7. #7
    Senior Member Time to Hang's Avatar
    Join Date
    Jul 2014
    Location
    Northern, WI
    Posts
    153
    As I said in your other post, awesome review. It really pumps me up for some hammock camping !

    Thanks again for sharing !
    J.
    Clarke Vertex with Z liners, Hammeck Envy S with Incubator 20*
    Custom Dutch Hammock 12' x 6' Double Hyper D ! My current daily sleep system !
    Custom SLD Tree Runner Double Hexon 12' x 6' Loco Libre 20* set
    SLD Tree Runner 12'

  8. #8
    Senior Member Ratdog's Avatar
    Join Date
    Sep 2012
    Location
    Swamp in the woods
    Hammock
    XLC, DIY, GT Dbl for day hiking
    Tarp
    WL OMW
    Insulation
    AHE KAQ JUQ, HG0B
    Suspension
    Web with Triangles
    Posts
    4,504
    Images
    2
    Excellent review and info, thanks very much, appreciate your efforts. This is exactly what I need to pass along to one of my sisters and her husband. And that's what I'm doing, messaging the link to them as I type this.

    The info on the GT netting is a bonus and an idea we've been tossing around. Thanks again.
    Have sherpas, will travel...
    Triangles, it's all about the triangles.
    H30º ™
    HTA

    8.7167º

  9. #9
    gunner76's Avatar
    Join Date
    Dec 2009
    Location
    Murphy NC
    Hammock
    Blackbird 1.7 double
    Tarp
    HG Cuben
    Insulation
    UGQs ZEPPELIN
    Suspension
    Dutch Clips
    Posts
    10,861
    Images
    39
    Lots of good info. thanks
    I am still 18 but with 52 years of experience !

  10. #10
    Member
    Join Date
    Mar 2013
    Location
    NY
    Hammock
    TX-270, TTTM
    Tarp
    CCS, Vertex
    Insulation
    HG, LocoLibre
    Suspension
    HammockFan &Straps
    Posts
    75
    It sounds like you remove the z-liners for packing them seperate from the hammock. Is there any reason you do not leave them on the hammok? I would guess because you find it bulky to put in a pack? I have a z-liner for my Flex-180 which adds bulk - but I leave it on my hammock at this point, instead of removing for packing (and its only one vs two). I have wondered if the 'velcro' would show wear-and-tear with continued install and removal..

    Thanks for the great write-up! I suspect it may help folks who are considering purchasing the Vertex.

  • + New Posts
  • Page 1 of 4 123 ... LastLast

    Similar Threads

    1. Z-liner experience with the Vertex
      By barchetta in forum Clark Jungle Hammocks
      Replies: 19
      Last Post: 03-31-2015, 13:21
    2. Clark Hammock VERTEX 2 person tent $400 shipped...you add paypal
      By SAAvage in forum [SOLD/WITHDRAWN] Items no longer available
      Replies: 14
      Last Post: 11-09-2014, 10:45
    3. General opinions on the Vertex 2 person
      By barchetta in forum Clark Jungle Hammocks
      Replies: 22
      Last Post: 01-09-2014, 15:57
    4. SOLD: Clark Vertex 2-person Hammock
      By RadicalHope in forum [SOLD/WITHDRAWN] Items no longer available
      Replies: 9
      Last Post: 12-18-2013, 10:29
    5. Help needed with Clarke Tropical 2 from a Clarke Noob !
      By DavoAnth in forum Clark Jungle Hammocks
      Replies: 6
      Last Post: 03-10-2012, 20:02

    Bookmarks

    Posting Permissions

    • You may not post new threads
    • You may not post replies
    • You may not post attachments
    • You may not edit your posts
    •